Mailing lists for reports

You can set up a mailing list for a report. The email will deliver a .pdf file containing the report pages you specify in the mailing list settings. You can set up the schedule and your mailing list recipients.
Note
- To add or update a mailing list, you need the
Editorrole or higher for the workbook. - Mailing lists are only available for reports located in workbooks.
- Mailing lists do not support RLS.
- Mailing lists only support common objects that are configured to allow delegated access permissions.
To add a mailing list for your report:
-
In the left-hand panel, click Reports and select the report.
-
At the top of the screen, click and select Mailing lists or click in the top panel.
-
Specify the mailing list settings:
-
Mailing list name:
-
Next to the New mailing list field, click .
-
Enter a mailing list name to display in the email header and subject line.
Choose the name as per these requirements:
- It starts and ends with an upper-case or lower-case Latin or Russian letter, number, or one of these characters:
_,@,(,), or%. - The remaining characters can be upper-case or lower-case Latin or Russian letters, numbers, spaces, or the following characters:
_,@,(,),%,.,,,:,;,',|,-,–,—,−,$,*, and&.
- It starts and ends with an upper-case or lower-case Latin or Russian letter, number, or one of these characters:
-
Optionally, enter a description for the mailing list.
-
Click Save.
-
-
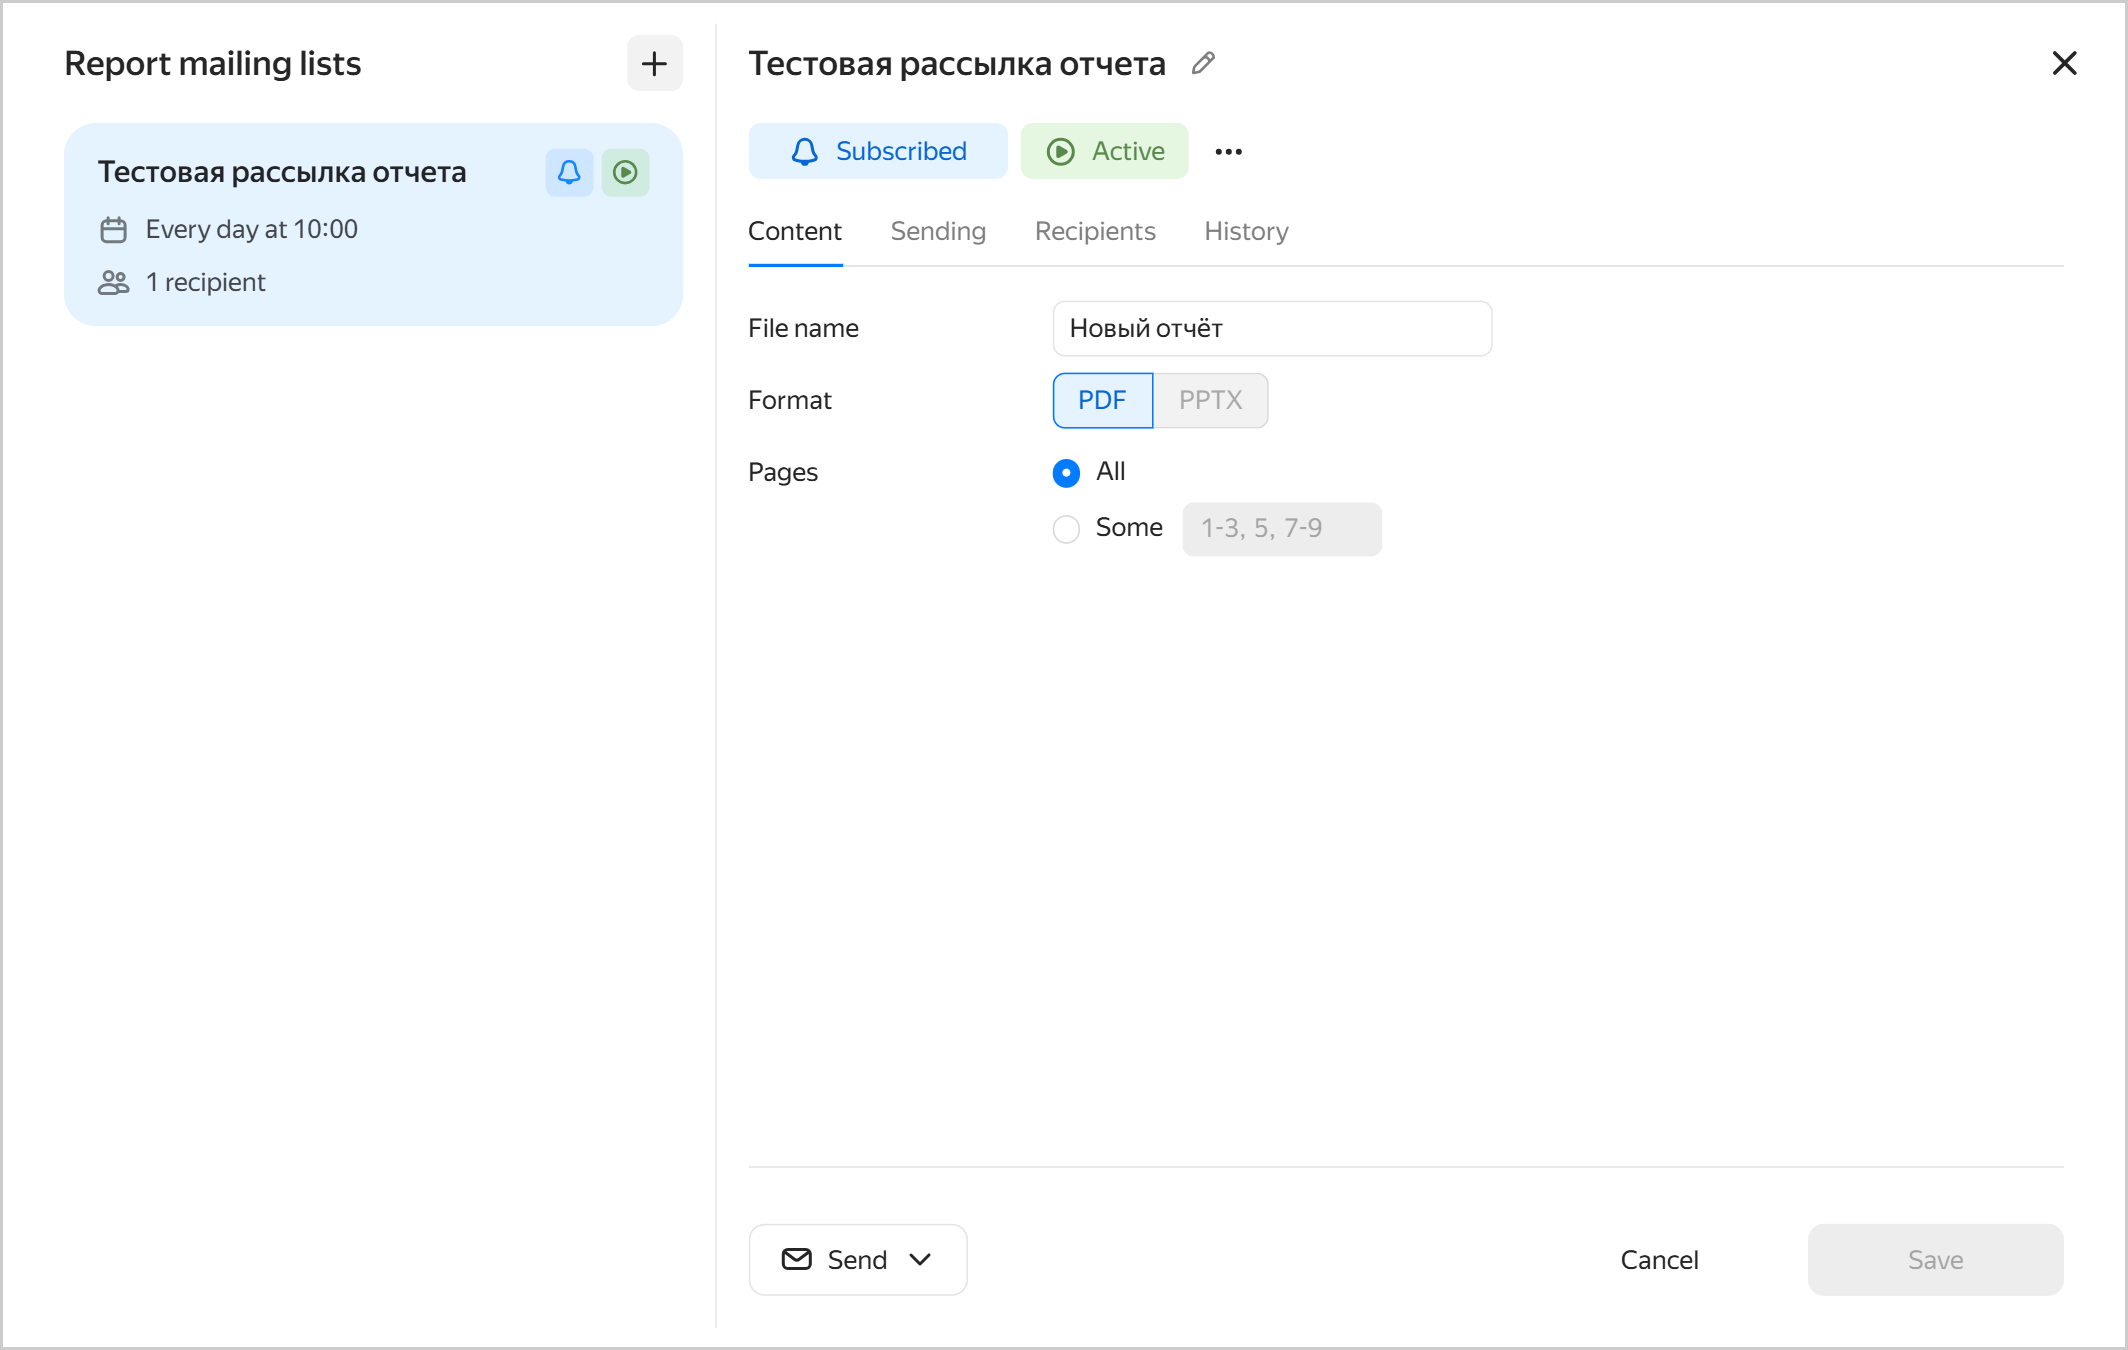
In the What step, set the email content:
-
File name: Name of the file to export report pages to.
-
Format: Export file format. Currently, the supported format is
PDF. -
Pages: Select the report pages to include into the mailing list:
- All: Include all the pages.
- Some: Specify one or more pages.
After saving the mailing list, you can edit the email content in the Content tab.
Mailing list email content
-
-
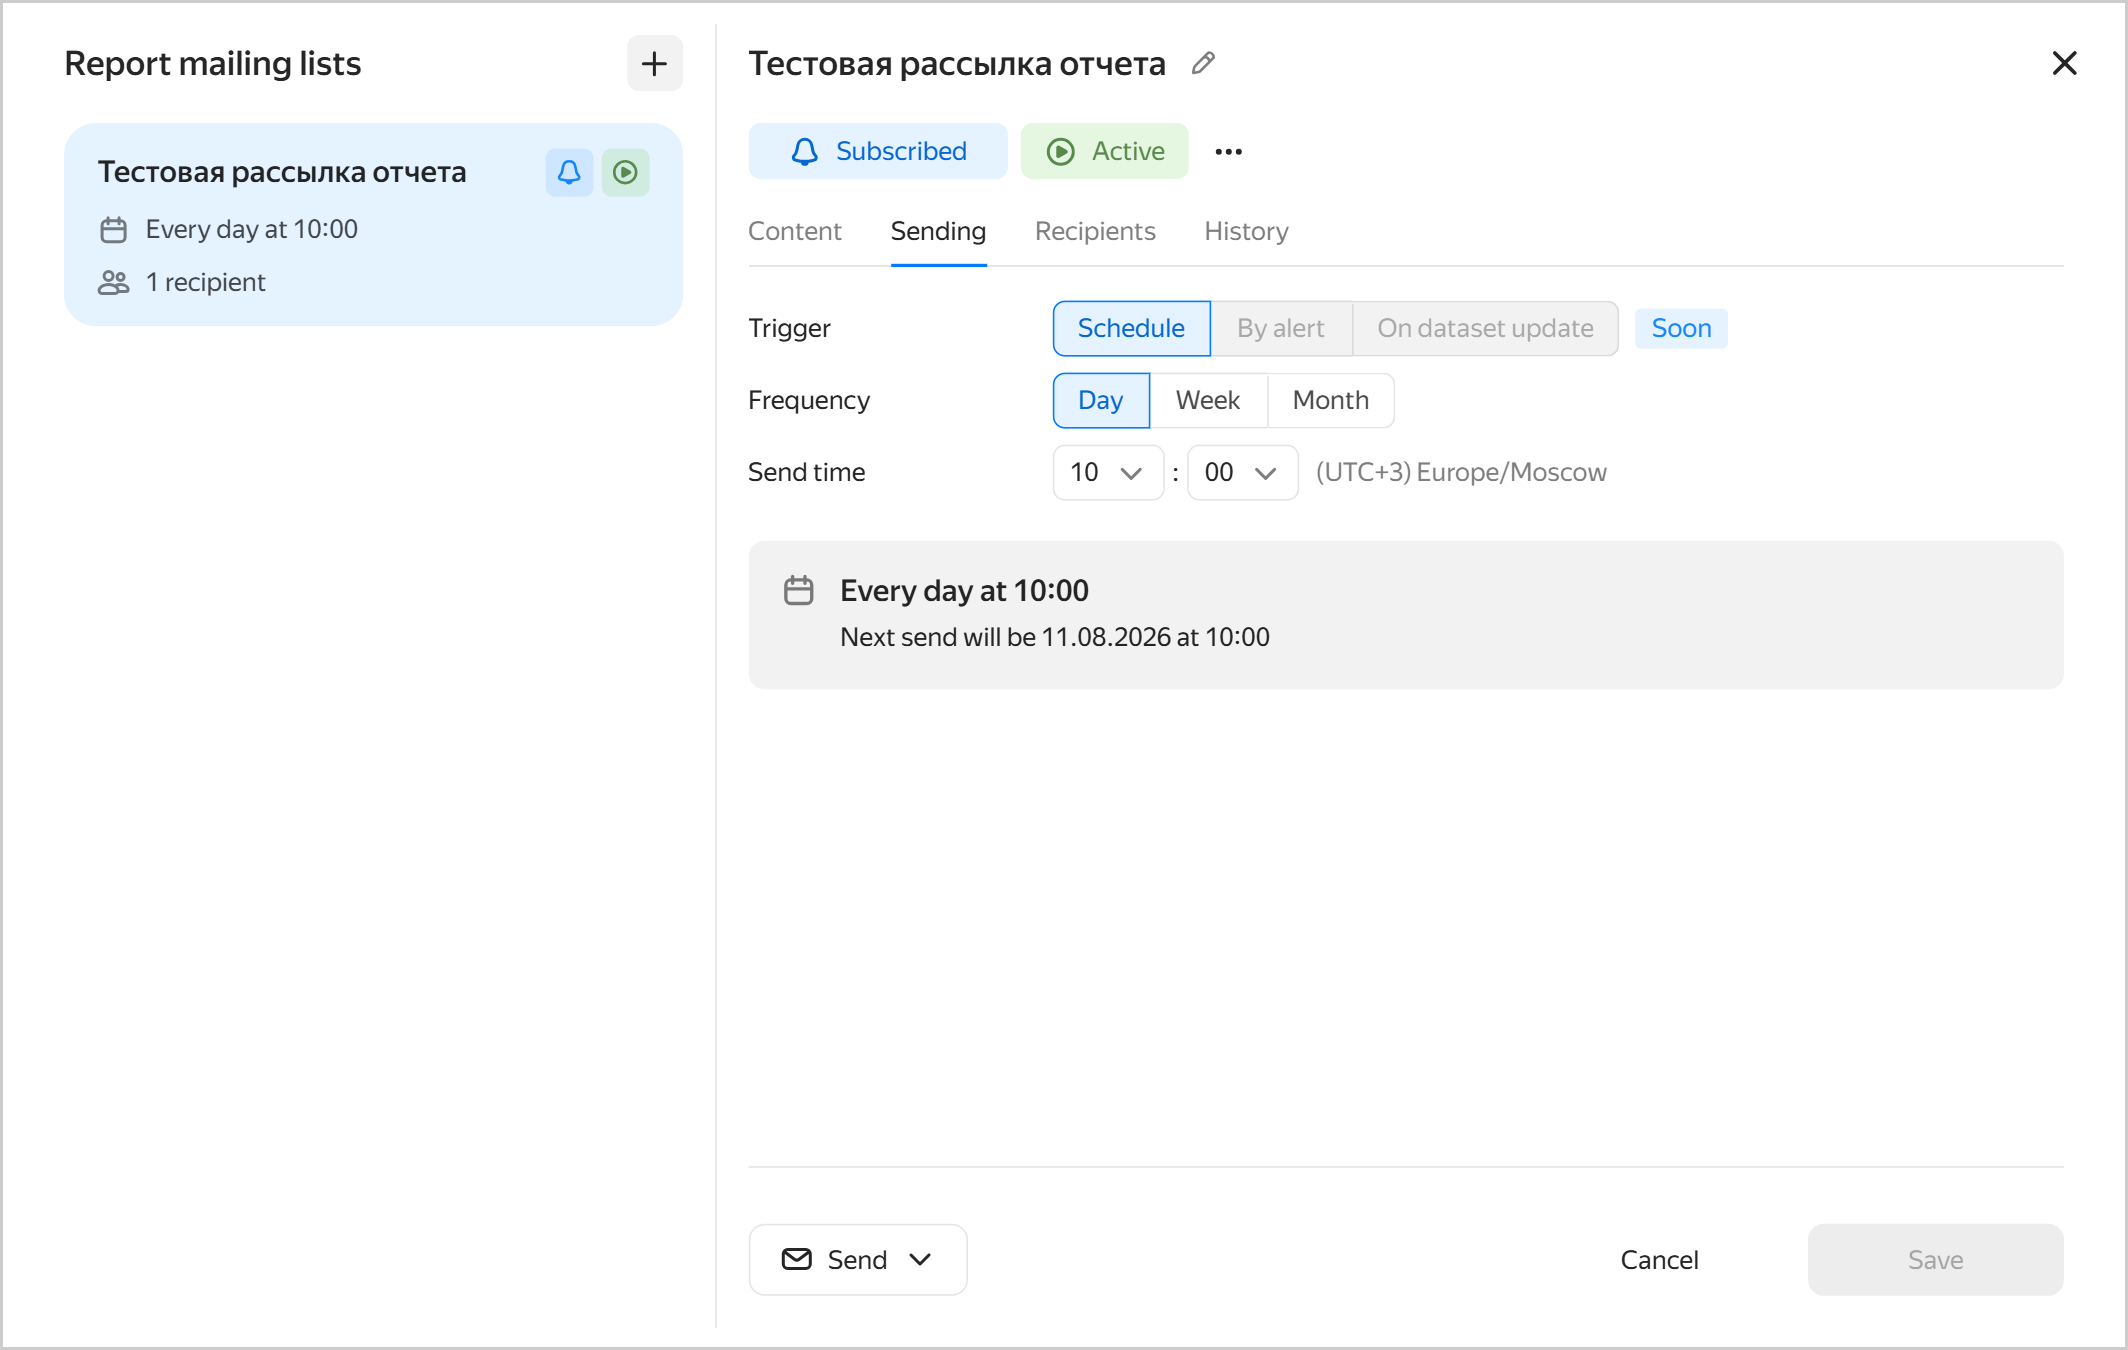
Under When, specify the delivery settings:
- Trigger: Set the event to trigger email delivery. Currently, mailing lists support scheduled delivery. Delivery triggered by alerts or source dataset updates will be available soon.
ScheduleSet the email frequency:
DayWeekMonthEmails will be sent once a day. Specify the mailing time in the current time zone.
Select the days of the week and set the mailing time in the current time zone.
Specify the day of the month and time in the current time zone.
After saving the mailing list, you can edit its delivery settings in the Delivery tab.
Mailing list email delivery
-
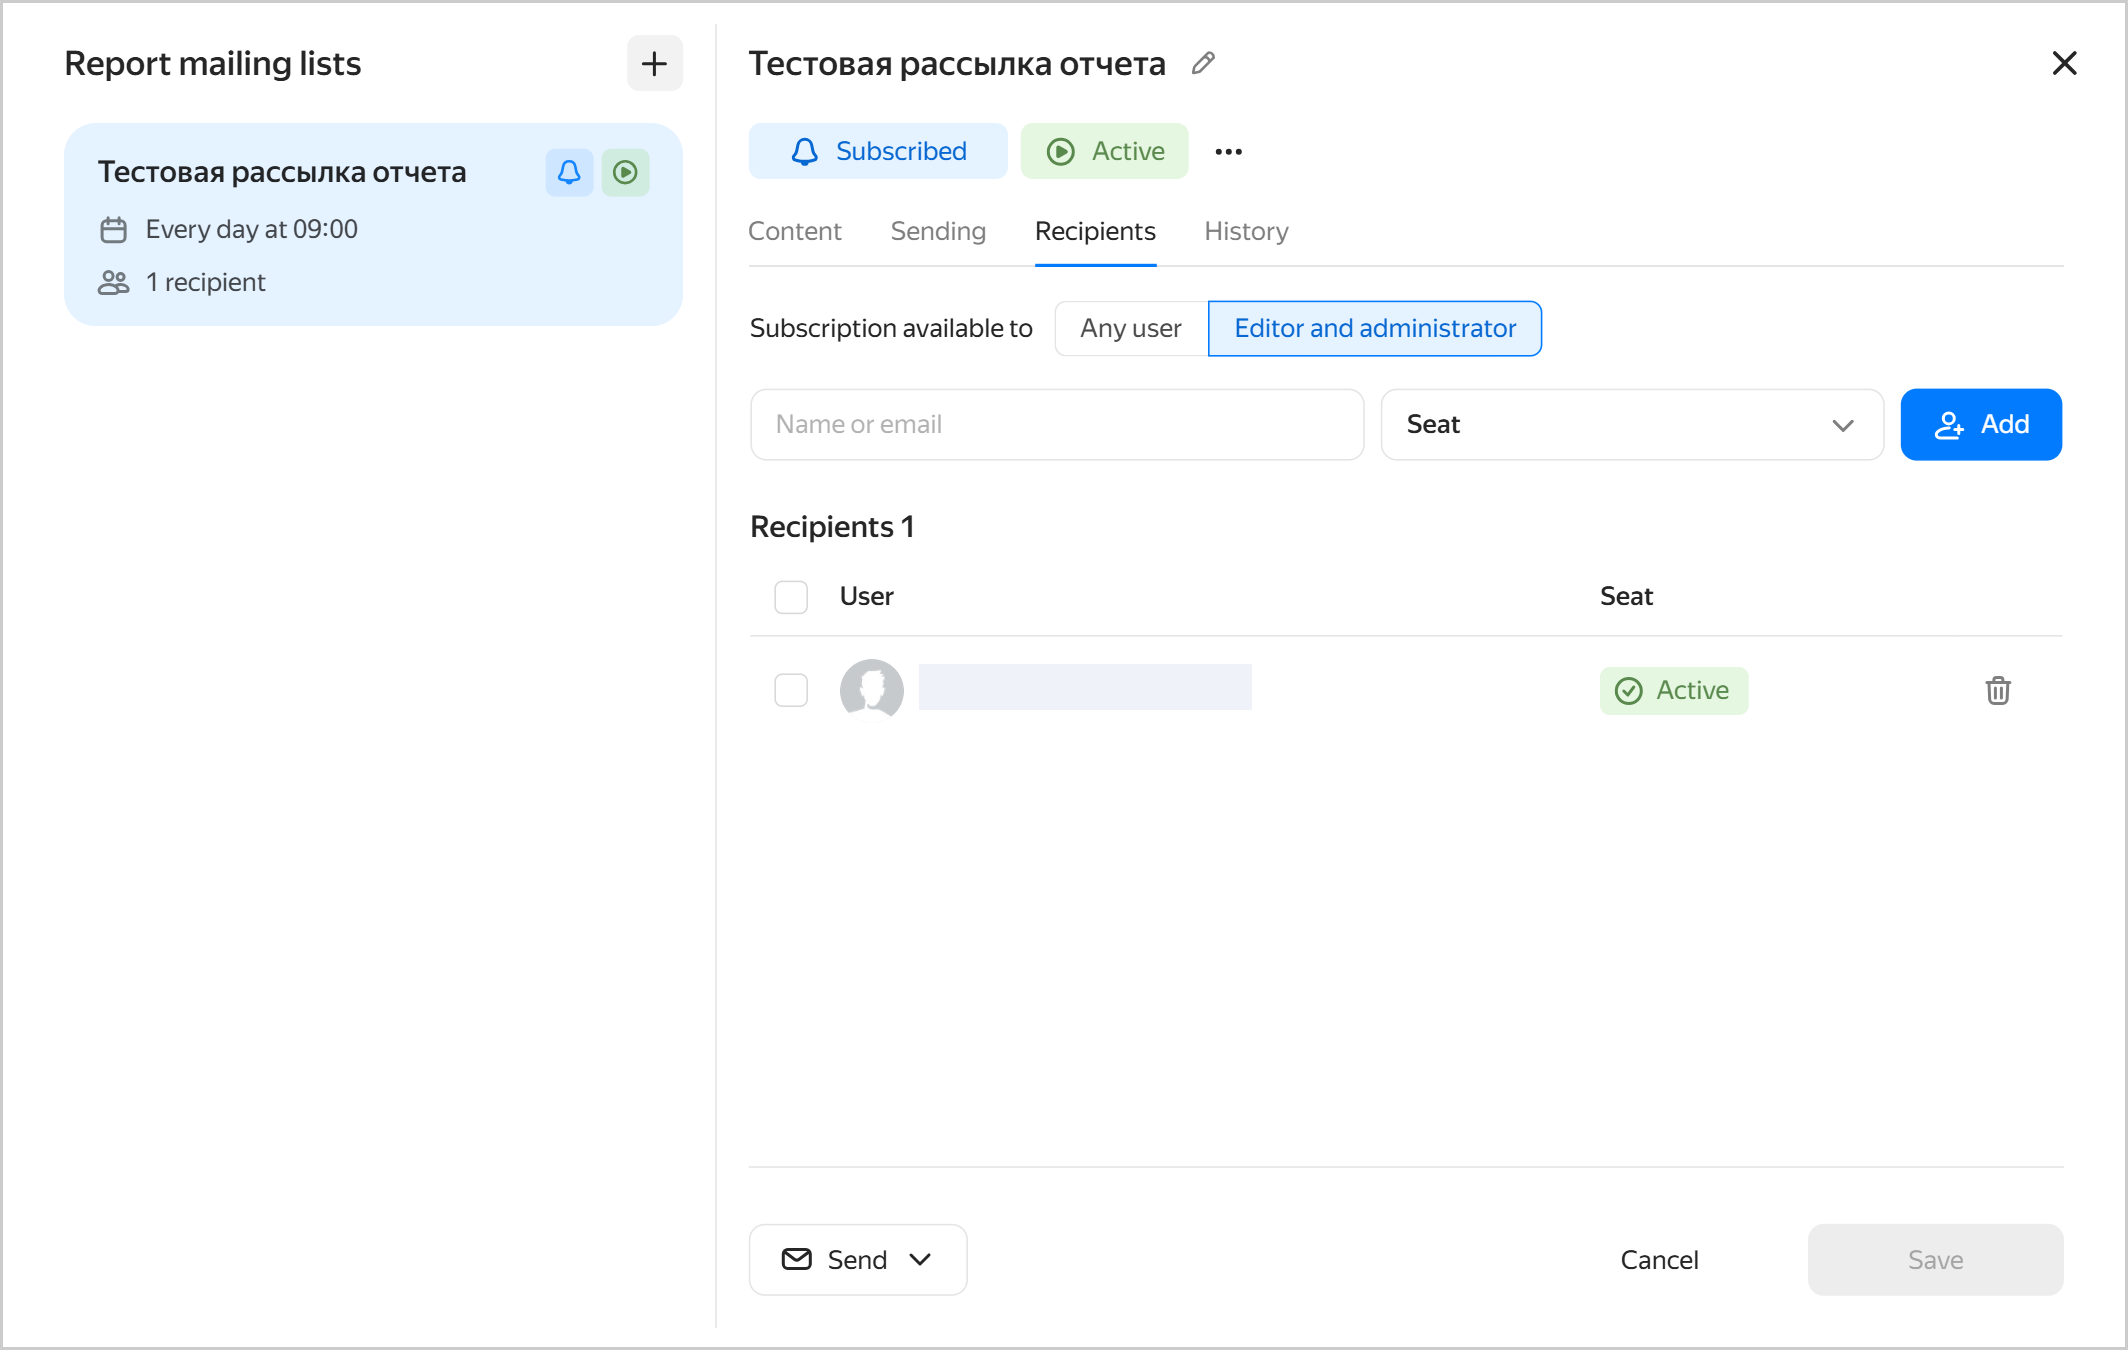
Under To, specify the mailing list recipients and choose who can subscribe to it: editor and administrator only (default) or any user.
Note
- To receive the emails, a user must have an active seat.
- If there are no recipients with an active seat, no emails will be sent.
- You can receive the newsletter only if you have a role for the workbook in which this newsletter is configured.
A user with the
Administrator(datalens.workbooks.admin) role for the workbook can add any user to the mailing list. If the added user does not have a role for the workbook yet, the system automatically assigns them the minimumLimited viewer(datalens.workbooks.limitedViewer) role.A user with the
Editor(datalens.workbooks.editor) role for the workbook can only add users who already have a role for that workbook. Adding other users is blocked.After saving the mailing list, you can edit the recipients in the Recipients tab.
Mailing list recipients
-
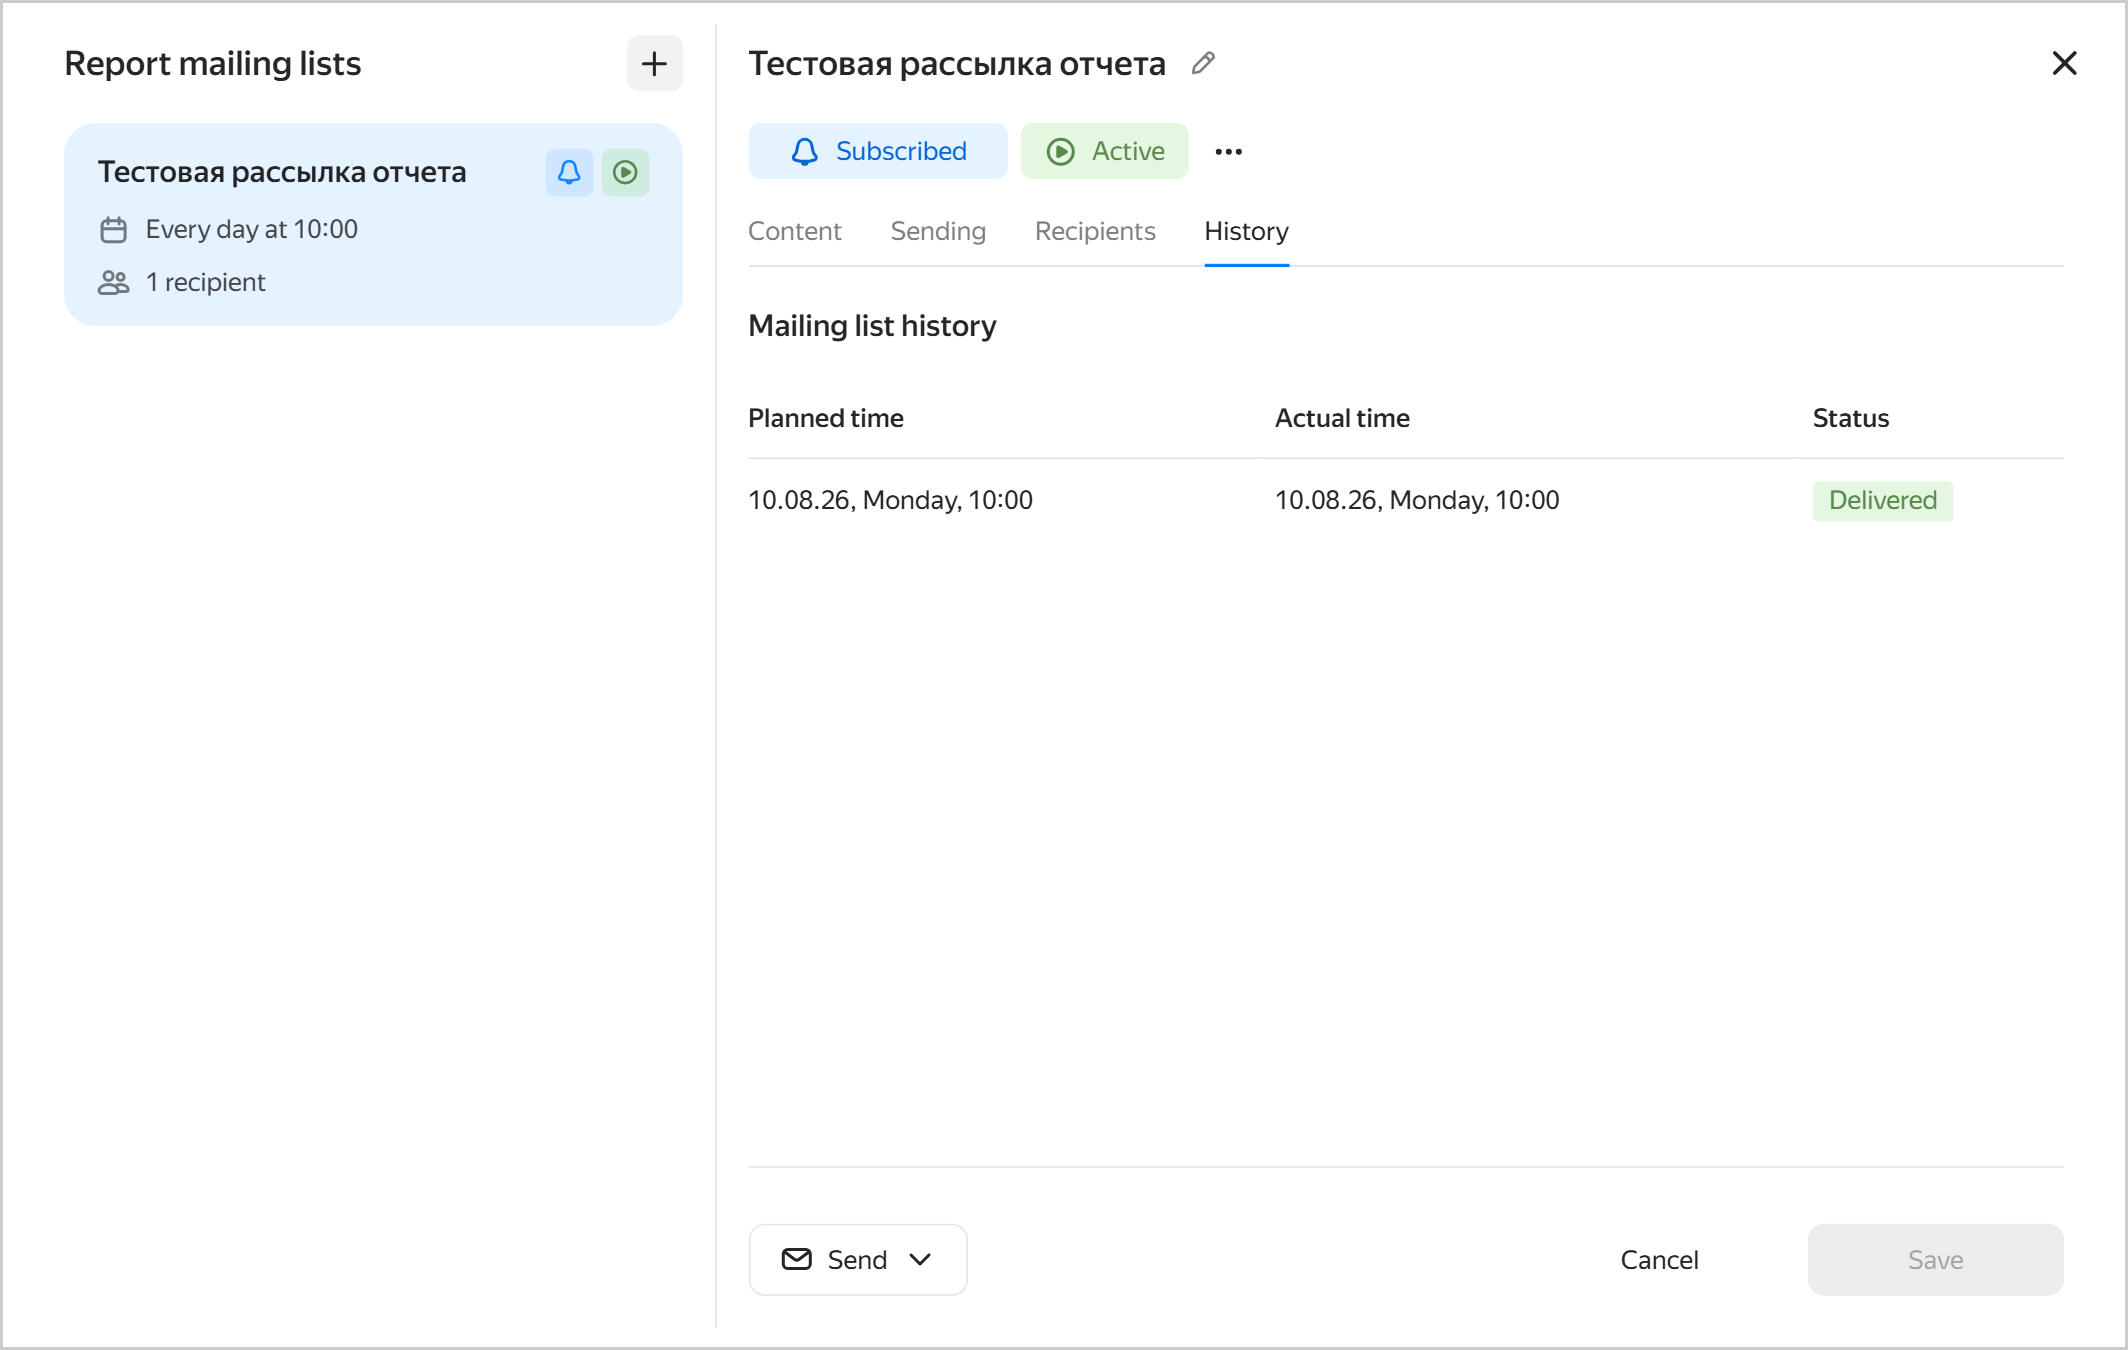
In the History tab, you can view the mailing list history including dates, times, and delivery status. You can access history after saving the mailing list.
Mailing list history
-
-
Click Save.
After you add a mailing list, it becomes Active, and the system starts sending emails to the specified recipients according to the delivery settings.
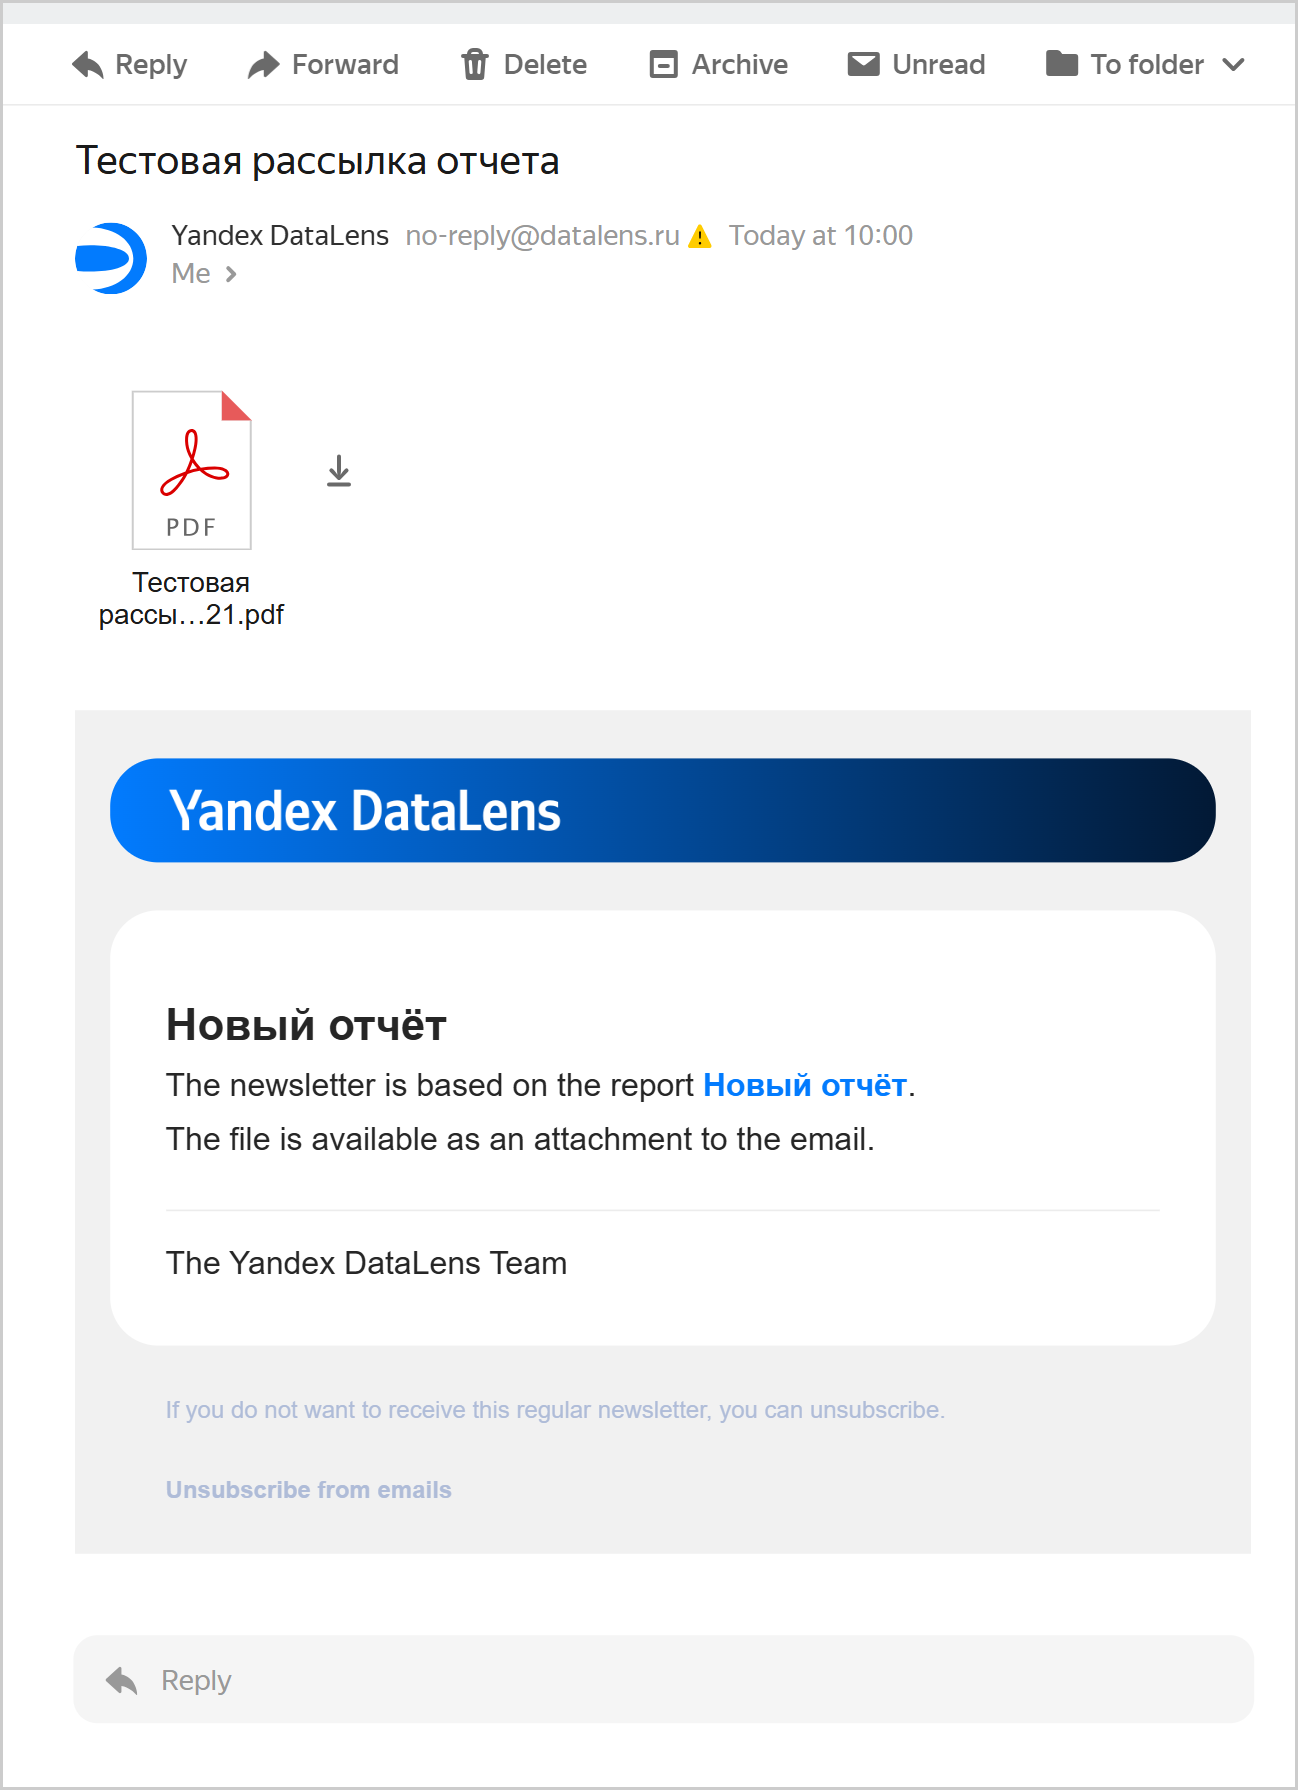
Each recipient will receive the mailing list email:
-
The subject displays the mailing list name.
-
The attachment includes a
.pdffile named as follows:<mailing_list_name> - <report_name> - <datetime_of_sending>. -
The email body contains:
- Name of the report used to create the mailing list and its link.
- Link to unsubscribe from the mailing list.
- Link to DataLens.
Mailing list email contents
Managing mailing lists
You can rename or delete a mailing list, change its settings, pause or resume deliveries, subscribe or unsubscribe from a list, or send an email immediately:
-
In the left-hand panel, click Reports and select the report.
-
Click at the top of the screen.
-
In the list on the left, select the mailing list. You can search by name or sort mailing lists by status.
-
Proceed with the relevant action:
-
Update settings. Go to the relevant tab and update the settings as follows:
- Contents: Specify which pages to capture as screenshots and include in mailing list emails.
- Sending: Specify the delivery settings.
- Recipients: Specify the recipients.
- History: View the mailing list history including dates, times, and delivery status.
-
Send an email immediately. At the bottom of the mailing lists window, click Send and select who will receive the email:
Only meorAll recipients. -
Subscribe or unsubscribe:
- Users with at least minimal access to the parent workbook can subscribe to a mailing list. To subscribe to a mailing list, click Subscribe at the top below the mailing list name, or click → Subscribe.
- To unsubscribe from a mailing list, click Subscribed at the top below the mailing list name, or click → Unsubscribe. You can also unsubscribe from a mailing list by clicking the relevant link inside the email.
-
Pause or resume deliveries:
- To pause a mailing list, click Active at the top below the mailing list name, or click → Pause. The mailing list status will switch to
Paused, and email deliveries will be suspended. - To activate a mailing list, click Paused at the top below the mailing list name, or click → Resume. The mailing list status will switch to
Active, and email deliveries will resume according to the mailing list settings.
- To pause a mailing list, click Active at the top below the mailing list name, or click → Pause. The mailing list status will switch to
-
Rename. To rename a mailing list, click at the top to the right of the mailing list name, or click → Rename below its name. In the window that opens, enter the mailing list name and description and click Save.
-
Delete. To delete a mailing list, click → Delete at the top below the mailing list name.
-