Service plan and payment settings in Yandex DataLens
To access the service plan and payment settings:
- Go to the DataLens home page.
- In the left-hand panel, select Service settings. If you do not see in the panel, first select More, then Service settings.
- Select the Service plans and payment tab.
This tab provides seat cost info, a link to support service plans, and allows you to manage your billing account.
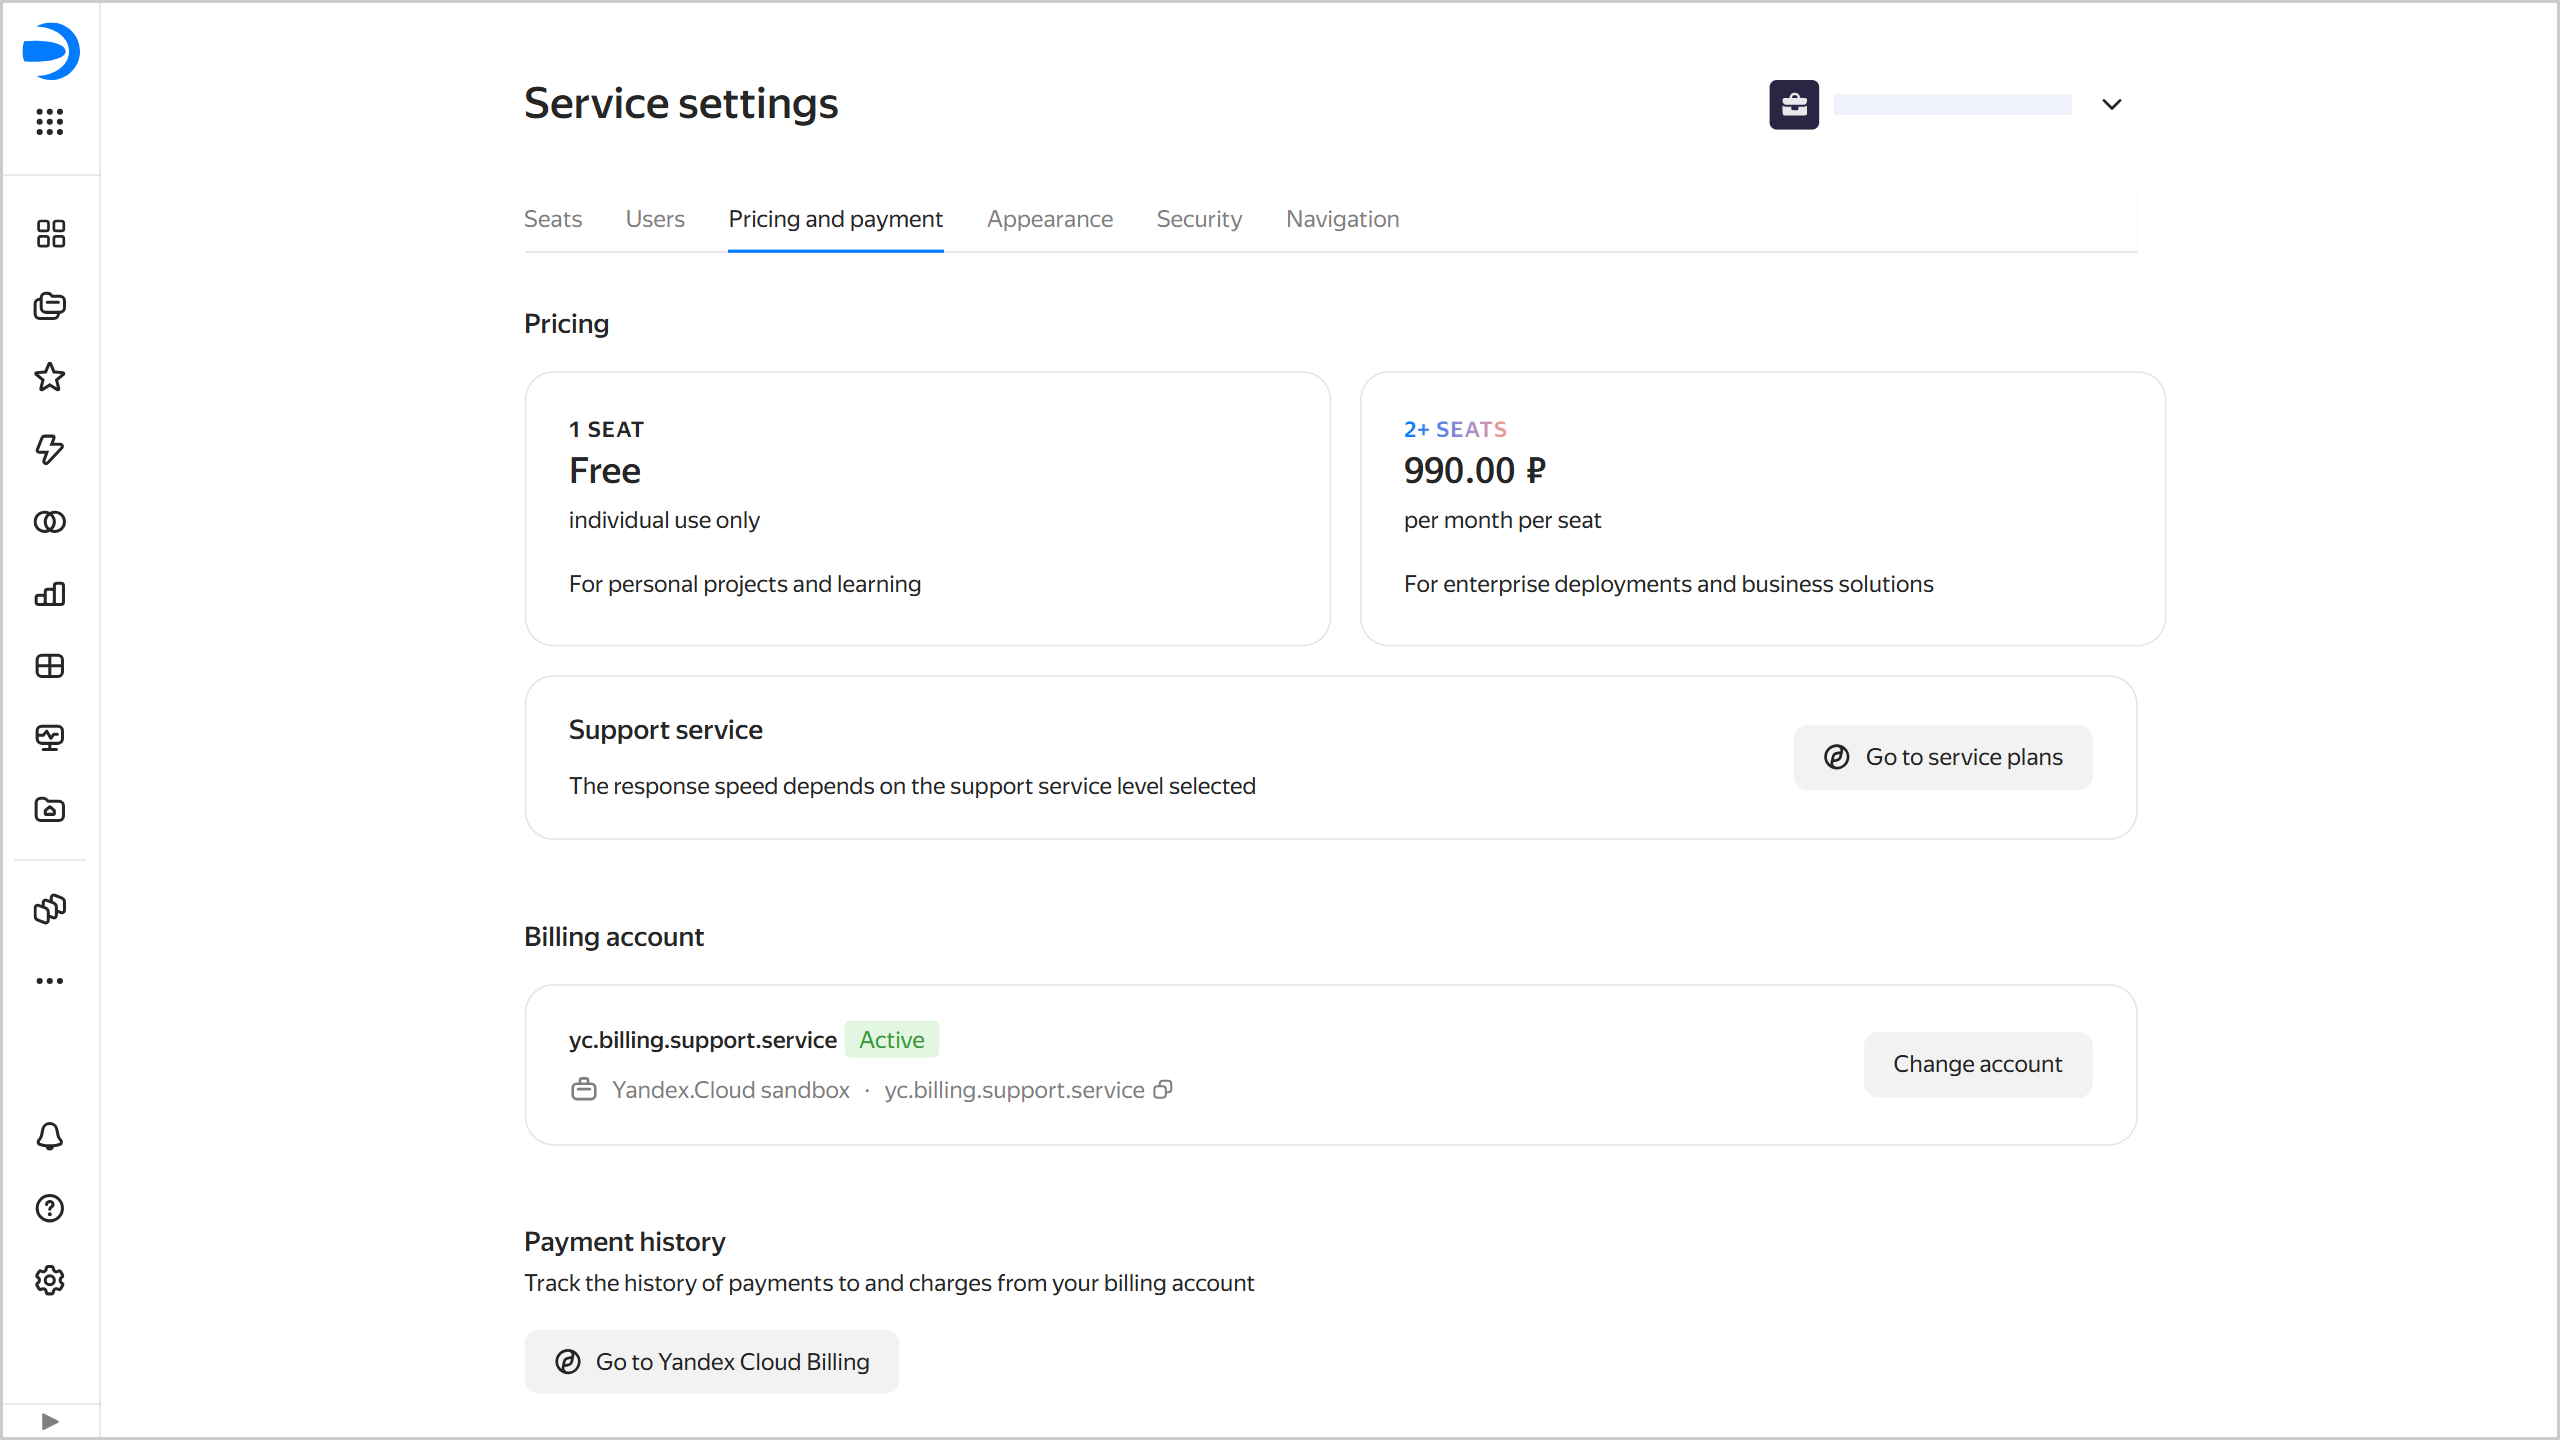
Pricing
DataLens offers the unified service plan which packs all the features available in DataLens. Your cost depends on the number of seats per instance; use that to control your consumption.
Yandex Cloud support offers service plans of its own. You will find a link to Support Center under Support. Follow this link to see what your service plan is and change it as needed.
Billing account
To pay for the services, you need a billing account. When registering a new Yandex DataLens instance, you do not need a billing account because your trial period is active. As soon as your trial period ends, you either reduce your consumption to one seat or add a billing account to pay for your seats. If you do not add a billing account, all the seats in your instance will go inactive except for one.
Tip
If you link a billing account before the trial period ends, the latter will be extended by another 15 days, for a total of 30 days.
Adding or changing a billing account
Note
Only users with a Yandex ID or Yandex 360 account can create new billing accounts. You cannot use a federated account for that.
To link a billing account, the user needs to following roles:
billing.accounts.editoror higher for a billing account.datalens.adminor roles including its permissions, e.g.,organization-manager.organizations.owner, for an organization with DataLens.
To add a billing account:
-
Go to the DataLens home page.
-
In the left-hand panel, select Service settings.
-
Select the Service plans and payment tab.
-
If you have not added a billing account in DataLens yet, click Add account under Billing account. If you already have one, click Change account.
-
If you have billing accounts linked to your organization, you can select one from the list. To create a new account, click Create account. If you do not have any billing accounts linked to your organization, the new account form will open:
-
Specify general details:
- Account name: It will be displayed in the list of your billing accounts and will help you select the right one.
- Country: Select the country the payer is a resident of.
- Payer: Select from the list of available payers.
- Account type: Select an individual or legal entity. For a legal entity, select the payment method:
Credit/debit cardorWire transfer.
Click Next.
-
Enter the payer details, depending on the type of account:
- Individual: full name and postal address.
- Legal entity: short name and full name of the organization, postal code, physical and legal address, TIN, and KPP.
Click Next.
-
Add a credit or debit card to your account (skip this step if the payer is a legal entity with
wire transferas payment method):- Click Add card.
- Specify your card details: 16-digit number, expiration date, and CVV (you can find it on the back side of your card).
- Click Link.
- Select a card.
If the payer is a legal entity, check the following box: I confirm that I can use this corporate card.
Click Next.
-
Provide contact details:
- Enter your email address and click Get code. Confirm your email address.
- Enter your phone number and click Get code. Confirm your phone number.
-
Click Create.
-
-
Click Link.
View your payment history
To view your payment history, click Go to Yandex Cloud Billing.