Setting up seats in Yandex DataLens
A seat is what every Yandex DataLens user needs to log in and use the service. The cost of using DataLens depends on the number of seats in your instance.
Note
An administrator (a user with the datalens.admin role) will be able to access DataLens settings and manage the list of seats at any time, even without a seat. However, other DataLens features will not be available to the administrator without a seat.
You can manage seats in the DataLens settings, on the Seats tab. To open it:
- Go to the DataLens home page.
- In the left-hand panel, select Service settings.
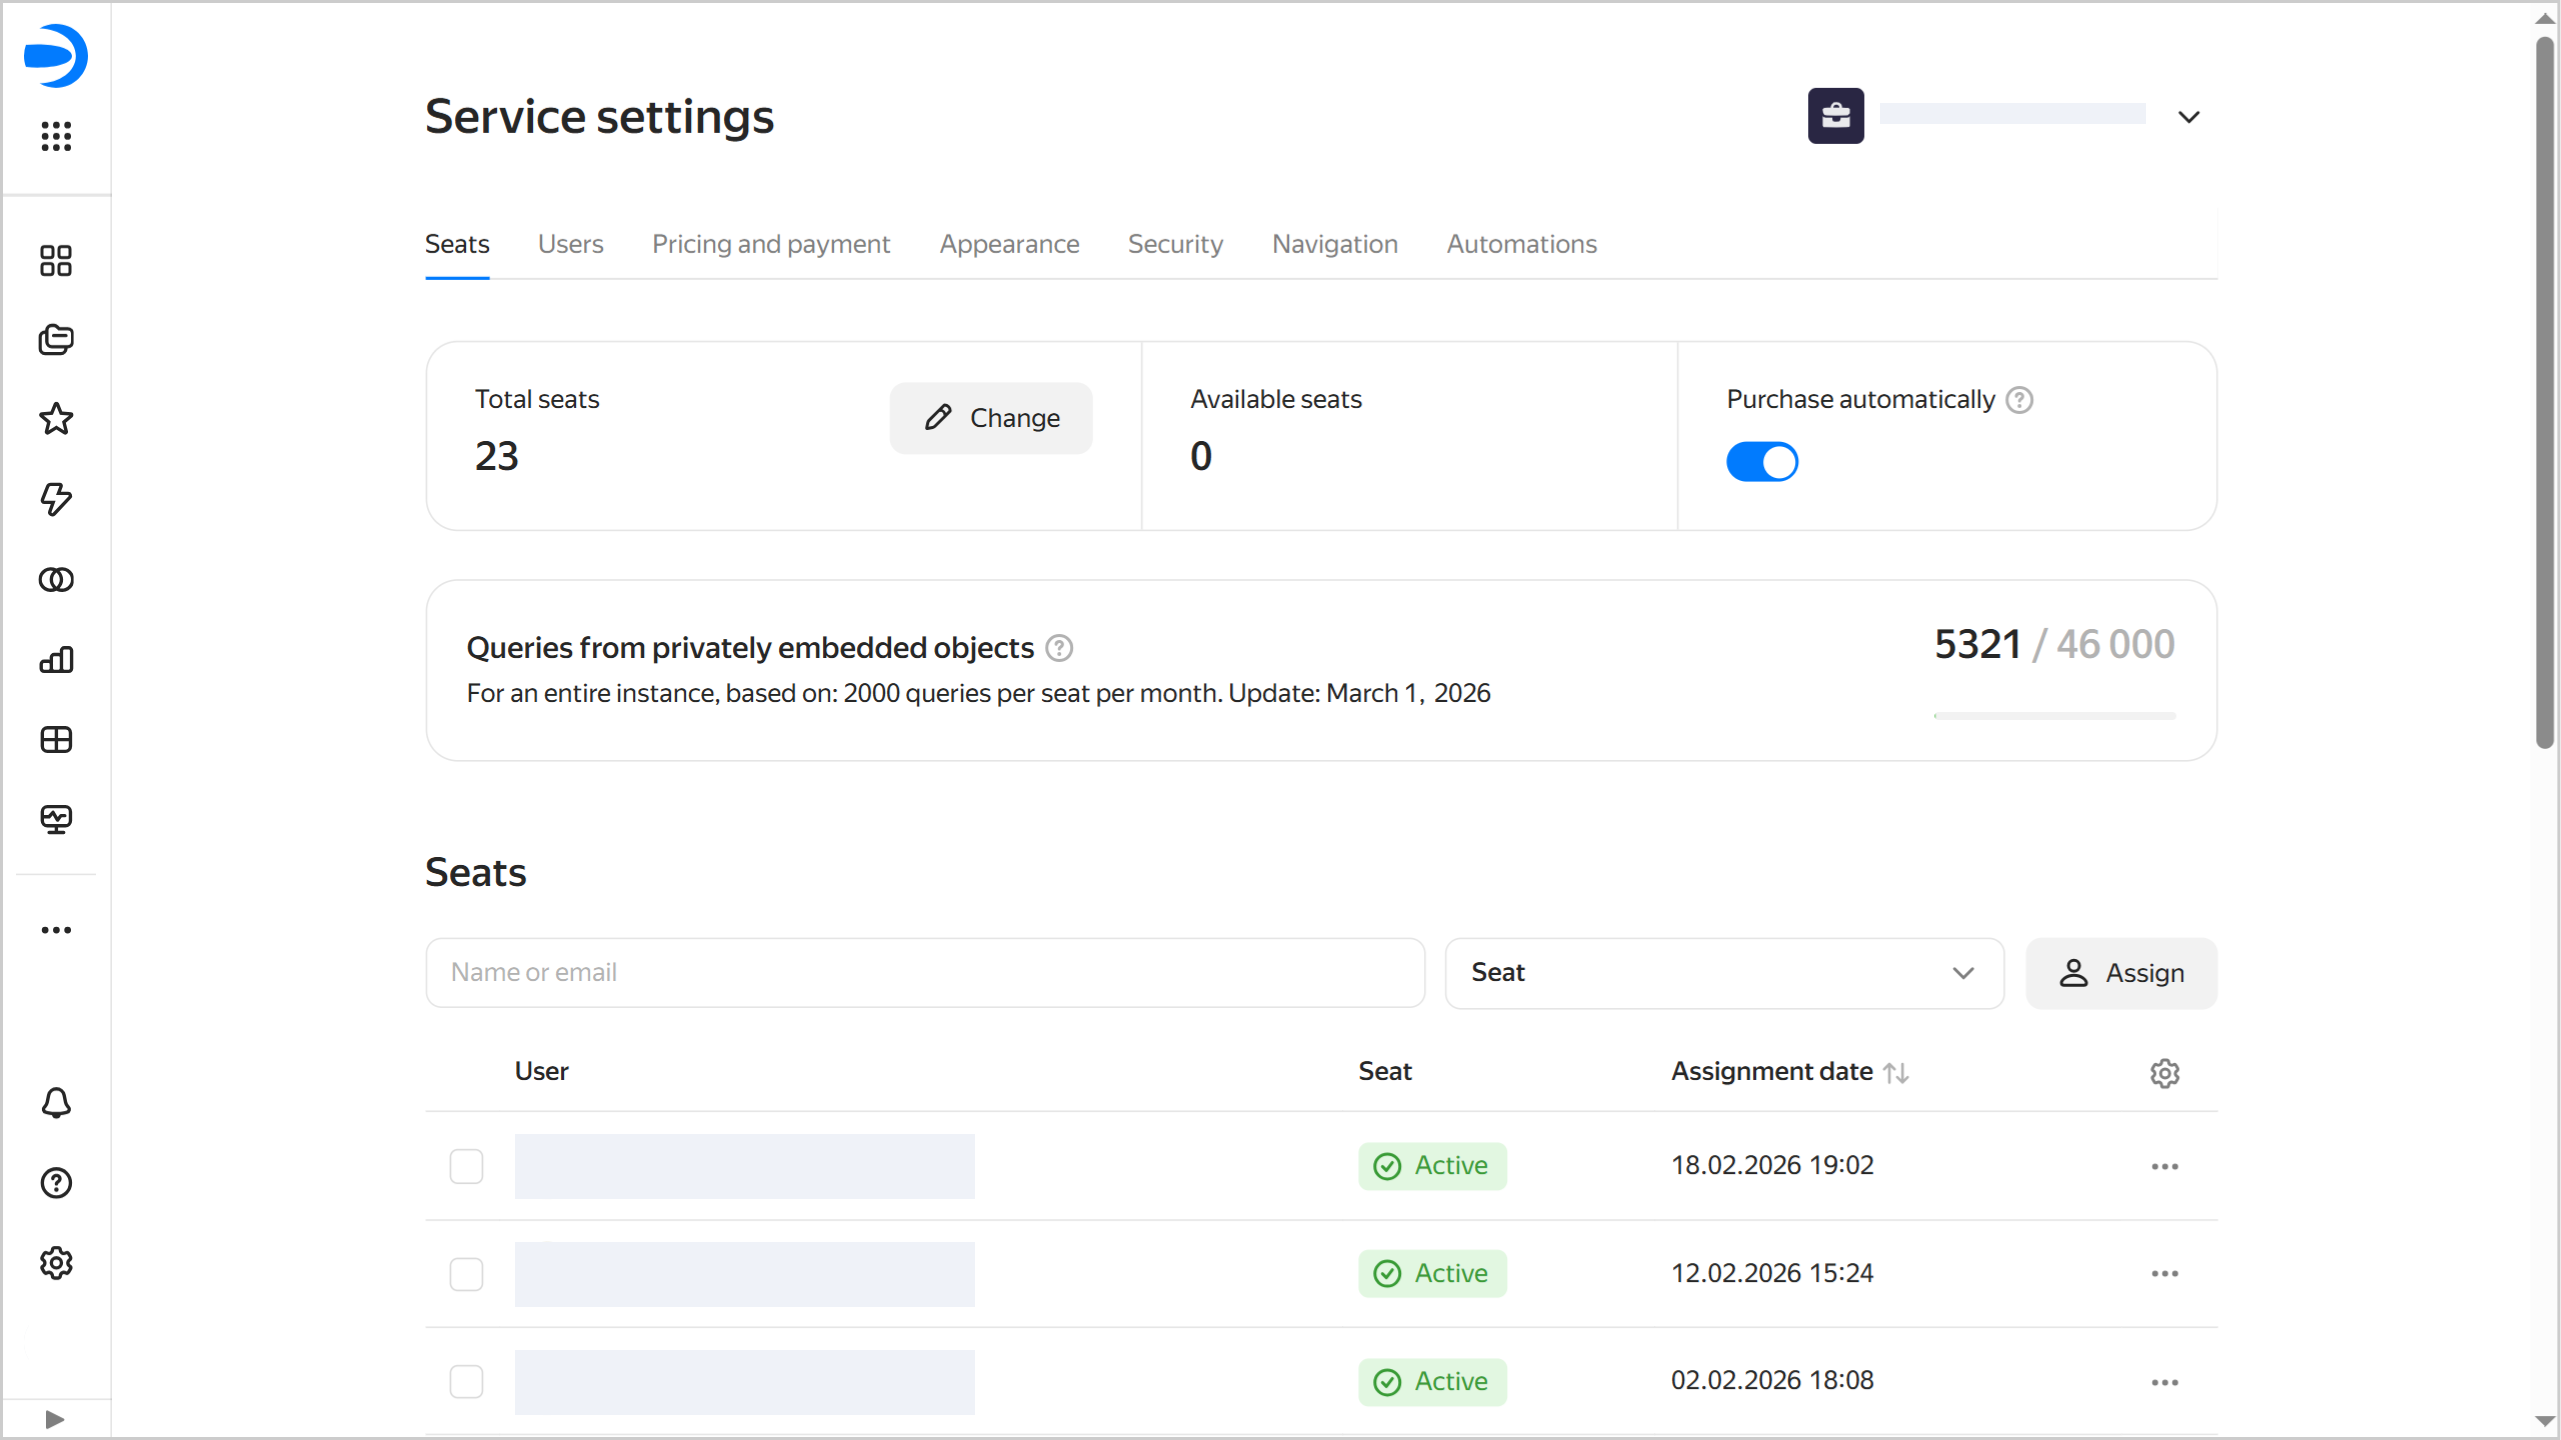
- Open the Seats tab.
On this tab, the administrator can do the following:
- Manage seat auto-purchasing.
- View the number of seats in the instance, including available ones.
- Increase or reduce the number of seats in the instance.
- View the number of queries from private embedded objects in an instance.
- View the list of users with seats.
- Reassign seats from user to user.
- Manually assign seats.
- Revoke seats from users who no longer need them.
Seat auto-purchasing
Seats are issued automatically to all users upon first login to DataLens. First, new users get seats from among the available, i.e., unassigned ones.
By default, the Purchase automatically option is enabled for seats. Therefore, if an instance has no available seats left, a seat will be automatically purchased and assigned to every new user on their login to DataLens. Automatic purchase of seats does not apply when the limit on the number of queries from private embedded objects is exceeded. In this case, additional seats are purchased manually.
The administrator can disable the automatic seat purchase option if required. In which case the administrator becomes fully responsible for purchasing and assigning seats to new users: they can either increase the number of seats in an instance (to maintain the number of available seats) or manually issue seats to new users.
Viewing and managing the number of seats
The Total seats section displays the total number of seats in an instance, and the Available seats section displays the number of seats that have been purchased but not assigned to users.
Note
- If you delete a user from the organization or revoke their seat, the number of seats does not decrease automatically. The seat revoked from the user becomes free and available for assignment to another user.
- To reduce the number of seats, change the seat count in the service settings.
To edit the number of seats:
- Under Total seats, click Edit.
- Specify the required number of seats.
- Click Continue and confirm the action.
The approaches to increasing and reducing the number of seats are different.
-
Increasing the number of seats.
Seats are purchased immediately and will be included in the current month's billing.
These seats remain available until they get assigned to new users logging in to the instance.
-
Reducing the number of seats.
When you reduce the number of seats, the change will apply on the first day of the next month. Until then, you are charged for the initial number of seats. In the seat settings, you will see a banner reminding you of the scheduled seat reduction. The banner will also have a cancel button in case you change your mind and want to cancel the reduction.
The system will select seats to remove from among the available ones, and the rest, from those assigned to users. In the user list, such seats will have this status:
Until <date_of_seat_reduction>. Their users will also see a warning in the interface. On the reduction date, the seat status will change toInactive, and the users will be unable to access the DataLens interface. The administrator can activate such seats so that the user gets a free seat or a newly purchased one, or reassign seats from other users.
Viewing the number of queries from private embedded objects
The Queries from private embedded objects section displays the total number of queries from private embedded charts over the current month for the entire DataLens instance.
The following limits apply: 2,000 queries from private embedded charts per seat per month. This limit does not apply to each individual seat, but rather to the entire DataLens instance based on the calculation:
2,000 queries x Number of seats
Only successfully completed requests for retrieving data to render charts are counted. If multiple requests are required to render a single chart, this is counted as one request. For more information, see Limiting the number of queries from private embedded charts.
You can estimate the number of queries from private embedded charts by enabling Usage Analytics.
Estimating the number of queries from private embedded charts
To estimate the number of queries from private embedded charts:
-
Create a Usage Analytics connection with the Automatically create a dashboard, charts, and dataset over the connection option enabled.
-
Open the DataLens Usage Analytics Detailed dashboard.
-
Under Users and Dashboard Views, open the Requests Count chart for editing.
-
Add a filter to display statistics only for private embedded objects. To do this, drag the
user_idfield to the Filters section and select__ANONYMOUS_USER_OF_EMBEDDED_DATALENS__. -
Add a filter to display statistics only for charts. To do this, drag the
chartkindfield to the Filters section and selectql,editor, anddatalens. -
Configure the filter to display statistics for the current or any another month. To do this, remove the
event_datefield from the Dashboard filters section and set the required date range for this field in the Filters section.The chart will display the number of queries from private embedded charts over the specified period.
-
If necessary, save the changes in the current chart or create a copy of the chart and add it to the dashboard.
Viewing the list of users with seats
The Seats list shows DataLens instance users with seats. At the top, you will find filters for quick search.
Seats can have the following statuses:
Active: Seat is assigned to a user.Inactive: Seat was removed when reducing the number of instance seats or because no billing account was added at the end of the trial period.Until <date>: Administrator has scheduled seat reduction; this seat will be removed from the instance on the specified date.None: Organization users without a seat. Theae users are not displayed in the list.
To open a seat’s settings, click . You can do the following:
- Activate seat: Only for seats with the
Inactivestatus. - Reassign seat: See here for details.
- Copy the user ID.
- Access diagnostics: For diagnostics of user access to Support Center.
- Revoke seat: See here for details.
Reassigning a seat between users
You can reassign a seat from a user with a seat to someone who does not have one. Proceed as follows:
- Find the user in the Seats list and in the row with their name, click → Reassign seat. You will see a list of organization users without a seat in DataLens.
- Select the user you want to reassign the seat to. For convenience, use the search by name or email.
- Click Confirm.
The seat will be reassigned immediately. The former user will disappear from the list of users with seats, replaced with the new user.
Manual assignment of seats
You can manually assign a seat to a user from your organization. If there are available seats, the new user will get one. Otherwise, you will have to confirm the purchase of a new seat.
To manually assign a seat to a user:
- Click Assign. You will see a list of organization users without a seat in DataLens.
- Select one or more users who need a seat. For convenience, use the search by name or email.
- Click Assign.
The users will appear in the list, and their seat status will be Active.
Revoking a seat
To revoke a seat from a user:
- Find the user in the Seats list and in the row with their name, click → Revoke seat.
- Confirm seat revocation. The user will lose access to the DataLens interface.
The revoked seat will become available: you will be able to manually assign it to a different user, or it will be automatically assigned to a new user when they log in to DataLens.