AI-powered review of GitHub pull requests with Yandex Workflows and GitHub Actions
In this tutorial, you will use Yandex AI Studio text generation capabilities to implement the scenario of automatic review of proposed code changes on GitHub.
This solution uses a GitHub Actions script to request Yandex Cloud for an AI review of changes in the pull request. The steps of pulling the changes, requesting a review from the generative model, and publishing the review to GitHub are performed by a Yandex Workflows workflow.
On the diagram:
- User adds a commit to a pull request on GitHub.
- When the new commit appears in the pull request, a GitHub Actions script is run.
- The GitHub Actions script gets the Yandex Cloud service account's authorized key stored in a GitHub repository secret.
- The GitHub Actions script requests an IAM token in exchange for the service account's authorized key in Yandex Identity and Access Management. The IAM token is required for authentication in the Yandex Serverless Integrations API.
- The GitHub Actions script uses the IAM token to send an HTTP request to the Yandex Workflows workflow to generate a review. The pull request number is at the same time provided to the Workflows workflow.
- The Workflows workflow gets the access token named
personal access token (classic)for access to the GitHub repository in a Yandex Lockbox secret. - The Workflows workflow uses the access token to pull the changes proposed in the pull request from the GitHub repository.
- The Workflows workflow requests the Yandex AI Studio model to review the changes proposed in the pull request. The model returns the review with its comments and tips on how to improve the code.
- The Workflows workflow uses the access token to publish the review in the GitHub pull request.
To set up automatic AI reviewing of GitHub pull requests:
- Create a repository on GitHub.
- Get your cloud ready.
- Create a Workflows workflow.
- Configure a GitHub Actions script.
- Test the script.
If you no longer need the resources you created, delete them.
Create a repository in GitHub
Create a new GitHub repository or use an existing one where you have permissions to view and run GitHub Actions.
Create and save a personal access token (classic) with the repo or public_repo access scope.
Get your cloud ready
Sign up for Yandex Cloud and create a billing account:
- Navigate to the management console and log in to Yandex Cloud or create a new account.
- On the Yandex Cloud Billing page, make sure you have a billing account linked and it has the
ACTIVEorTRIAL_ACTIVEstatus. If you do not have a billing account, create one and link a cloud to it.
If you have an active billing account, you can navigate to the cloud page to create or select a folder for your infrastructure.
Learn more about clouds and folders here.
Required paid resources
The infrastructure support costs for implementing a scenario for automatic AI review of pull requests include:
- Text generation fee (see Yandex AI Studio pricing).
- Fee for storing the secret and operations with it (see Yandex Lockbox pricing).
- Fee for data logging and storage in a log group if using Cloud Logging (see Yandex Cloud Logging pricing).
Create a Yandex Lockbox secret
Create a Yandex Lockbox secret to safely store the GitHub access token.
- In the management console, select the folder where you are going to create your infrastructure.
- In the list of services, select Lockbox.
- Click Create secret.
- In the Name field, enter a name for the secret:
github/pat-for-workflows. - In the Secret type field, select
Custom. - In the Key field, enter
token. - In the Value field, enter the
personal access token (classic)access token previously obtained on GitHub. - Click Create.
The action will open a window containing a table with information about the new secret. Save its ID as you will need it later to create the workflow.
If you do not have the Yandex Cloud CLI installed yet, install and initialize it.
By default, the CLI uses the folder specified when creating the profile. To change the default folder, use the yc config set folder-id <folder_ID> command. You can also set a different folder for any specific command using the --folder-name or --folder-id parameter.
Run the command by specifying the personal access token (classic) token you got earlier on GitHub.
yc lockbox secret create \
  --name github/pat-for-workflows \
  --payload '[{"key":"token","textValue":"<access_token>"}]'
Result:
done (1s)
id: e6q034pgt99k********
folder_id: b1gt6g8ht345********
created_at: "2025-08-20T15:39:05.873Z"
name: github/pat-for-workflows
status: ACTIVE
current_version:
  id: e6quqngm8om0********
  secret_id: e6q034pgt99k********
  created_at: "2025-08-20T15:39:05.873Z"
  status: ACTIVE
  payload_entry_keys:
    - token
Save the new secret's ID (the secret_id field value) as you will need it later to create the workflow.
Use the create REST API method for the Secret resource or the SecretService/Create gRPC API call.
Create service accounts
Create two service accounts:
workflow-sa: This one will be used to run the Workflows workflow.github-worker: This one will be used to execute the workflow on a request from the GitHub Actions script.
-
Create a service account named
workflow-saand assign thelockbox.payloadViewerandai.languageModels.userroles to it.Management consoleCLIAPI- In the management console, select the folder where you are deploying your infrastructure.
- In the list of services, select Identity and Access Management.
- Click Create service account.
- Specify the service account name:
workflow-sa. - Click Add role and select the
lockbox.payloadViewerandai.languageModels.userroles. - Click Create.
-
To create a service account, run the following command:
yc iam service-account create \
  --name workflow-sa
Result:
done (1s)
id: aje4rh1vb737********
folder_id: b1gt6g8ht345********
created_at: "2025-08-21T13:49:54.097378917Z"
name: workflow-sa
Save the new service account's ID (the
secret_idfield value) as you will need it later to assign a role and create the workflow. -
Run this command to assign the
lockbox.payloadViewerrole to the new service account:yc resource-manager folder add-access-binding <folder_ID> \ --role lockbox.payloadViewer \ --subject serviceAccount:<service_account_ID>Where:
<folder_ID>: ID of the folder you are creating the infrastructure in.<service_account_ID>: Service account ID saved in the previous step.
Result:
done (2s) effective_deltas: - action: ADD access_binding: role_id: lockbox.payloadViewer subject: id: aje4rh1vb737******** type: serviceAccount -
Similarly, assign the
ai.languageModels.userrole to the new service account.
To create a service account, use the create REST API method for the ServiceAccount resource or the ServiceAccountService/Create gRPC API call.
To assign the service account a role for the folder, use the updateAccessBindings REST API method for the Folder resource or the FolderService/UpdateAccessBindings gRPC API call.
-
Similarly, create a service account named
github-workerand assign theserverless.workflows.executorrole to it.
Create an authorized key for the service account
Create an authorized key for the github-worker service account. An authorized key will allow the GitHub Actions script to get an IAM token for authentication in the Yandex Cloud API.
- In the management console, select the folder where you are deploying your infrastructure.
- In the list of services, select Identity and Access Management.
- In the list that opens, select
github-worker. - In the top panel, click Create new key and select
Create authorized key. - Click Create.
- In the window that opens, click Download file with keys and then click Close.
The action will download to your computer a file named authorized_key.json containing the authorized key. Save it as you will need it later to configure GitHub Actions.
Run this command:
yc iam key create \
  --service-account-name github-worker \
  -o authorized_key.json
The action will create on your computer a file named authorized_key.json containing the authorized key. Save it as you will need it later to configure GitHub Actions.
Use the create REST API method for the Key resource or the KeyService/Create gRPC API call.
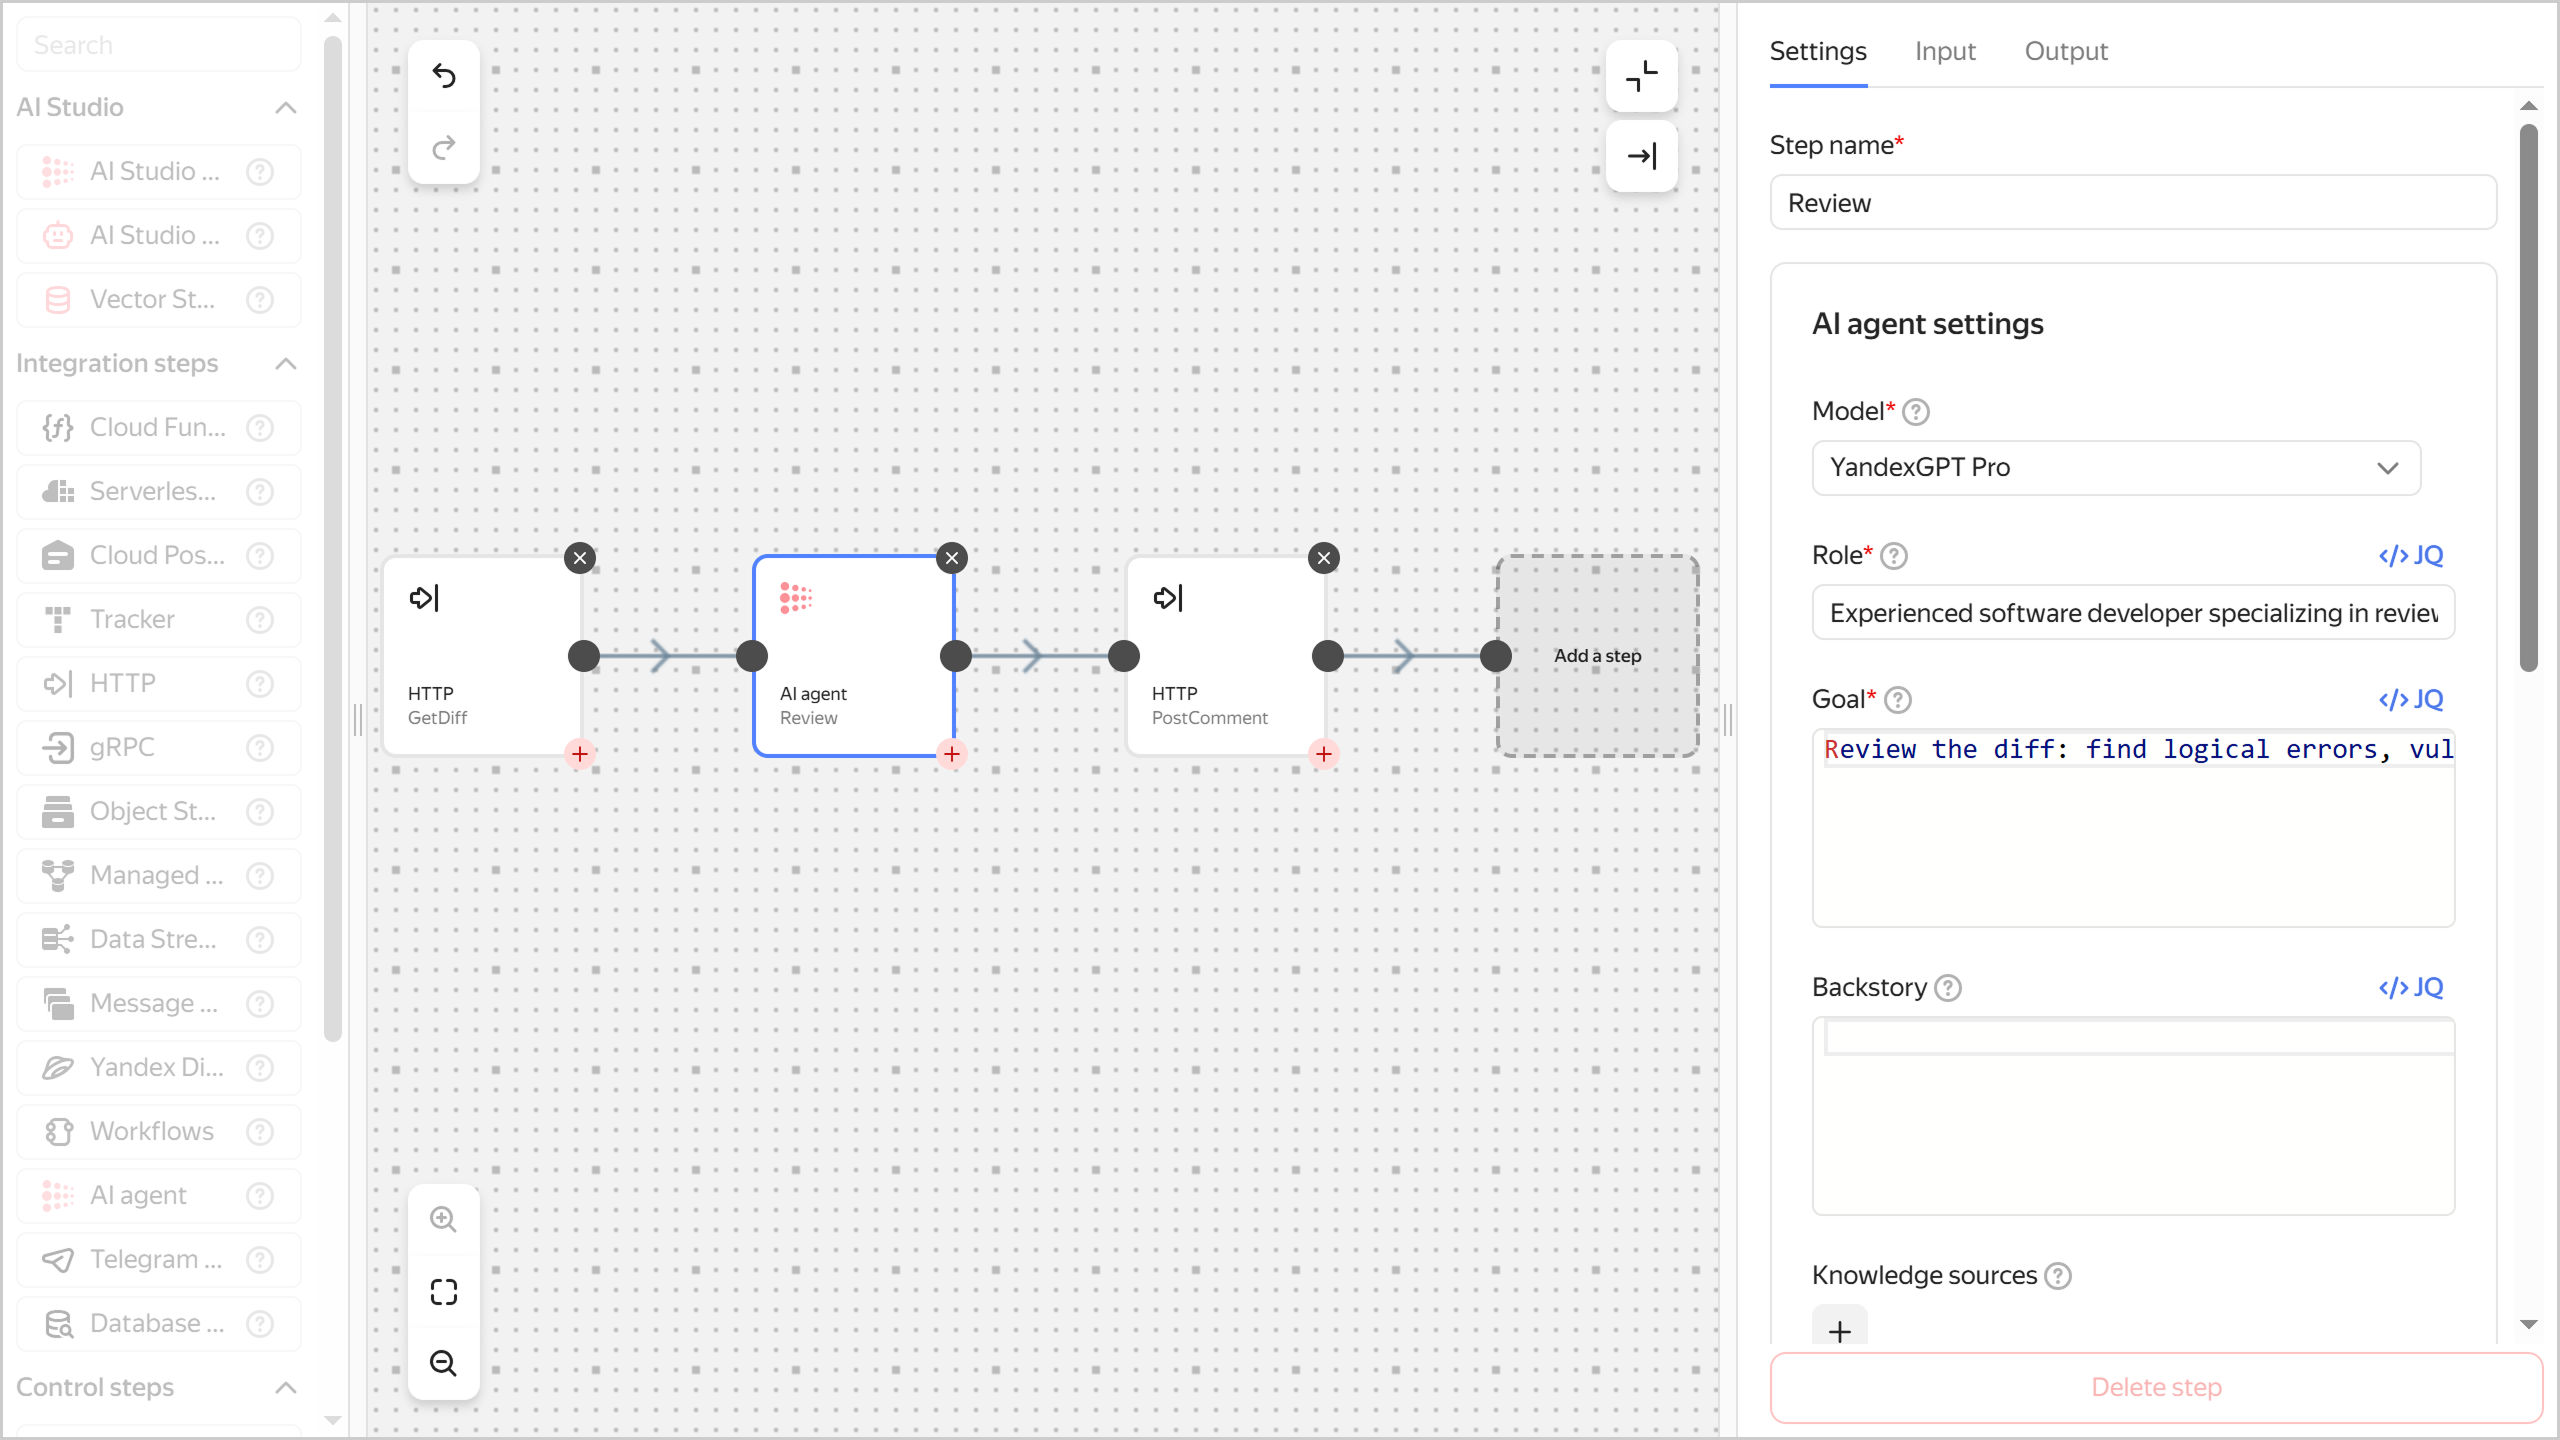
Create a Workflows workflow
Create a Workflows workflow on the Yandex Cloud side.
Tip
This guide describes how to create a workflow using the YaWL specification; however, you can also create and edit workflows using the constructor.
-
Create a file named
yawl-spec.yamlwith the following YaWL specification of the workflow:yawl-spec.yaml
yawl: '0.1'
start: GetDiff
steps:
  GetDiff:
    httpCall:
      url: >-
        https://api.github.com/repos/<organization_name_on_GitHub>/<repository_name>/pulls/\(.input)
      method: GET
      headers:
        Accept: application/vnd.github.v3.diff
        Authorization: Bearer \(lockboxPayload("<secret_ID>"; "token"))
      output: '\({diff: .})'
      next: Review
      catch: []
  Review:
    aiAgent:
      agentConfig:
        role: >-
          Experienced software developer specializing in reviewing
          changes in repositories in the project’s language(s).
        goal: >-
          Review the diff: find logical errors, vulnerabilities, style
          issues, suggest improvements and tests.
        model:
          # You can select 'yandexgpt' or another model
          name: <model_name>
      tasks:
        - result: >-
            Text with comments for publication on GitHub. Structure:

            1) Logical errors
            2) Potential security issues
            3) Code style and minor comments
            4) Suggestions for testing and refactoring
          description: 'Review these changes: \(.diff)'
      output: '\({review: .Result})'
      next: PostComment
  PostComment:
    httpCall:
      # POST comment on issues (pull request comments go through the issues API)
      url: >-
        https://api.github.com/repos/<organization_name_on_GitHub>/<repository_name>/issues/\(.input)/comments
      method: POST
      body: |-
        \({
          body: .review
        })
      headers:
        Authorization: Bearer \(lockboxPayload("<secret_ID>"; "token"))
        X-GitHub-Api-Version: '2022-11-28'
Where:
<organization_name_on_GitHub>: Name of user or organization owning the GitHub repository.<repository_name>: GitHub repository name.<secret_ID>: Yandex Lockbox secret ID you saved earlier.<model_name>: Name of the Yandex AI Studio text generation model, e.g.,qwen3-235b-a22b-fp8.
-
Create a workflow:
Management consoleCLIAPI- In the management console, go to the folder you want to create an infrastructure in.
- In the list of services, select Serverless Integrations.
- In the left-hand panel, click Workflows.
- In the top-right corner, click Create workflow.
- Choose the
YaML specificationmethod. - In the code editor, paste the contents of the
yawl-spec.yamlfile you created earlier. - Expand Additional parameters.
- In the Name field, enter the workflow name, e.g.,
github-ai-review-workflow. - In the Service account field, select the previously created service account named
workflow-sa. - Optionally, configure logging for workflow runs.
- Click Create.
The action will open a window containing a table with information about the new workflow. Save its ID as you will need it later to configure the GitHub Actions script.
Run this command:
yc serverless workflow create \
  --yaml-spec <specification_file_path> \
  --name <workflow_name> \
  --service-account-id <service_account_ID> \
  --no-logging
Where:
--yaml-spec: Path to the previously created YaWL specification file, e.g.,./yawl-spec.yaml.--name: Name of the new workflow, e.g.,github-ai-review-workflow.--service-account-id: ID of theworkflow-saservice account you saved earlier.--no-logging: Parameter that disables logging of workflow runs. This is an optional parameter. If the parameter is not specified, workflow runs are logged to the default log group of the folder the workflow was created in.
Result:
done (4s)
id: dfq58scovpo5********
folder_id: b1gt6g8ht345********
specification:
  spec_yaml: |-
  ...
created_at: "2025-08-21T19:09:18.299850Z"
name: github-ai-review-workflow
status: ACTIVE
log_options:
  disabled: true
service_account_id: ajerhj18qmdd********
Save the new workflow's ID (the
idfield value) as you will need it later to configure the GitHub Actions script.To create a workflow, use the Create REST API method for the Workflows resource or the WorkflowService/Create gRPC API call.
Configure a GitHub Actions script
-
In the GitHub interface, create a repository secret named
YC_SA_JSON_CREDENTIALSand copy the content of the previously obtained authorized key file into it. -
Clone your repository if you have not done so already:
git clone <repository_URL> -
In the local copy of your repository, create a directory named
.github/workflows/(if it is not there yet) and create in it a file namedai-review.yml. -
Paste the following code into
ai-review.ymlwith the previously saved ID of the Workflows workflow in theworkflowIdfield:name: Pull Request Automated Checks on: pull_request: branches: - main jobs: neuro-review: runs-on: ubuntu-latest steps: - name: Get IAM Token (Yandex) id: issue-iam-token uses: yc-actions/yc-iam-token@v1 with: # Keep the JSON key of the SA authorized key in secrets yc-sa-json-credentials: ${{ secrets.YC_SA_JSON_CREDENTIALS }} - name: Start Review Workflow uses: fjogeleit/http-request-action@v1 with: url: 'https://serverless-workflows.api.cloud.yandex.net/workflows/v1/execution/start' method: 'POST' bearerToken: "${{ steps.issue-iam-token.outputs.token }}" data: | { "workflowId": "<workflow_ID>", "input": { "inputJson": "${{ github.event.pull_request.number }}" } } -
Save the file and submit the changes to the remote repository:
git add . && git commit -m "Added ai-review.yml" && git push
Test the script
To test the script, create a new pull request in your GitHub repository. When creating a pull request and on each subsequent commit to the pull request, the GitHub Actions script will be executed to initiate a review of proposed changes on the Yandex Cloud side and publish that review in the pull request.
Delete the resources you created
To stop paying for the resources you created: