Geocoding with the Yandex Maps API for data visualization in DataLens
In this tutorial, you will learn how to convert addresses to geo-coordinates using the Geocoder API and visualize data in DataLens. Data is processed using Python scripts in Jupyter Notebooks in Yandex DataSphere.
We will use data from a ClickHouse® demo database as the data source.
- Get your cloud ready.
- Get the Geocoder API key.
- Convert your data in DataSphere.
- Create a connection to the file in DataLens.
- Create a dataset based on the connection.
- Create a chart.
If you no longer need the resources you created, delete them.
Getting started
Before getting started, register in Yandex Cloud, set up a community, and link your billing account to it.
- On the DataSphere home page, click Try for free and select an account to log in with: Yandex ID or your working account with the identity federation (SSO).
- Select the Yandex Identity Hub organization you are going to use in Yandex Cloud.
- Create a community.
- Link your billing account to the DataSphere community you are going to work in. Make sure you have a linked billing account and its status is
ACTIVEorTRIAL_ACTIVE. If you do not have a billing account yet, create one in the DataSphere interface.
Tip
To use Yandex DataLens and Yandex DataSphere within the Yandex Cloud network, create their instances in the same organization.
Required paid resources
The infrastructure deployment cost includes a fee for using DataSphere computing resources.
Get the Geocoder API key
Get a key required to use the Geocoder API:
-
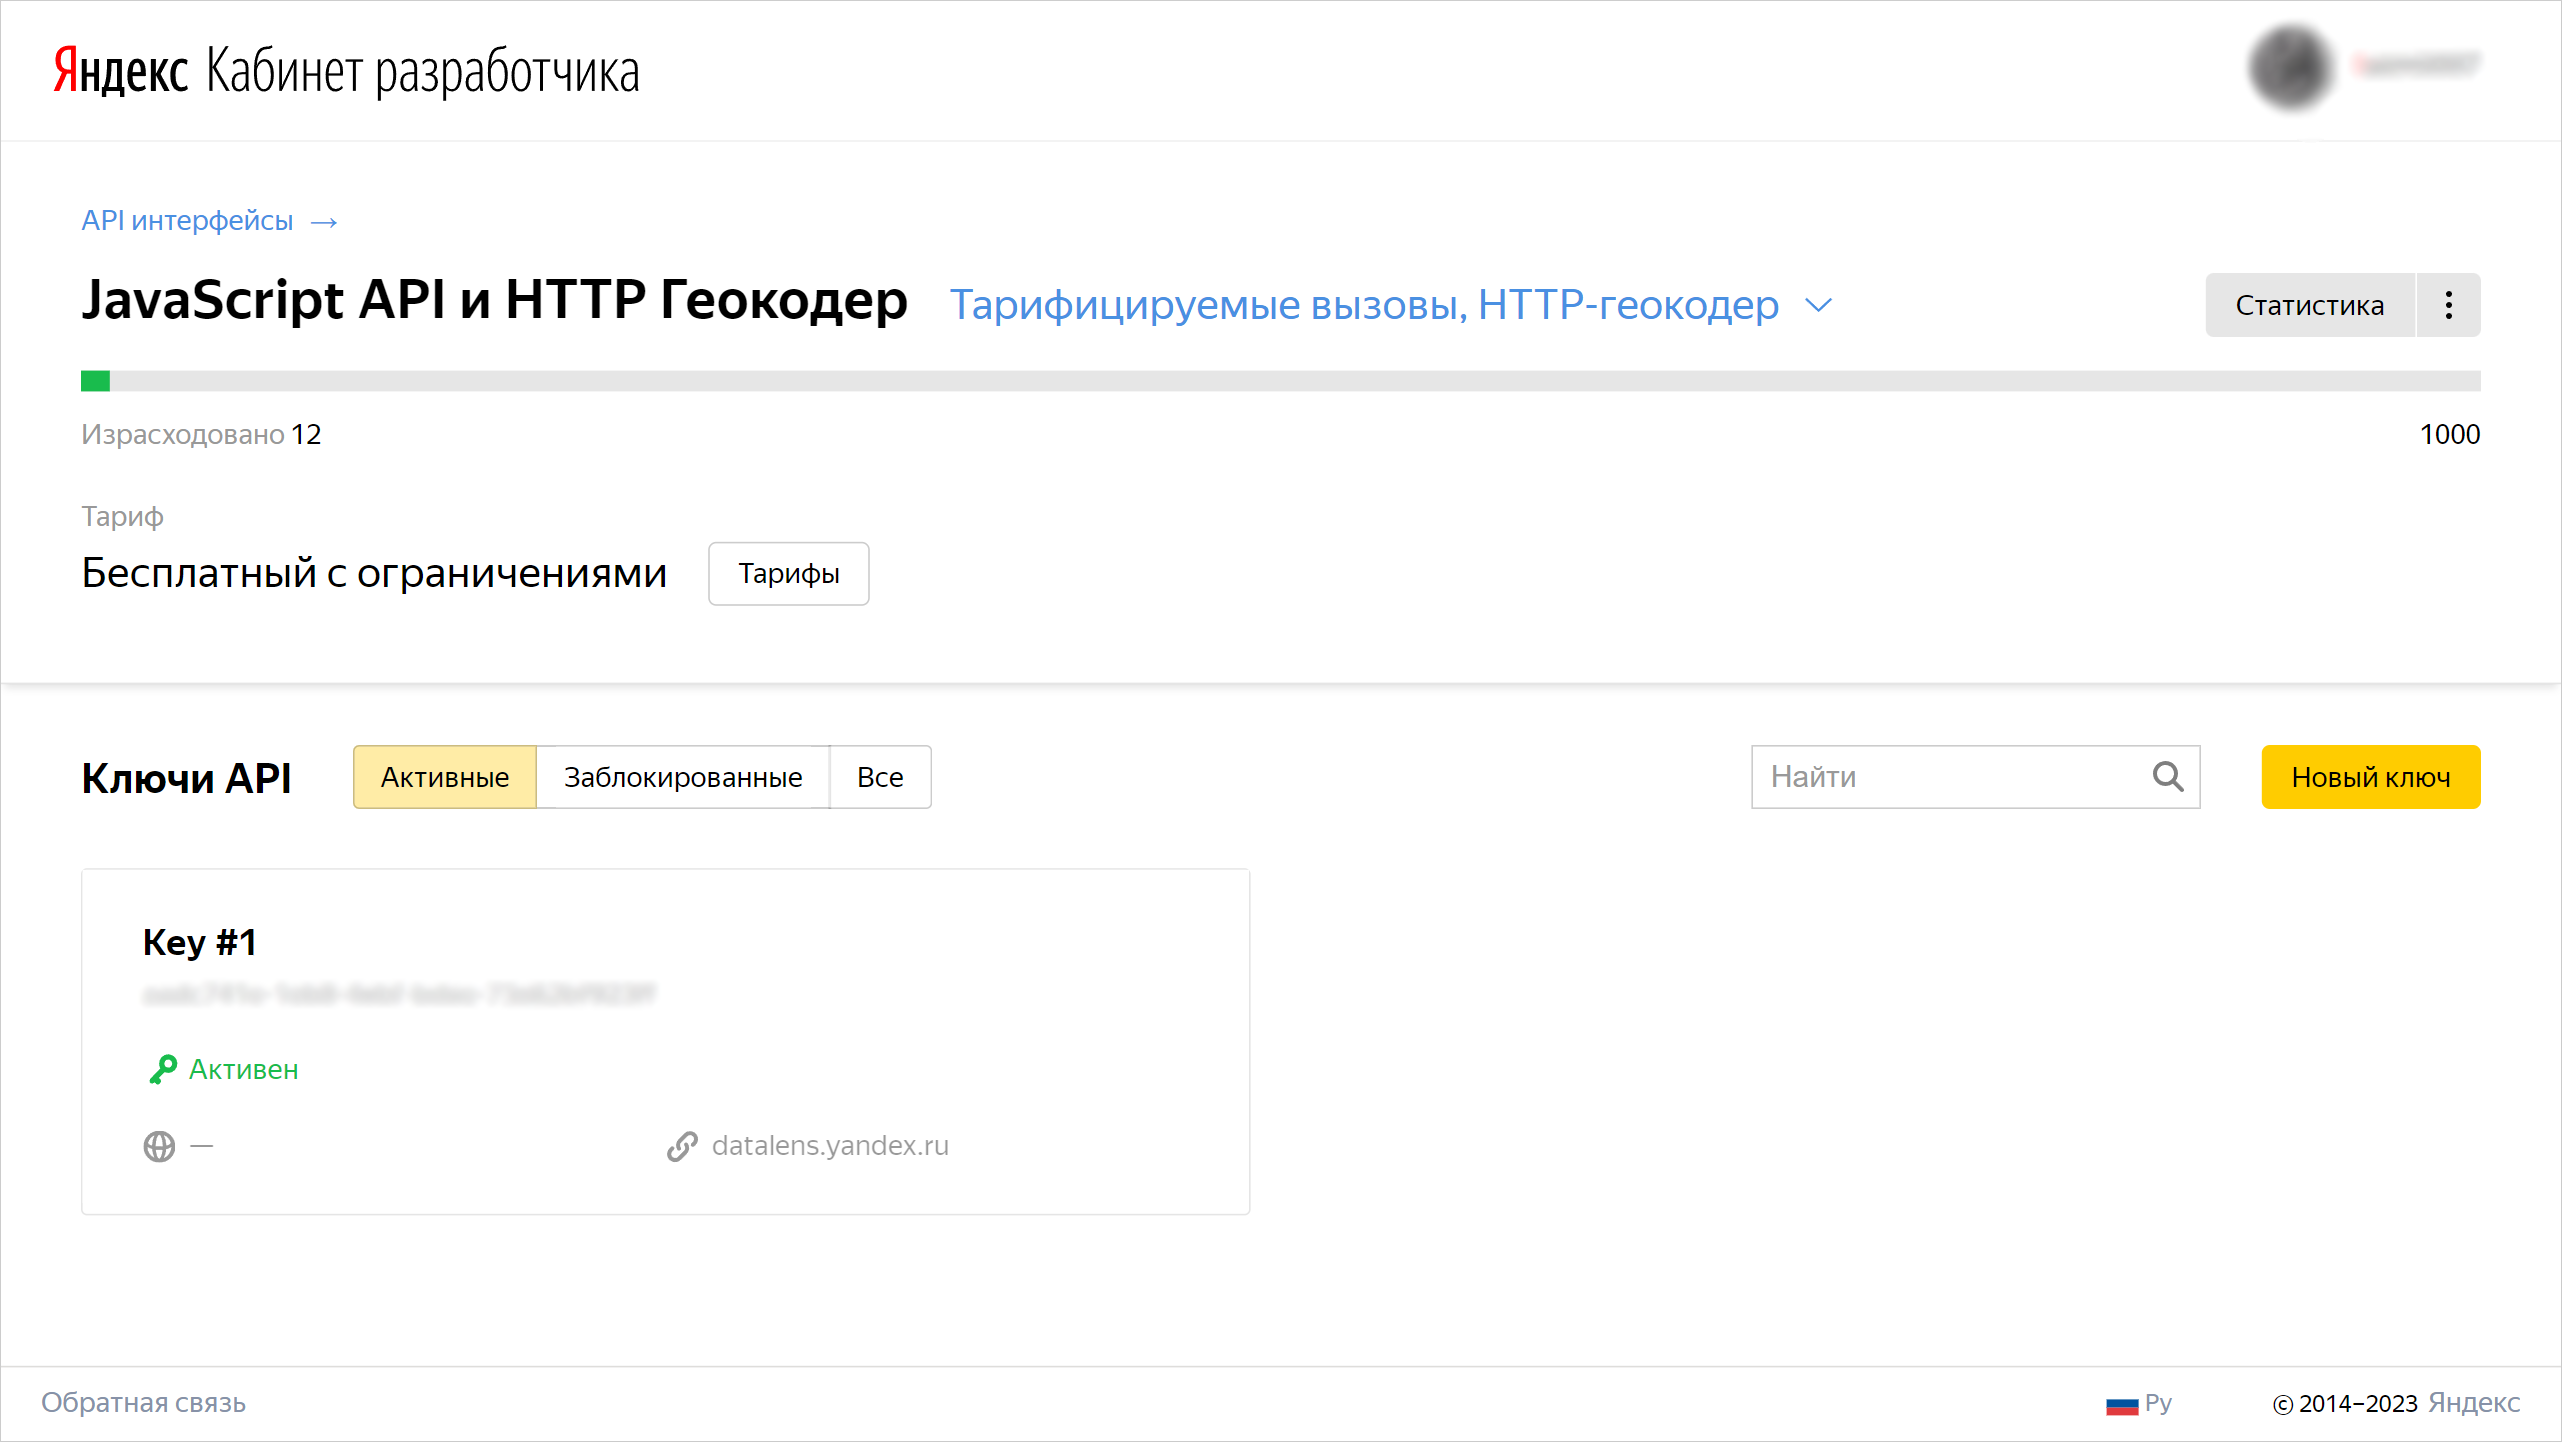
Go to the Developer dashboard and click Connect APIs.
-
In the window that opens, select JavaScript API and Geocoder HTTP API and click Continue.
-
Fill out the form and click Continue.
-
In the window that opens, click Go to API.
-
Under API keys, copy the value of the key.
Convert your data in DataSphere
Create a project
- Open the DataSphere home page.
- In the left-hand panel, select Communities.
- Select the community where you want to create a project.
- On the community page, click Create project.
- In the window that opens, enter a name for the project. You can also add a description as needed.
- Click Create.
Create a secret
Create a secret to store the Geocoder API key:
- Under Project resources on the project page, click Secret.
- Click Create.
- In the Name field, enter the name for the secret:
API_KEY. - In the Value field, enter the key value.
- Click Create. You will see a page with detailed info on the secret you created.
Create a notebook
-
Select the project in your community or on the DataSphere home page in the Recent projects tab.
-
Click Open project in JupyterLab and wait for the loading to complete.
-
In the top panel of the project window, click File and select New → Notebook.
-
Select DataSphere Kernel and click Select.
Install the dependencies
-
Paste the code given below into the notebook cell and click :
%pip install requests %pip install clickhouse-driver -
Restart the kernel by clicking Kernel → Restart Kernel in the top panel of the project window.
Install the certificates
Install the certificates into the project's local storage:
#!:bash
mkdir --parents /home/jupyter/datasphere/project/Yandex/

wget "https://storage.yandexcloud.net/cloud-certs/RootCA.pem" \
     --output-document /home/jupyter/datasphere/project/Yandex/RootCA.crt

wget "https://storage.yandexcloud.net/cloud-certs/IntermediateCA.pem" \
     --output-document /home/jupyter/datasphere/project/Yandex/IntermediateCA.crt
Upload and convert your data
-
Create a class to work with the Geocoder API:
import requests from dataclasses import dataclass @dataclass class YandexGeocoder: api_key: str geocoder_url: str = 'https://geocode-maps.yandex.ru/1.x' def adress_to_geopoint(self, address: str) -> str: # Converting an address to geo-coordinates in DataLens format response = requests.get(self.geocoder_url, params={ 'apikey': self.api_key, 'geocode': address, 'format': 'json', }) response.raise_for_status() result = response.json()['response']['GeoObjectCollection']['featureMember'] if not result: return None lat, lon = result[0]['GeoObject']['Point']['pos'].split(' ') return self._to_datalens_format(lon, lat) def _to_datalens_format(self, lon, lat): return f'[{lon},{lat}]' -
Connect to the ClickHouse® demo database:
from clickhouse_driver import Client ch_client = Client( host='rc1a-ckg8nrosr2lim5iz.mdb.yandexcloud.net', user='samples_ro', password='MsgfcjEhJk', database='samples', port=9440, secure=True, verify=True, ca_certs='/home/jupyter/datasphere/project/Yandex/RootCA.crt' ) -
Run a check using this command:
print(ch_client.execute('SELECT version()'))If the connection is successful, the terminal will display the ClickHouse® version number.
-
Export data from the table with shop addresses into the
ch_datavariable:ch_data = ch_client.execute('SELECT ShopName, ShopAddress FROM MS_Shops') ch_data -
Convert the addresses from the
ShopAddresscolumn into geo-coordinates:import os geocoder = YandexGeocoder(api_key=os.environ['API_KEY']) encoded_data = [ (name, geocoder.adress_to_geopoint(adress)) for name, adress in ch_data ] encoded_data -
Save the data to a file:
import csv
import sys

csv_writer = csv.writer(
    sys.stdout,
    delimiter=',',
    quotechar='"',
    quoting=csv.QUOTE_MINIMAL,
)

filename = 'encoded_data.csv'

with open(filename, 'w') as f:
    csv_writer = csv.writer(
        f,
        delimiter=',',
        quotechar='"',
    )
    csv_writer.writerows(encoded_data)
You will see the
encoded_data.csvfile in the left-hand panel.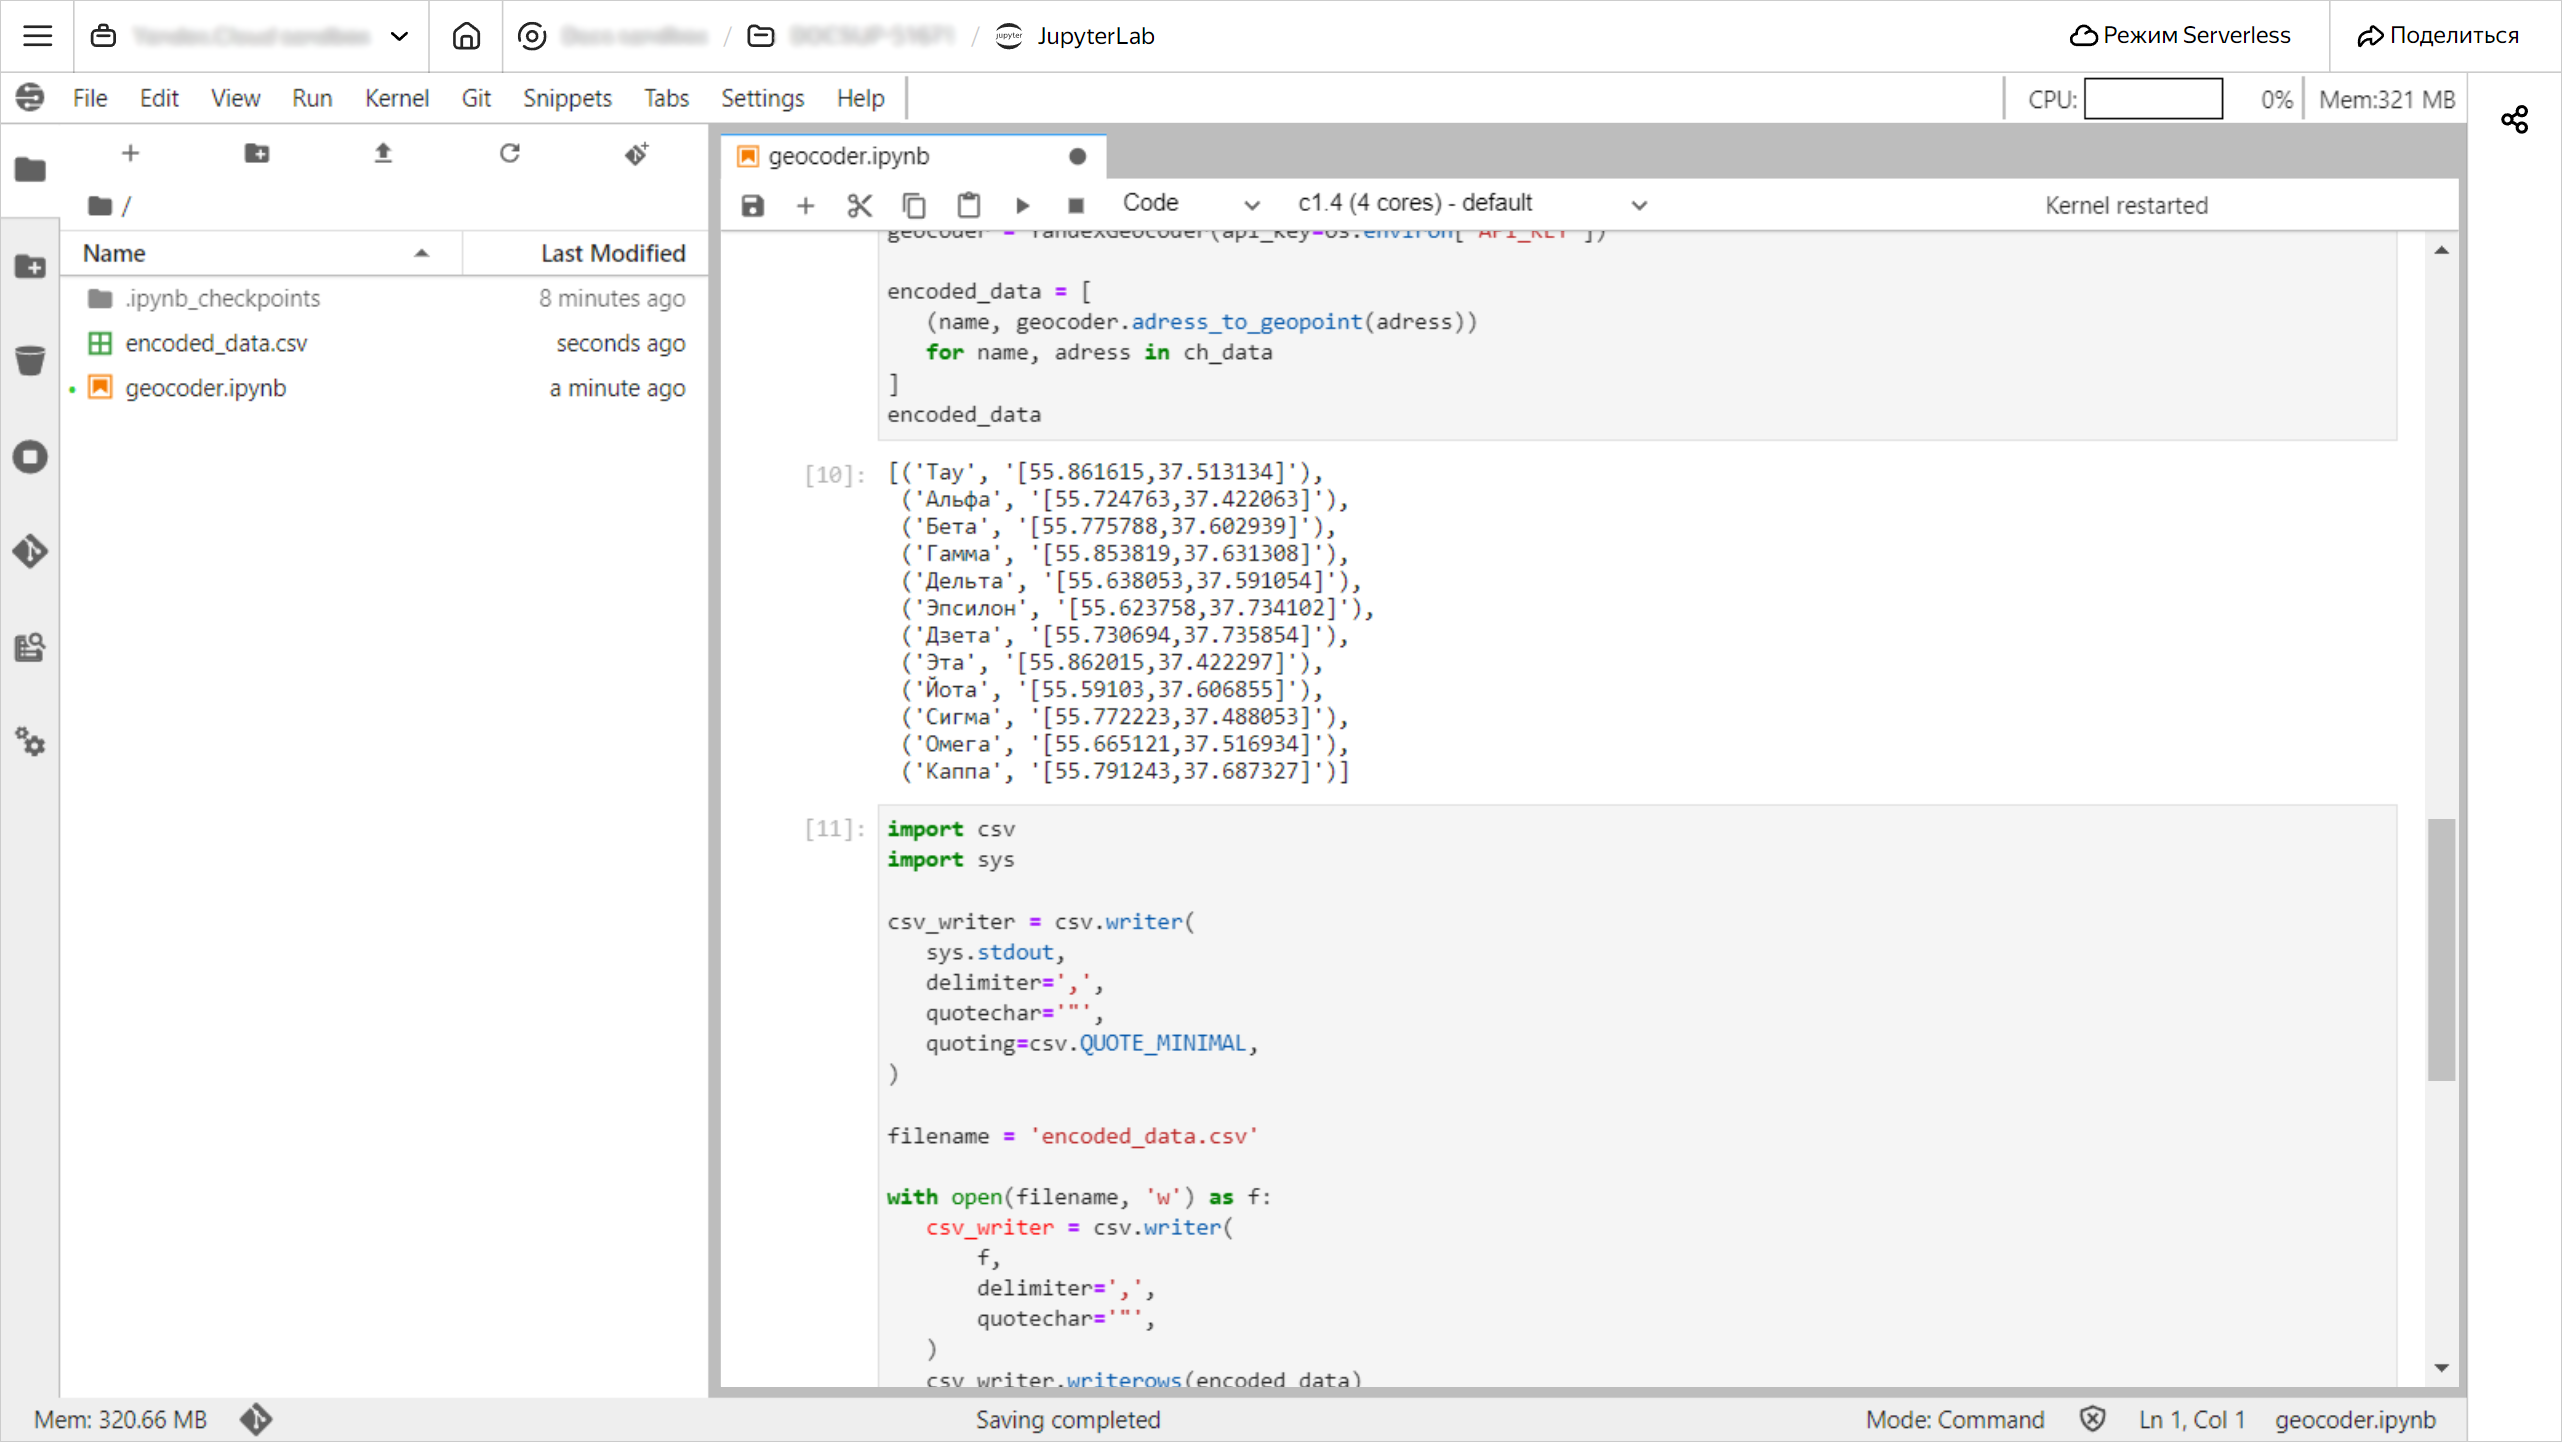
-
Download the file: right-click it and select
Download.
Create a connection to the file in DataLens
-
Go to the DataLens home page.
-
In the left-hand panel, select Connections and click Create connection.
-
Under Files and services, select the Files connection.
-
Click Upload files and specify the
encoded_data.csvfile.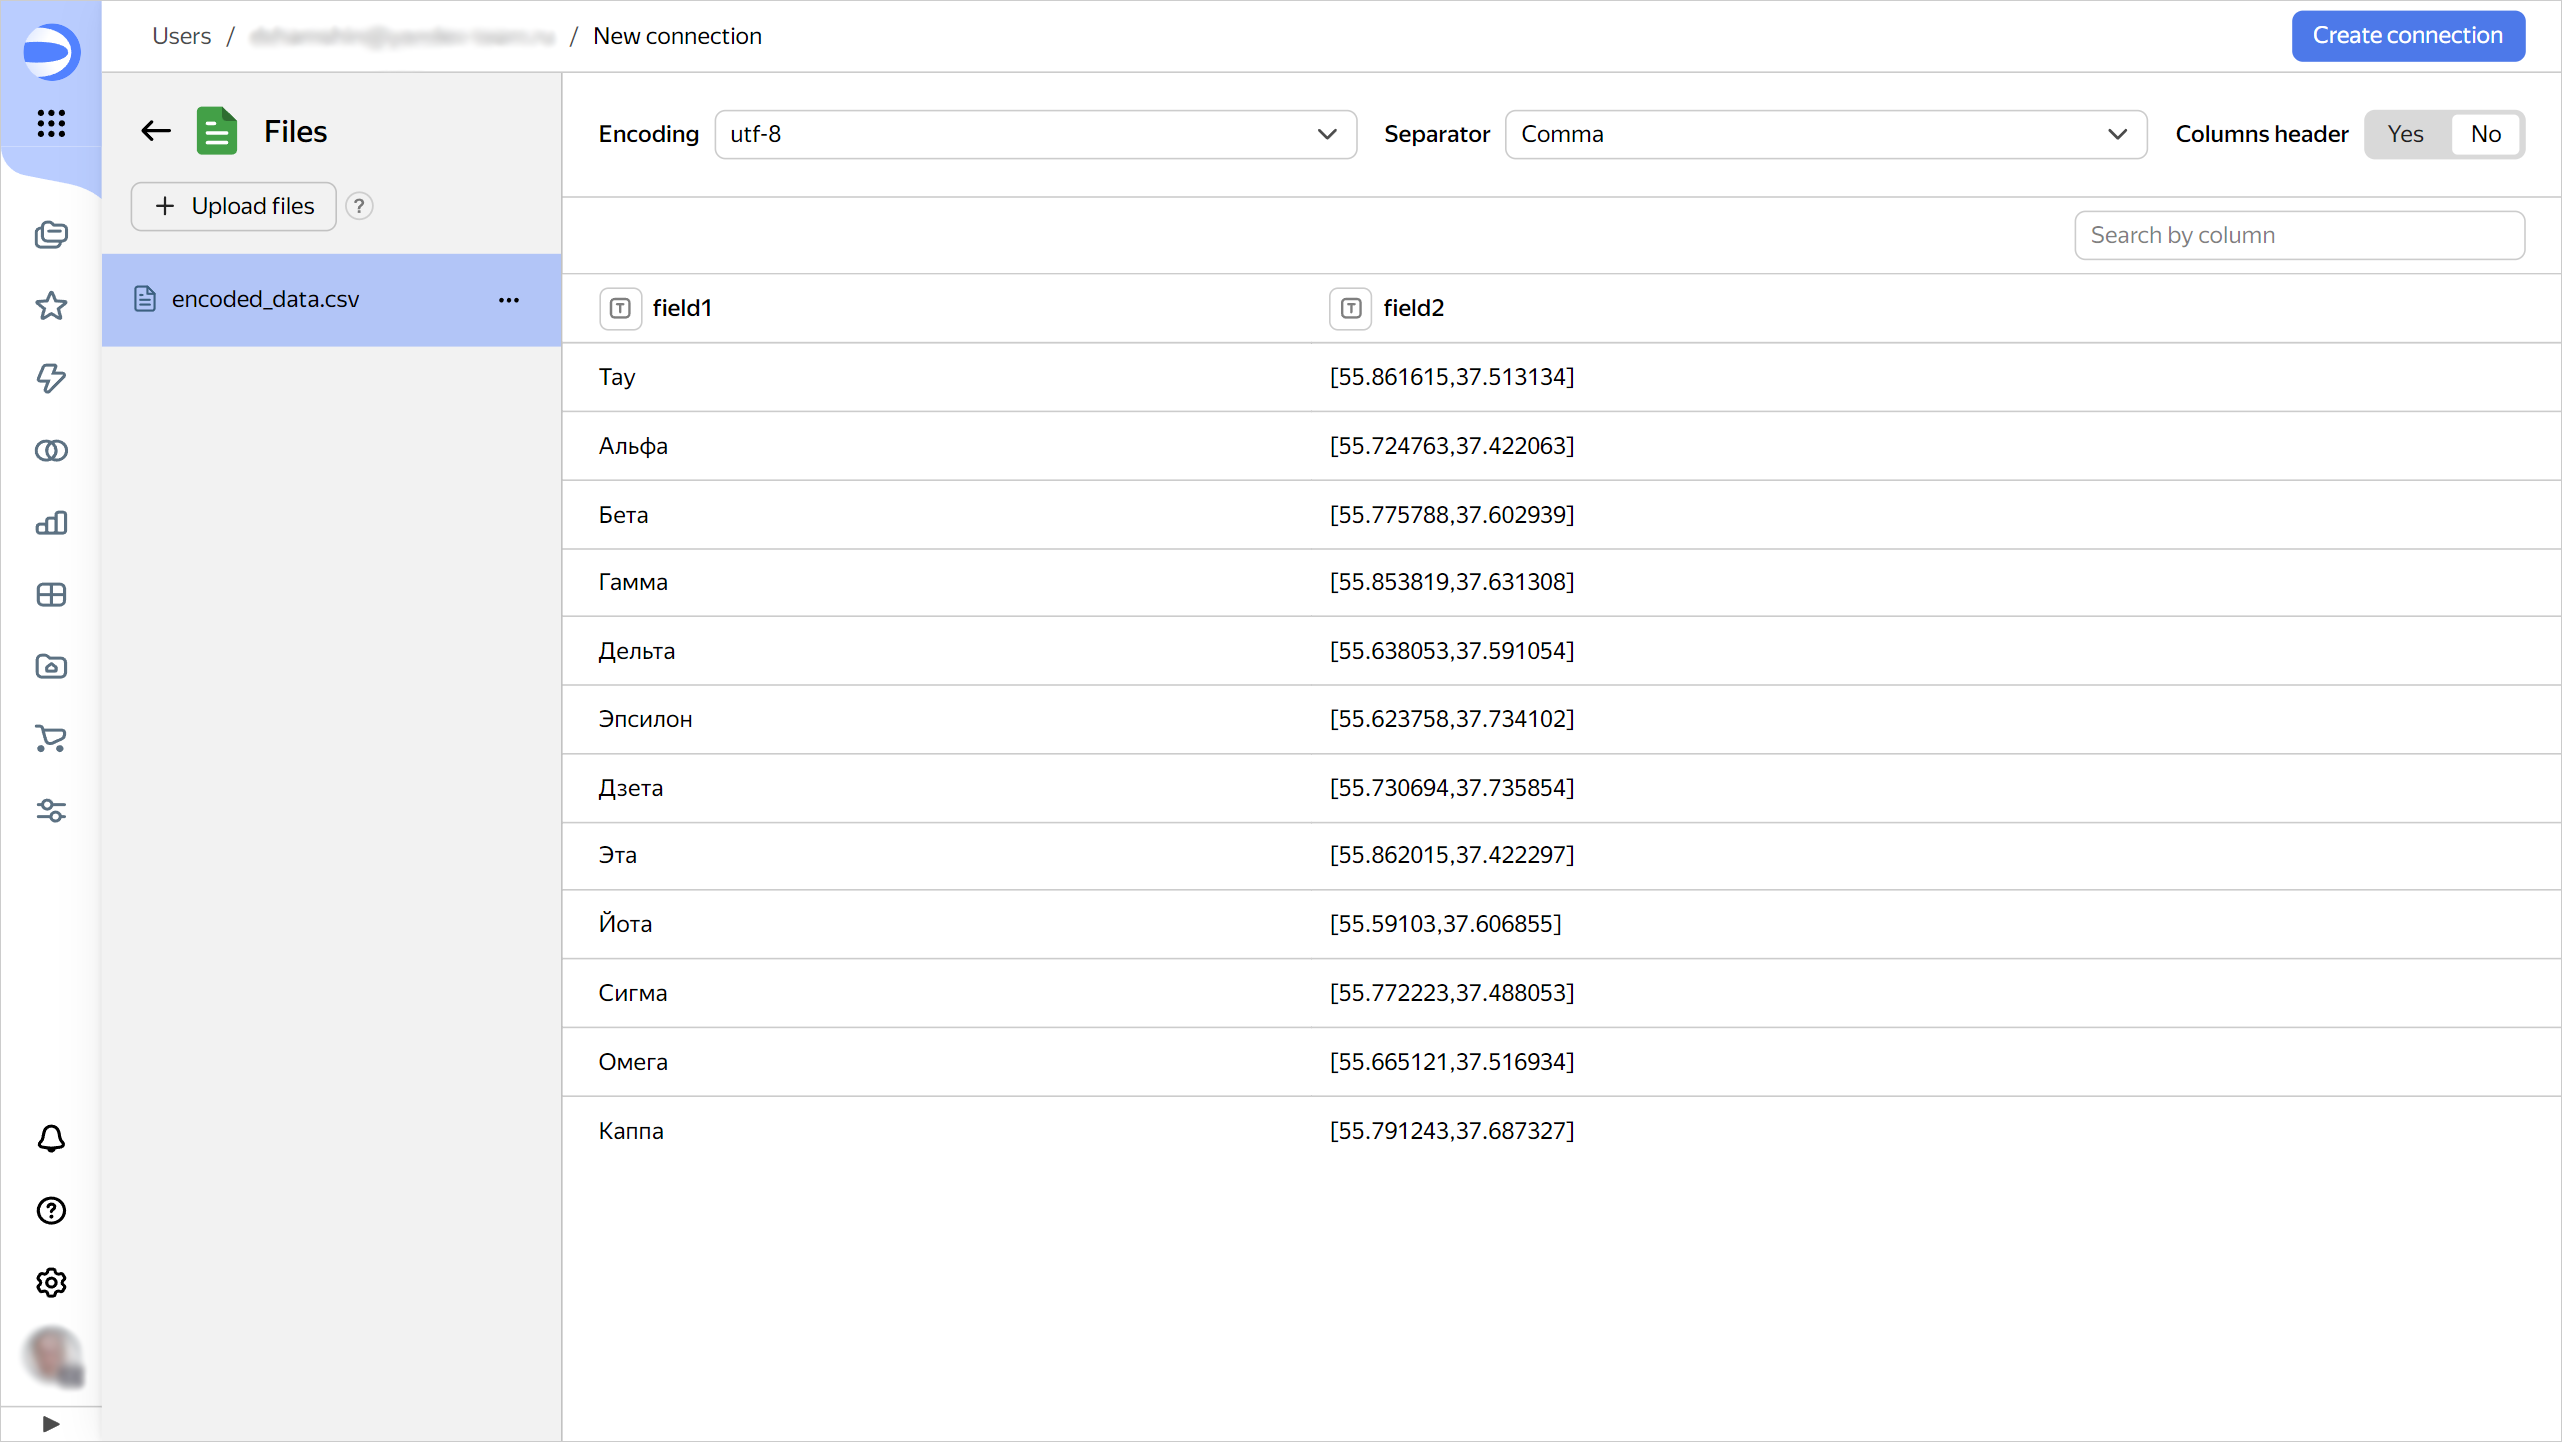
-
In the top-right corner, click Create connection.
-
Enter
geocoder_csvfor the connection name and click Create.
Create a dataset based on the connection
-
In the top-right corner, click Create dataset.
-
Navigate to the Fields tab.
-
Rename the fields as follows:
field1toShop namefield2toCoordinates
-
For the
Coordinatesfield, change the data type to Geopoint.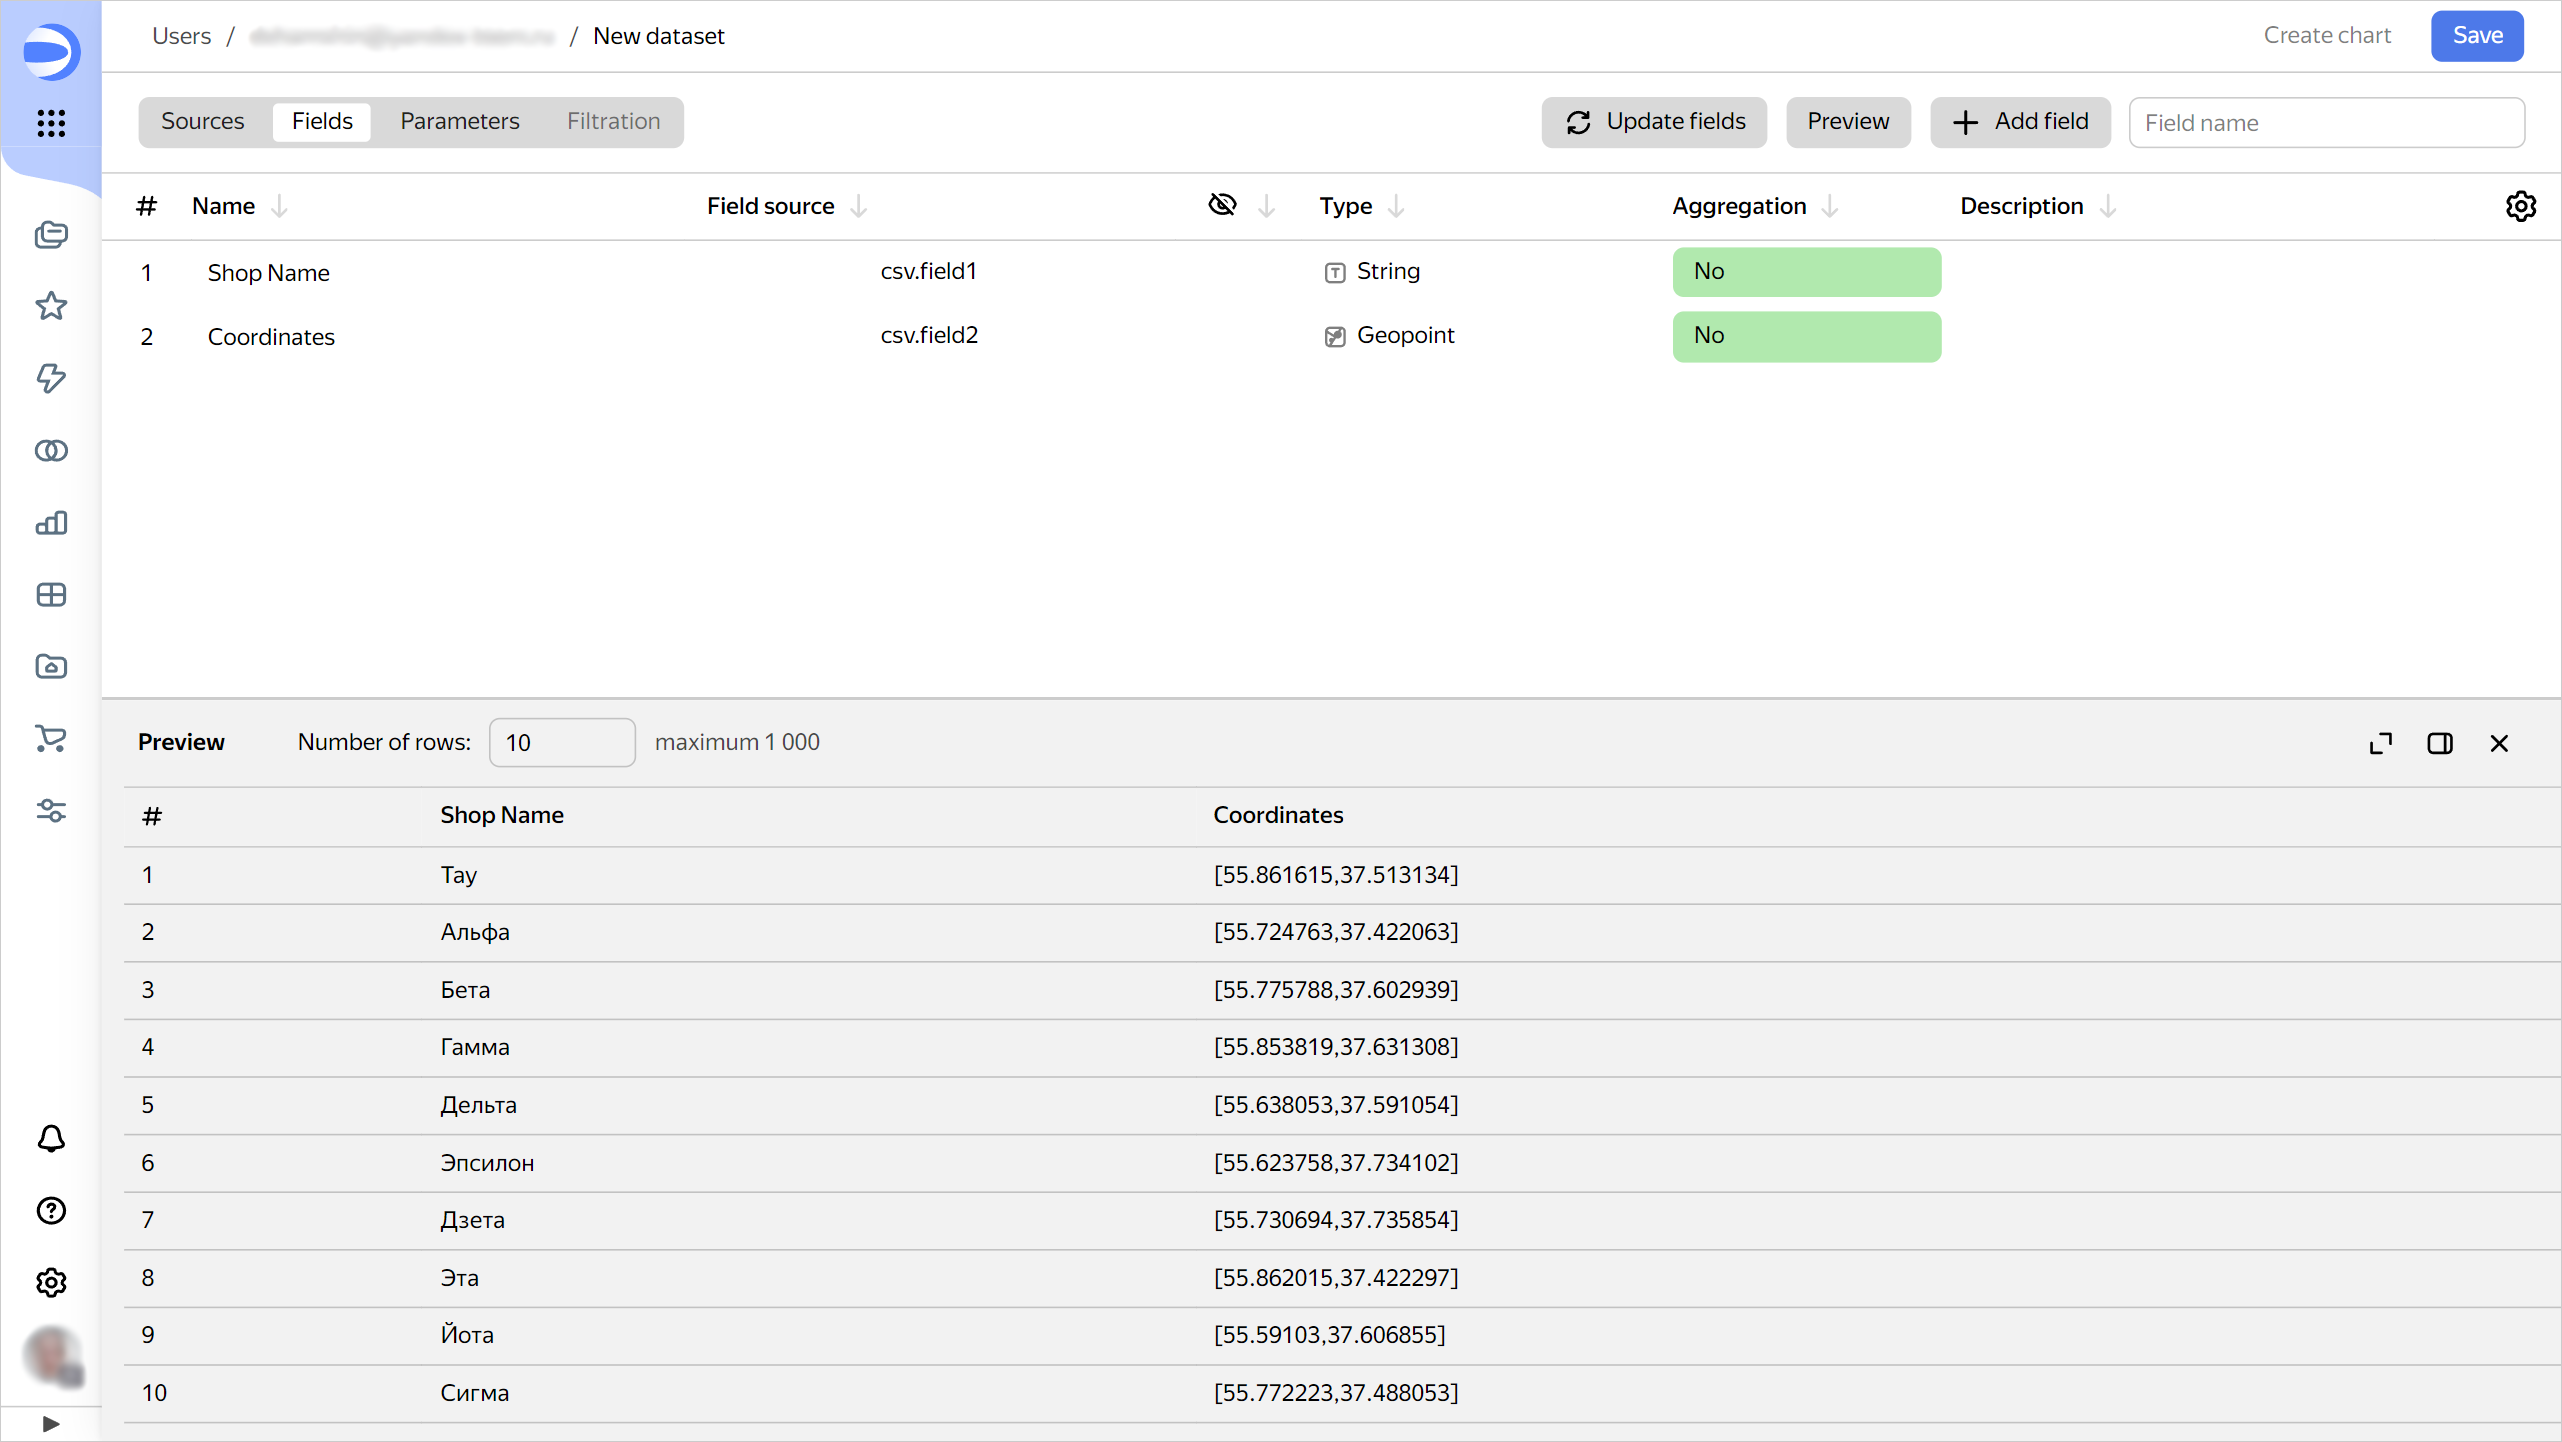
-
In the top-right corner, click Save.
-
Enter
geocoder_datafor the dataset name and click Create.
Create a chart
-
In the top-right corner, click Create chart.
-
Select the Map visualization type.
-
Drag the
Coordinatesfield to the Points (Geopoints) section. -
Drag the
Shop namefield to the Tooltips section.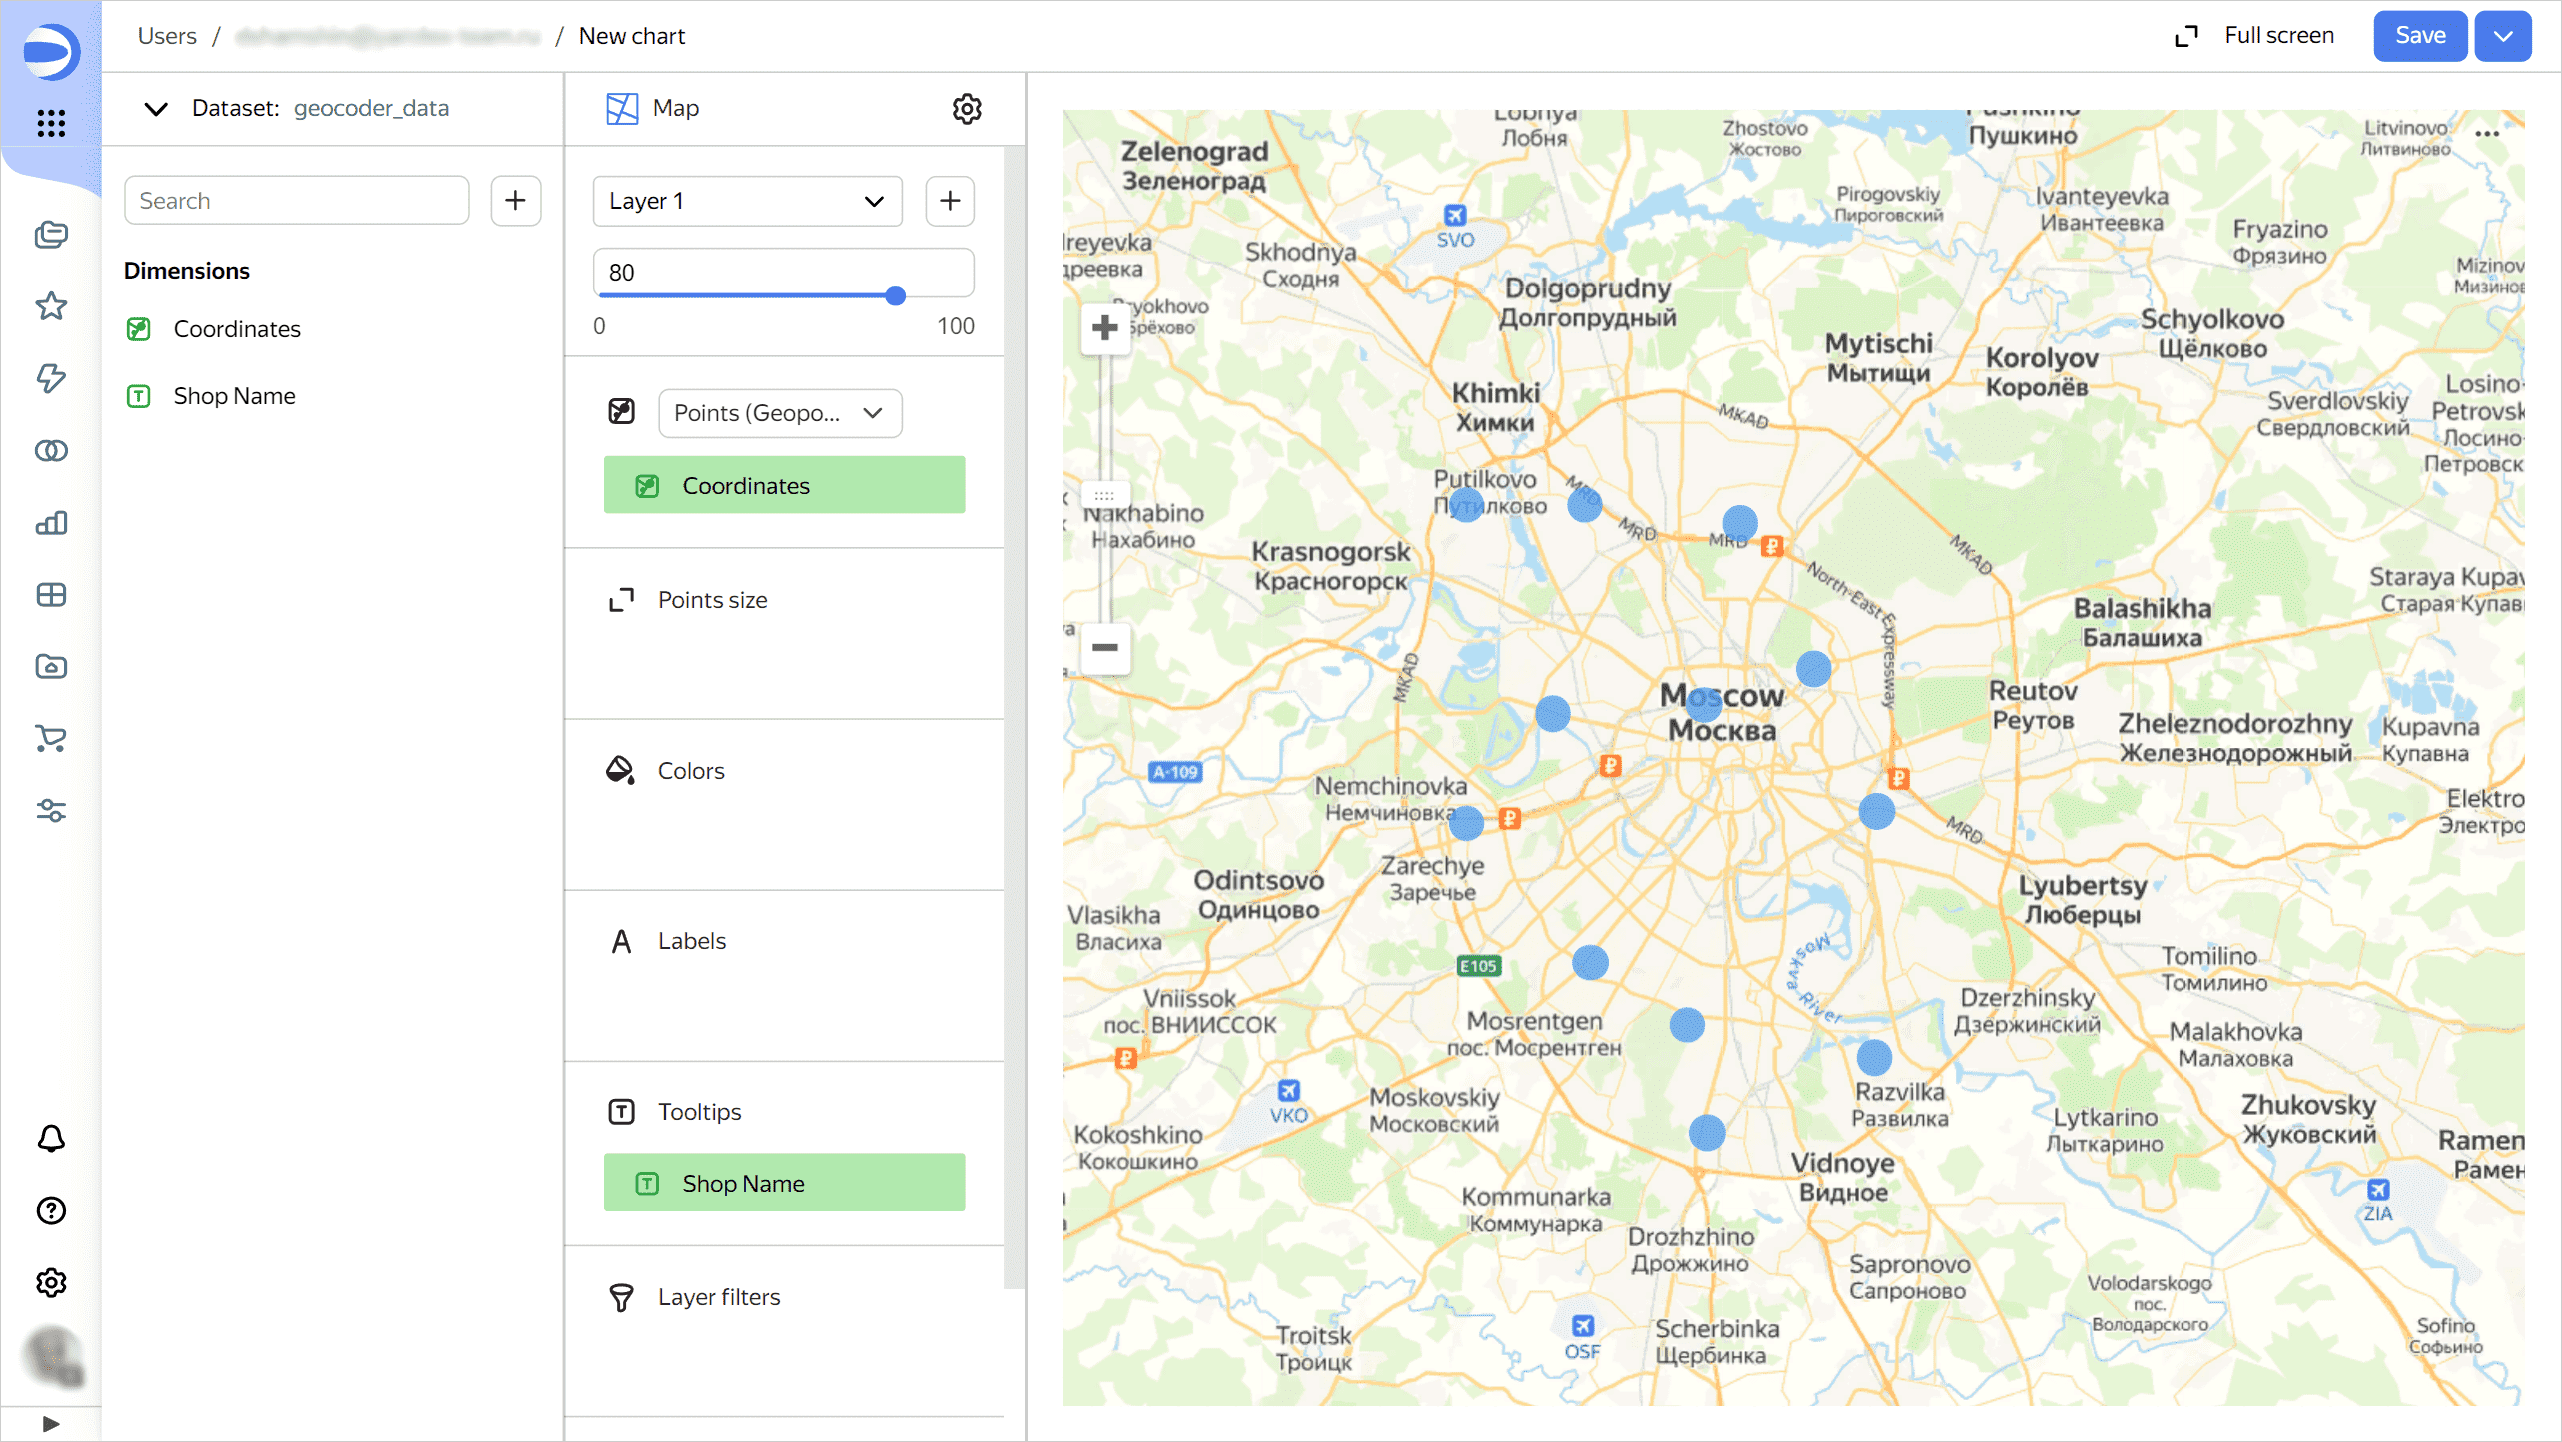
-
In the top-right corner, click Save.
-
Enter the chart name and click Save.
How to delete the resources you created
If you no longer plan to use the DataSphere project, delete it.
ClickHouse® is a registered trademark of ClickHouse, Inc.