Creating a WordPress website using Terraform
To create and set up a WordPress website using Terraform:
- Get your cloud ready.
- Create the infrastructure.
- Get credentials for authentication in the web interface.
- Connect to the WordPress web interface.
If you no longer need the resources you created, delete them.
Get your cloud ready
Sign up for Yandex Cloud and create a billing account:
- Navigate to the management console and log in to Yandex Cloud or create a new account.
- On the Yandex Cloud Billing page, make sure you have a billing account linked and it has the
ACTIVEorTRIAL_ACTIVEstatus. If you do not have a billing account, create one and link a cloud to it.
If you have an active billing account, you can create or select a folder for your infrastructure on the cloud page.
Learn more about clouds and folders here.
Make sure the selected folder has a cloud network with a subnet in at least one availability zone. To do this, select VPC on the folder page. If the list contains a network, click its name to see the list of subnets. If the subnets or network you need are not listed, create them.
Required paid resources
The cost of maintaining a WordPress website includes:
- Fee for a continuously running VM (see Yandex Compute Cloud pricing).
- Fee for using a dynamic or static public IP address (see Yandex Virtual Private Cloud pricing).
- Fee for public DNS queries and DNS zones if using Yandex Cloud DNS (see Cloud DNS pricing).
Create an infrastructure
With Terraform, you can quickly create a cloud infrastructure in Yandex Cloud and manage it using configuration files. These files store the infrastructure description written in HashiCorp Configuration Language (HCL). If you change the configuration files, Terraform automatically detects which part of your configuration is already deployed, and what should be added or removed.
Terraform is distributed under the Business Source License. The Yandex Cloud provider for Terraform is distributed under the MPL-2.0 license.
For more information about the provider resources, see the guides on the Terraform website or its mirror.
To create your infrastructure via Terraform:
-
Install Terraform, get authentication credentials, and specify the source for installing the Yandex Cloud provider. For details, see Configure your provider, step 1.
-
Prepare the infrastructure description files.
Ready-made archiveManually- Create a directory.
- Download the archive (1 KB).
- Unpack the archive to the directory. As a result, the
wordpress.tfconfiguration file should appear in it.
-
Create a directory.
-
Create a configuration file named
wordpress.tfin the folder:wordpress.tf
terraform {
  required_providers {
    yandex = {
      source  = "yandex-cloud/yandex"
      version = ">= 0.47.0"
    }
  }
}

provider "yandex" {
  zone = "ru-central1-a"
}

resource "yandex_compute_image" "wordpress" {
  source_family = "wordpress"
}

resource "yandex_compute_disk" "boot-disk" {
  name     = "bootvmdisk"
  type     = "network-hdd"
  zone     = "ru-central1-a"
  size     = "20"
  image_id = yandex_compute_image.wordpress.id
}

resource "yandex_compute_instance" "vm-wordpress" {
  name        = "wordpress"
  platform_id = "standard-v3"

  resources {
    core_fraction = 20
    cores         = 2
    memory        = 1
  }

  boot_disk {
    disk_id = yandex_compute_disk.boot-disk.id
  }

  network_interface {
    subnet_id          = yandex_vpc_subnet.subnet-1.id
    nat                = true
    security_group_ids = ["${yandex_vpc_security_group.sg-1.id}"]
  }

  metadata = {
    ssh-keys = "<username>:<SSH_key_contents>"
  }
}

resource "yandex_vpc_security_group" "sg-1" {
  name        = "wordpress"
  description = "Description for security group"
  network_id  = yandex_vpc_network.network-1.id

  ingress {
    protocol       = "TCP"
    description    = "ext-http"
    v4_cidr_blocks = ["0.0.0.0/0"]
    port           = 80
  }

  ingress {
    protocol       = "TCP"
    description    = "ext-https"
    v4_cidr_blocks = ["0.0.0.0/0"]
    port           = 443
  }

  egress {
    protocol       = "ANY"
    description    = "any"
    v4_cidr_blocks = ["0.0.0.0/0"]
  }
}

resource "yandex_vpc_network" "network-1" {
  name = "network1"
}

resource "yandex_vpc_subnet" "subnet-1" {
  name           = "subnet1"
  zone           = "ru-central1-a"
  network_id     = yandex_vpc_network.network-1.id
  v4_cidr_blocks = ["192.168.1.0/24"]
}

resource "yandex_dns_zone" "zone-1" {
  name        = "example-zone-1"
  description = "Public zone"
  zone        = "example.com."
  public      = true
}

resource "yandex_dns_recordset" "rs-1" {
  zone_id = yandex_dns_zone.zone-1.id
  name    = "example.com."
  ttl     = 600
  type    = "A"
  data    = ["${yandex_compute_instance.vm-wordpress.network_interface.0.nat_ip_address}"]
}

resource "yandex_dns_recordset" "rs-2" {
  zone_id = yandex_dns_zone.zone-1.id
  name    = "www"
  ttl     = 600
  type    = "CNAME"
  data    = ["example.com"]
}
Learn more about the properties of Terraform resources in the relevant provider guides:
-
Under
metadata, specify the metadata for creating a VM:<username>:<SSH_key_contents>. Regardless of the username specified, the key is assigned to the user set in the WordPress image configuration. Such users differ depending on the image. For more information, see Keys processed in public images Yandex Cloud. -
Create the resources:
-
In the terminal, navigate to the configuration file directory.
-
Make sure the configuration is correct using this command:
terraform validateIf the configuration is valid, you will get this message:
Success! The configuration is valid. -
Run this command:
terraform planYou will see a list of resources and their properties. No changes will be made at this step. Terraform will show any errors in the configuration.
-
Apply the configuration changes:
terraform apply -
Type
yesand press Enter to confirm the changes.
-
Get credentials for authentication in the web interface
When creating a VM, an administrator account for the web interface is created automatically. To get the authentication credentials:
-
Use SSH to connect to the VM you created:
ssh <username>@<VM_public_IP_address> -
Switch to the
rootaccount:sudo su -
Open the file for reading:
cat root/default_passwords.txt -
Copy the username and user password from the
WP_ADMIN_USERandWP_ADMIN_PASSWORDlines.
Connect to the WordPress web interface
To connect to the WordPress web interface, do the following:
-
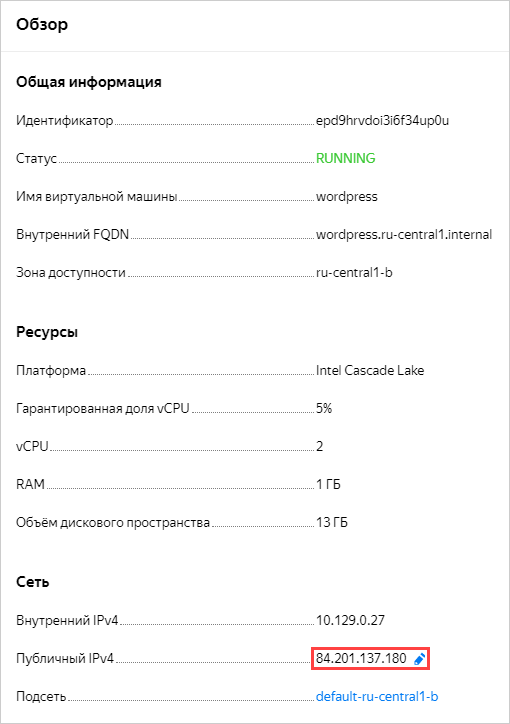
In the management console, go to the VM page, find the VM public IP address under Network, and add it to the type A resource record you created earlier.
-
In your browser, open the WordPress admin panel using the domain name you configured or the VM's address:
http://<domain_name_or_VM_public_address>/wp-admin. -
Enter the username and password you saved earlier.
How to delete the resources you created
To stop paying for the resources you created:
-
Open the
wordpress.tffile and delete your infrastructure description from it. -
Apply the changes:
-
In the terminal, navigate to the configuration file directory.
-
Make sure the configuration is correct using this command:
terraform validateIf the configuration is valid, you will get this message:
Success! The configuration is valid. -
Run this command:
terraform planYou will see a list of resources and their properties. No changes will be made at this step. Terraform will show any errors in the configuration.
-
Apply the configuration changes:
terraform apply -
Type
yesand press Enter to confirm the changes.
-