Yandex Cloud
Search
Contact UsTry it for free
  • Customer Stories
  • Documentation
  • Blog
  • All Services
  • System Status
  • Marketplace
    • Featured
    • Infrastructure & Network
    • Data Platform
    • AI for business
    • Security
    • DevOps tools
    • Serverless
    • Monitoring & Resources
  • All Solutions
    • By industry
    • By use case
    • Economics and Pricing
    • Security
    • Technical Support
    • Start testing with double trial credits
    • Cloud credits to scale your IT product
    • Gateway to Russia
    • Cloud for Startups
    • Center for Technologies and Society
    • Yandex Cloud Partner program
    • Price calculator
    • Pricing plans
  • Customer Stories
  • Documentation
  • Blog
© 2026 Direct Cursus Technology L.L.C.
Yandex Cloud Video
    • All guides
      • Uploading a video
      • Editing a video
      • Adding timecodes
      • Adding a thumbnail
      • Managing subtitles
      • Managing neural translation
      • Managing summarization
      • Downloading a video
      • Publishing a video
      • Unpublishing a video
      • Getting an embed code or link
      • Adding a video to a playlist
      • Getting view statistics
      • Deleting a video
    • Adding a member
    • Overview
    • Control
    • Browser autoplay policy
  • Access management
  • Pricing policy
  • Audit Trails events
  • Release notes
  1. Step-by-step guides
  2. Videos
  3. Adding timecodes

Adding timecodes to a video

Written by
Yandex Cloud
Updated at January 26, 2026
Cloud Video UI
  1. Open the Cloud Video home page.

  2. Select a channel.

  3. On the Video tab, in the row with the video, click and select Edit.

  4. Under Description, specify the timecodes for your video in the following format:

    00:00:00 Episode 1 title
    hh:mm:ss Episode 2 title
     ...
    

    Note

    Timecodes must begin with
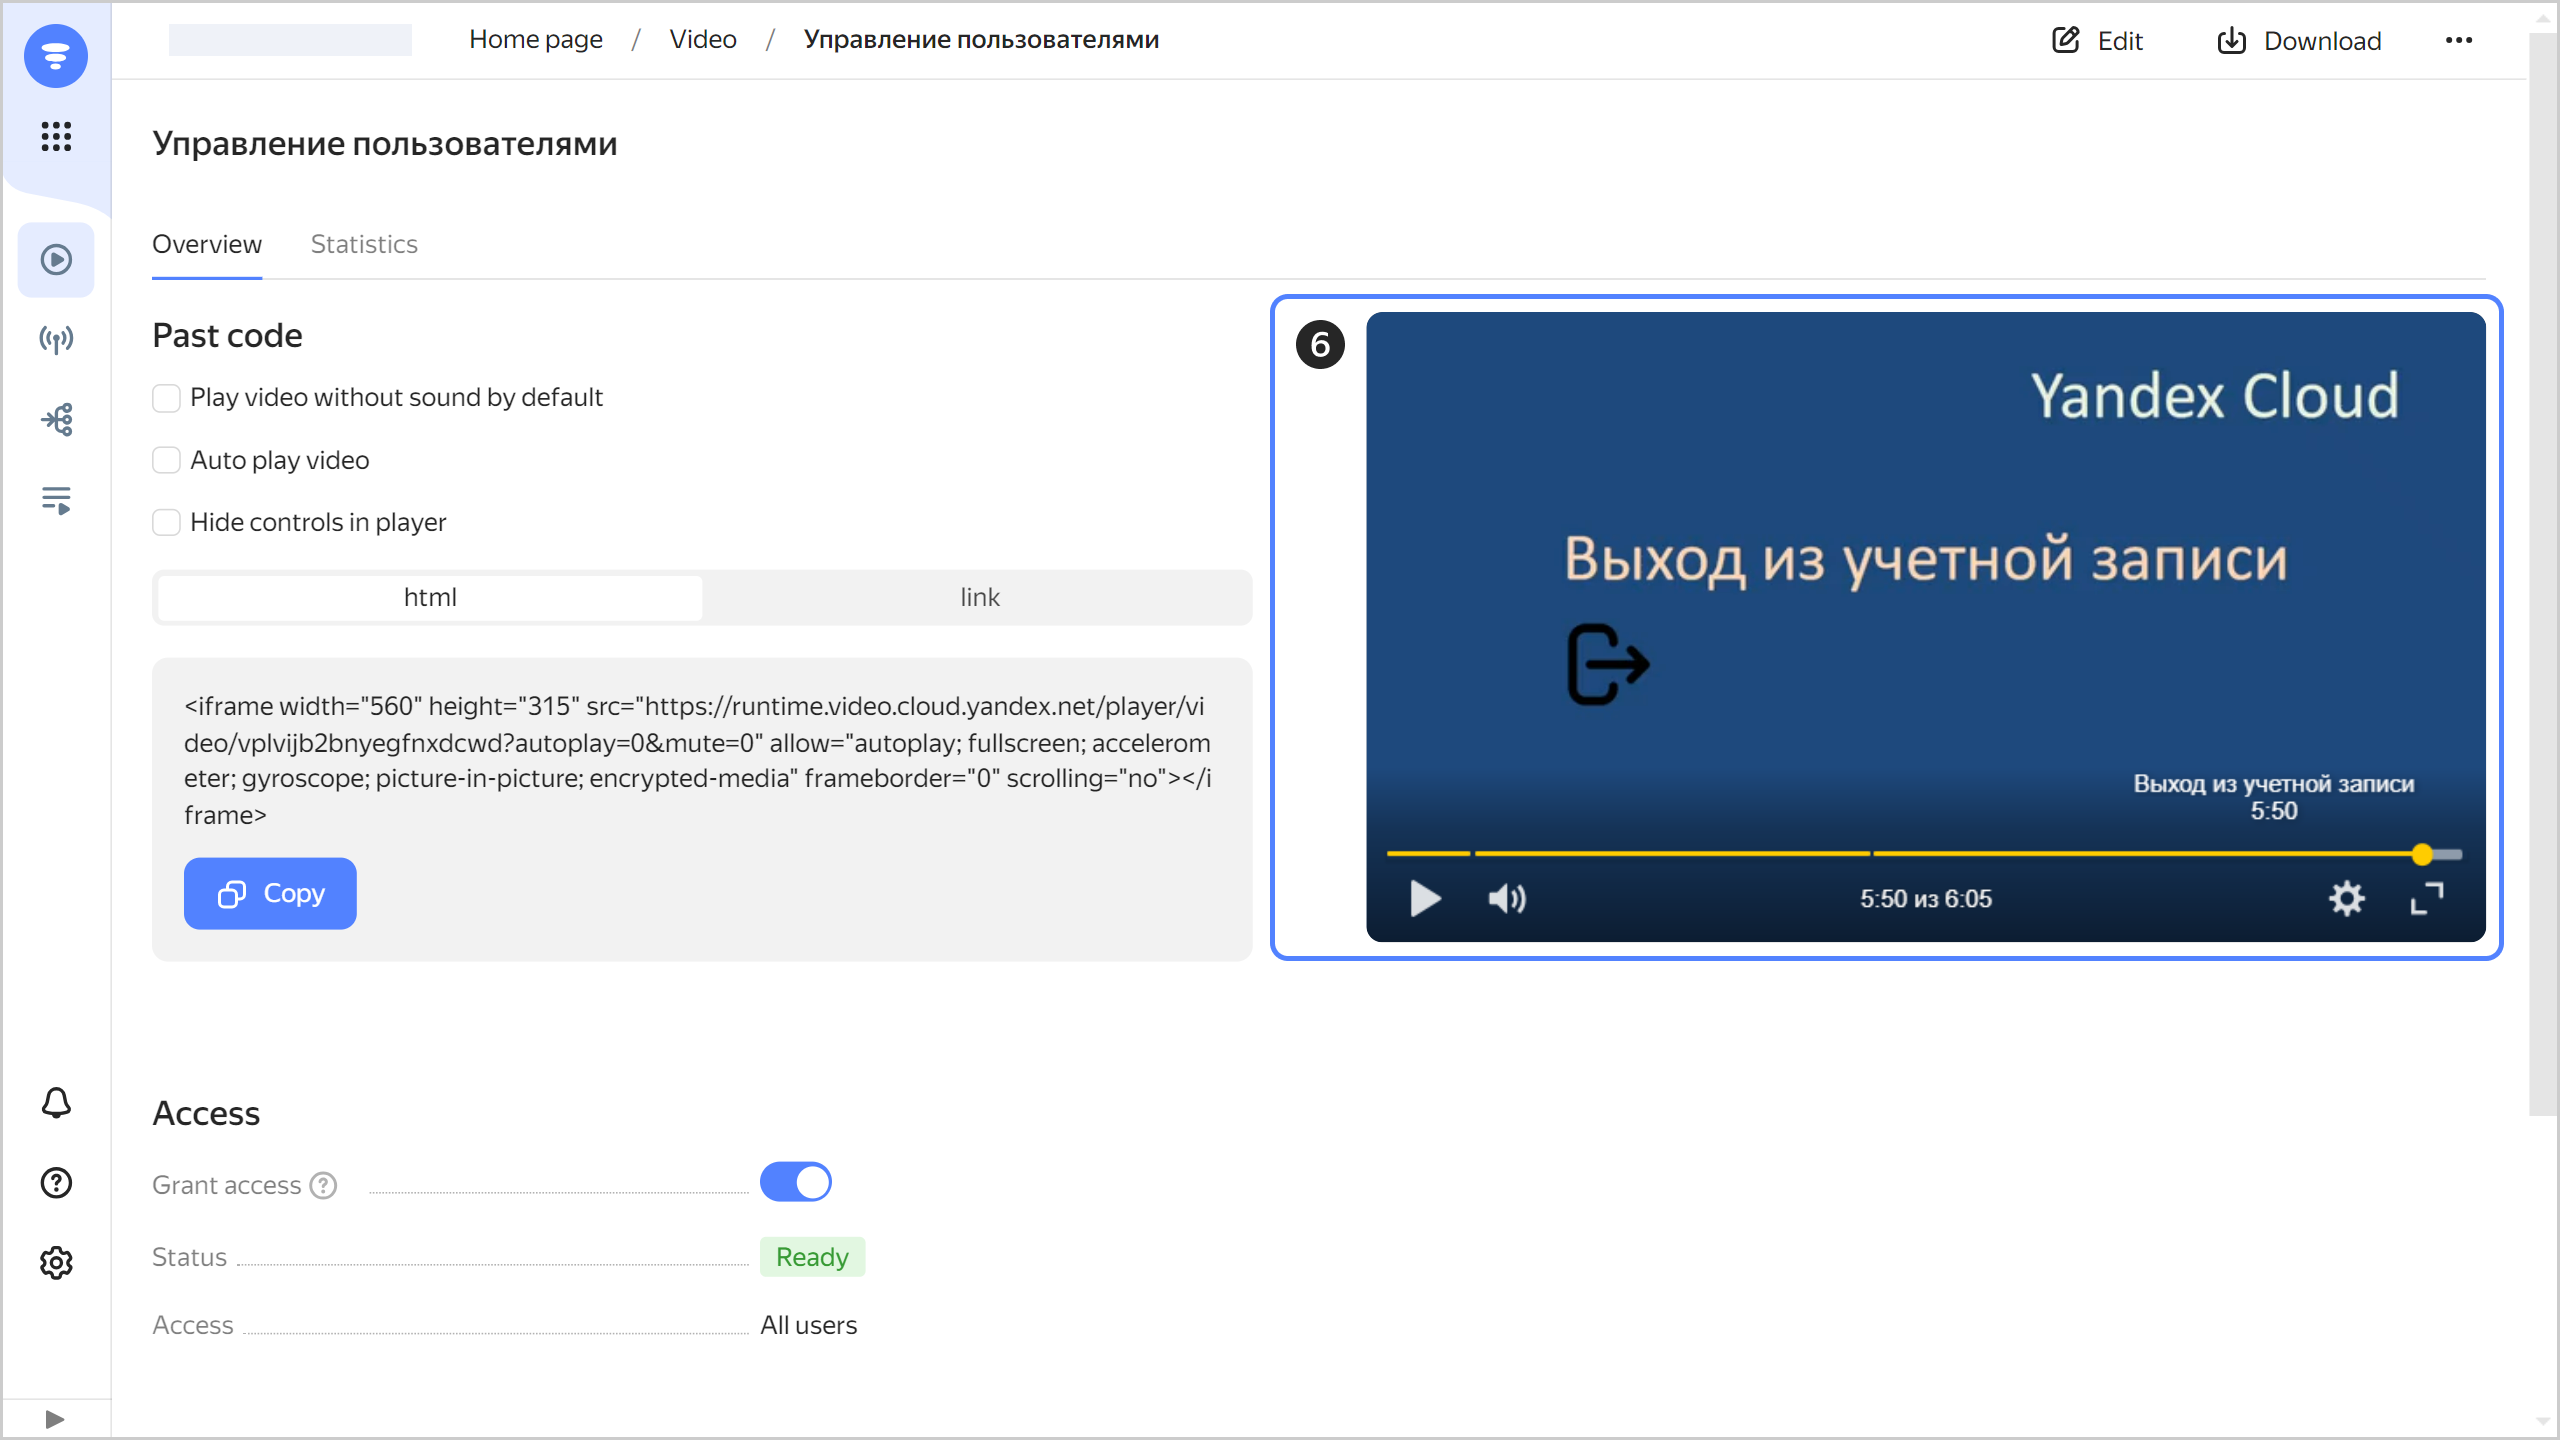
 00:00 or 00:00:00. The time is separated from the episode title by a space. Each timecode begins from a new line.

    Here is an example:

    00:00 Greeting
    00:30 Configuring the management console
    02:45 Adding users
    05:50 Logging out from account
    
  5. Click Save.

  6. Start playback on the video preview page.

    add-timecodes

  7. Fast-forward your video to check timecodes and chapter headers.

Was the article helpful?

Previous
Editing a video
Next
Adding a thumbnail
© 2026 Direct Cursus Technology L.L.C.