Working with a report
Note
This feature is only available with the Business service plan.
In this section, you will learn how to work with a report:
- Creating a report
- Adding, moving, or deleting pages
- Configuring widgets
- Configuring a report
- Configuring pages
- Sharing a link to a report
- Configuring scaling
- Enabling preview
- Exporting a report
Creating a report
There is a number of ways to create a report:
- Go to the page with workbooks and collections.
- Open the workbook to create a report in.
- In the top-right corner, click Create and select Report.
- Add pages to your report.
- Add the required widgets to the pages.
- Configure your report and its individual pages.
- In the top-right corner, click Save.
- In the window that opens, enter a name for the report and click Create.
- Go to the DataLens home page.
- In the left-hand panel, select Reports and click Create report.
- Add pages to your report.
- Add the required widgets to the pages.
- Configure your report and its individual pages.
- In the top-right corner, click Save.
- In the window that opens, enter a name for the report and click Create.
You can export the report you created.
Adding, moving, or deleting pages
You can add multiple pages to a report, reorder, or delete them:
- To add a page, click Add Page at the bottom left.
- To duplicate a page, click the icon next to the page in the preview area and select Duplicate.
- To change the order of pages, drag them to a new location using your mouse.
- To delete a page, in the preview area, click the icon next the page and select Delete.
Configuring widgets
You can add, copy, or delete widgets in your report. If your widgets overlap, you can move them to the foreground or background.
Adding a widget
-
Select the report page you want to add the widget to.
-
Select a widget: Chart, Text, Title, or Image. To properly position your widget right away, drag it with the left mouse button held down.
-
Configure your widget:
ImageChartTextTitle-
Add a link to an image from a Yandex Object Storage storage.
Warning
In Yandex Object Storage, you must configure the CORS settings for the bucket with the image:
Allowed Origins:https://*.yandex.cloudAllowed Methods:GET,HEAD
-
(Optional) Specify an alternative text to display if the image fails to load.
-
(Optional) Disable maintaining the aspect ratio when resizing the widget. This option is enabled by default.
-
(Optional) Set a background.
- Name: Widget name. If the Show option is enabled (default), the name is displayed at the top of the widget.
- Chart: Select a chart from the list of items or provide a link to your chart.
- (Optional) Description: Text displayed at the bottom of the widget.
- (Optional) Under Parameters, list chart parameters and set their default values. If no default values are set, the report will display an error.
- (Optional) Set a background.
To start editing the chart, click next to the widget and select Edit.
-
Enter the text of your link, clarifying caption, etc. The widget supports the Markdown markup language.
Warning
If inserting an image from a Yandex Object Storage storage into your widget, configure the CORS settings for the bucket containing the image:
Allowed Origins:https://*.yandex.cloudAllowed Methods:GET,HEAD
-
(Optional) Set a background.
- Enter title text.
- Select the size from the preset ones:
XS,S,M,L, andXLor click and specify the text size in pixels. - (Optional) Set a background.
-
-
Click Add.
-
Resize the widget and drag it to a convenient location on the page. You can also move the selected widget up, down, or sideways with arrow keys. Here is how you can do this:
- Arrow keys to move by one pixel.
- Shift + arrow keys to move by ten pixels.
-
In the top-right corner, click Save.
You can copy and paste an existing widget onto the page:
- From any page of the current report.
- From the page of another report in the same workbook.
- From any dashboard in the same workbook.
To insert a copied widget onto a page:
- Click the icon next to the widget you want to copy and select Copy. You can copy a widget from a dashboard in edit mode.
- Select the report page you want to insert the widget onto.
- On the widget panel at the top, click Insert.
- Resize the widget and move it to a convenient location on the page.
- In the top-right corner, click Save.
You cannot copy an image from a report to a dashboard.
Deleting a widget
- Select the report page the widget is on.
- Click the icon next to the widget and select Delete.
- In the top-right corner, click Save.
Moving a widget to the foreground or background
Widgets are arranged in layers overlapping each other. You can set the order of widgets on the page manually:
-
Select the report page the widget is on.
-
Click the icon next to the widget and select:
- Foreground to move the widget to the foreground.
- Background to move the widget to the background.
-
In the top-right corner, click Save.
When you select or move a widget around the page, it is automatically overlaid on top of other widgets. As soon as you stop interacting with the widget, it returns to its layer.
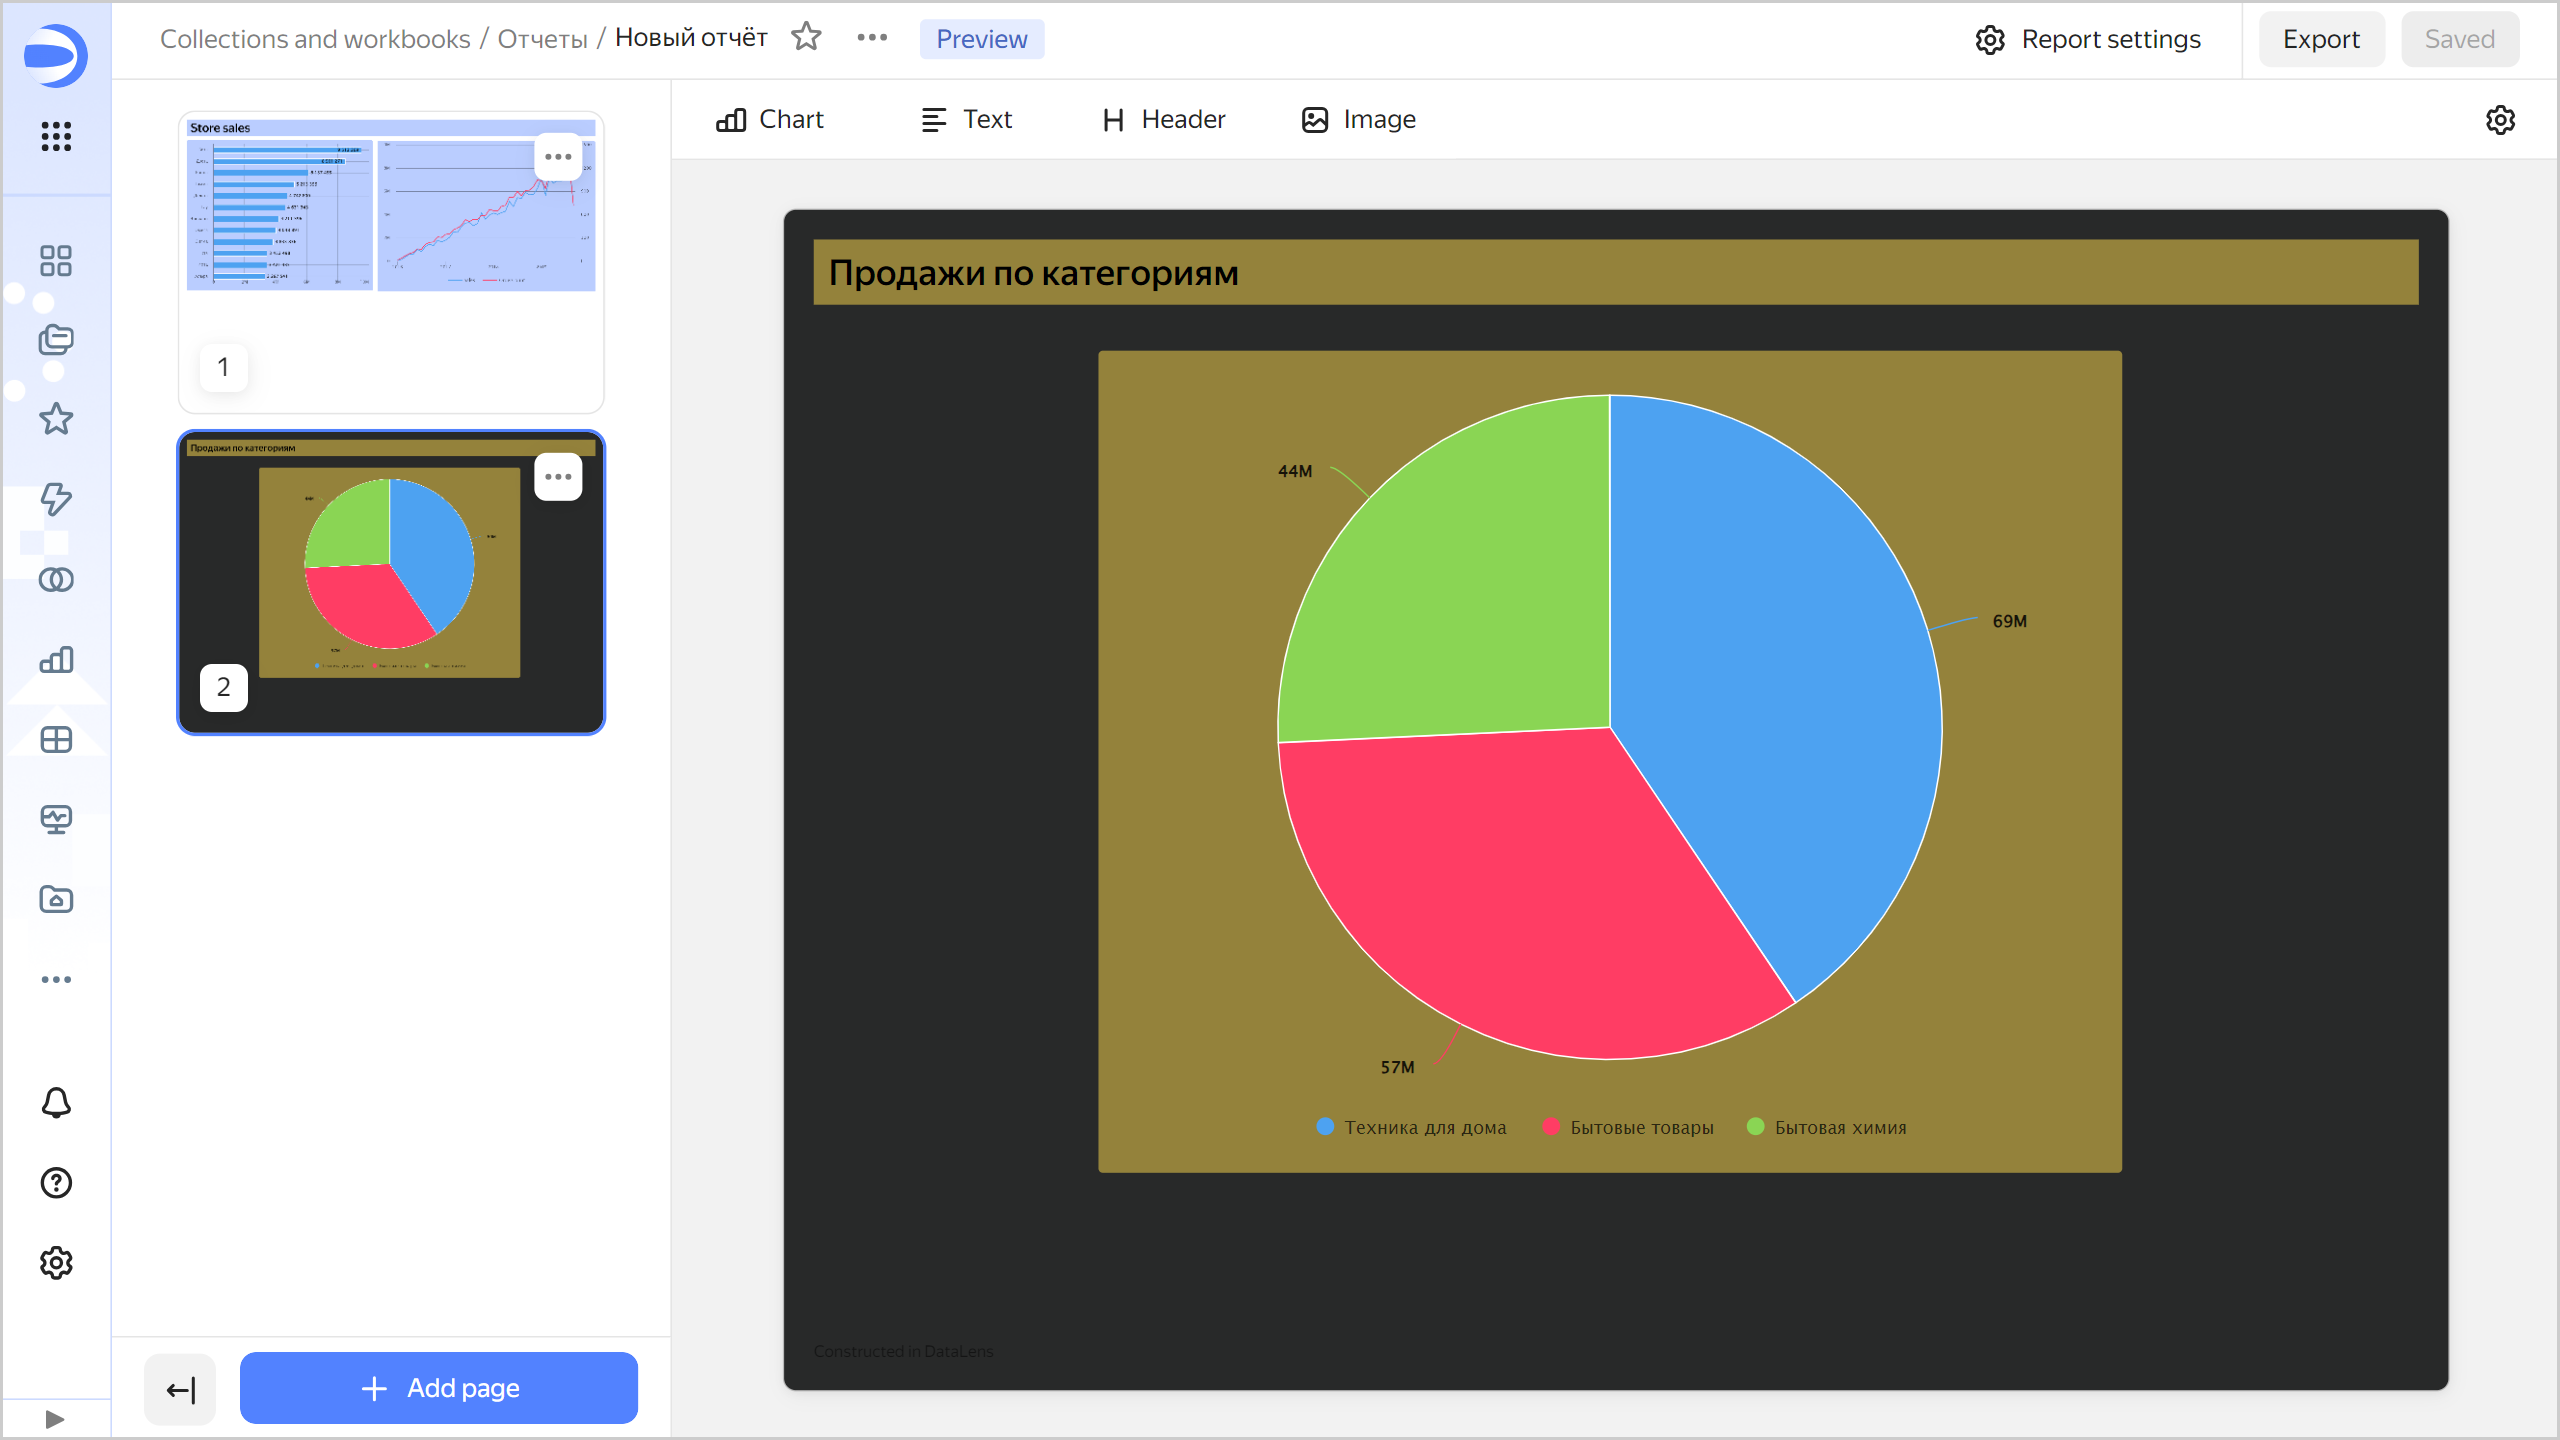
Configuring a report
Report settings are valid for all its pages:
-
At the top right, click Report settings.
-
Customize the appearance:
-
Theme: Select a page design theme, light or dark.
-
Contrast: Select standard (default) or high contrast.
-
Background color: Specify a color in hexadecimal format or select one from the color palette.
-
Format:
A4orA3. -
Orientation:
AlbumorPortrait. -
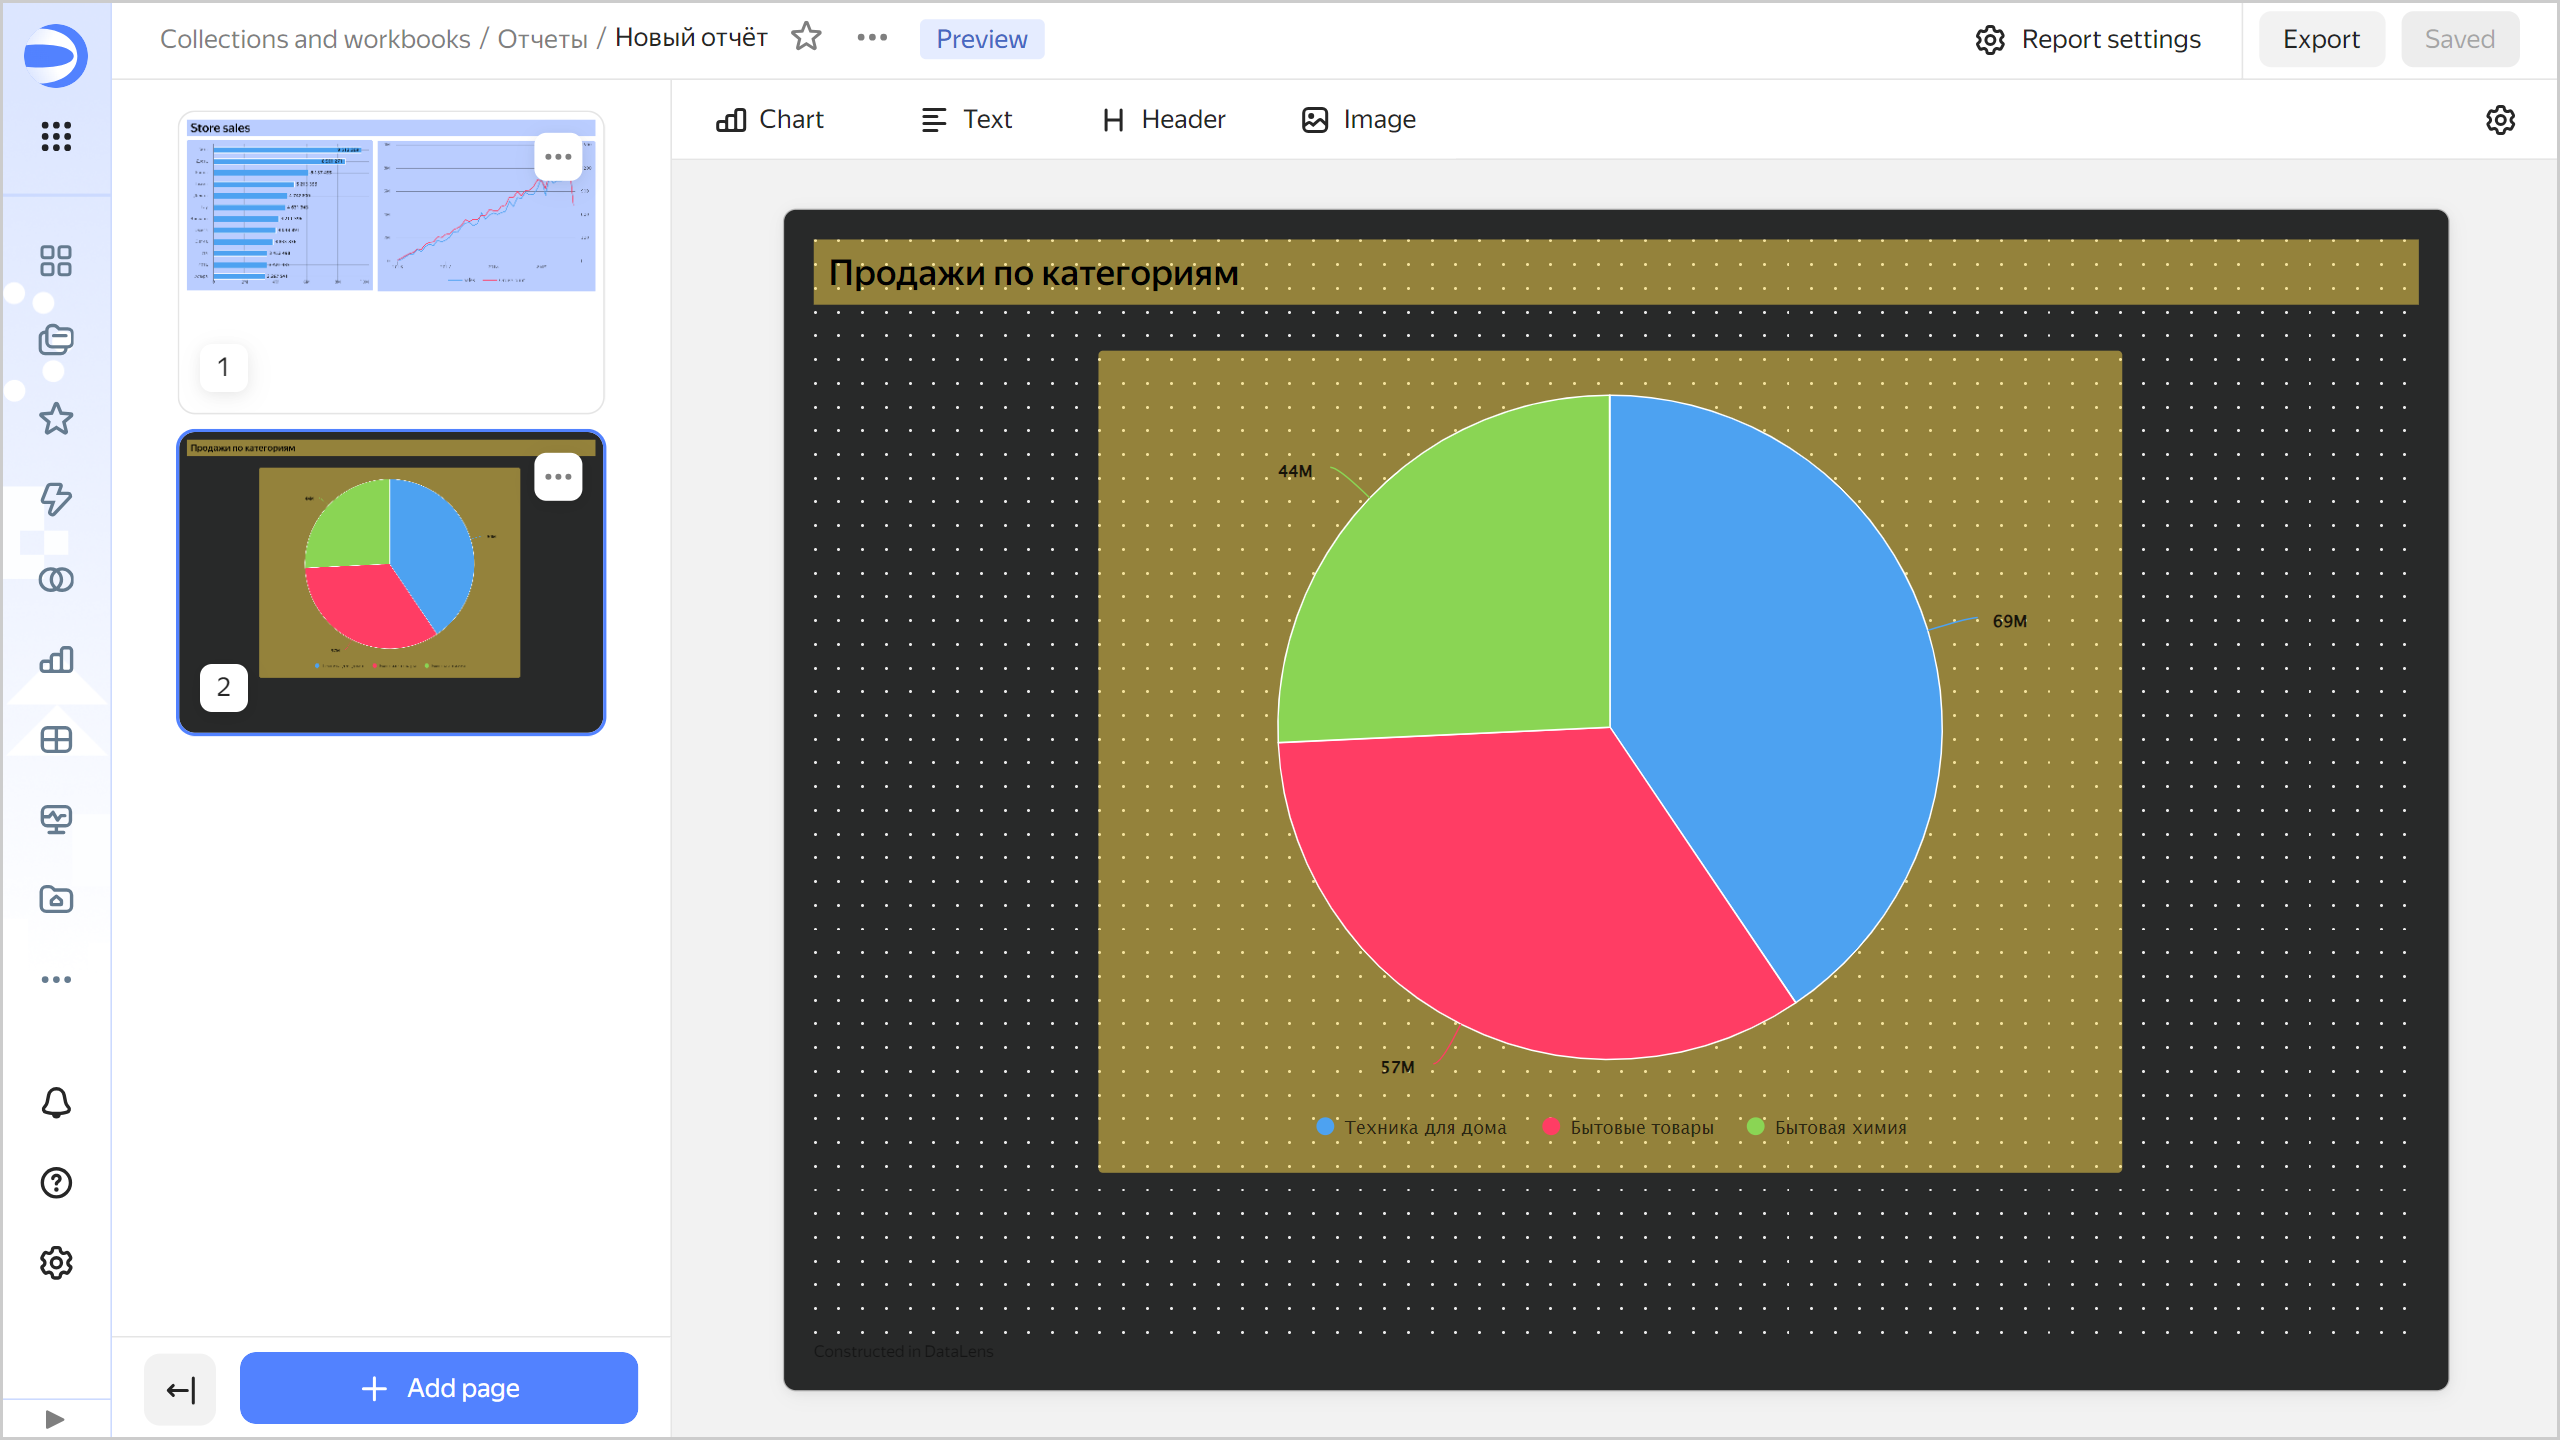
(Optional) Enable the Display grid option for easy alignment of widgets in your report.
Report without grid display
Report with grid display
-
-
Configure footer settings:
- Footer text: Displays the footer you enter in the field on the right. If you leave this field empty, no footer will be displayed. By default, this option is disabled and the standard footer is displayed:
Built in DataLens. - Footer link: Adds a link to your footer. Your link address is specified in the field on the right.
- First page footer: Repeats the footer on the first page. By default, no footer is displayed on the first page.
- Page numbering: Adds a page number to the footer.
- Footer text: Displays the footer you enter in the field on the right. If you leave this field empty, no footer will be displayed. By default, this option is disabled and the standard footer is displayed:
Configuring pages
You can use individual settings for each page, different from the general report settings. By default, all pages are subject to report settings.
Note
Page settings have a higher priority than the same report settings. If page settings are different from the same report settings, the former will override the latter.
-
Select the report page you need to configure.
-
At the top right, click Page settings and configure the settings as needed:
- Theme: Page design theme, light or dark.
- Contrast: Select standard (default) or high contrast.
- Background color: Specify a color in hexadecimal format or select one from the color palette.
- Format:
A4orA3. - Orientation:
AlbumorPortrait.
-
In the top-right corner, click Save.
Sharing a link to a report
To copy a link to a report, click at the top right and select Copy link. You can send this link to users with access to the report.
To share a link to a certain report page, go to the page you need and copy the URL from the browser address bar.
Configuring scaling
Use the controls in the upper right corner to change the display scale or move the report pages around the screen:
- To move a report page, click or press and hold the space key on your keyboard. To return to widget moving mode, click again or release the space key on your keyboard.
- To zoom out, click or press
Ctrl(Cmd) +-on your keyboard. - To zoom in, click or press
Ctrl(Cmd) ++on your keyboard. - To reset the display scale and center the report on the screen, click or press
Ctrl(Cmd) +0on your keyboard.
Enabling preview
To enable full-screen report view mode, click Preview in the upper right corner and select the preview mode: In document format or In presentation format:
-
Preview in document format: the report pages are displayed one by one, top to bottom, on a single browser screen.
You can navigate through the report pages vertically by scrolling.
-
Preview in presentation format: the report pages are presented as separate slides. You can navigate between the report pages by using:
- Right and left arrows on the keyboard to go to the next or previous page, respectively.
- Navigation controls at the bottom of the screen to go to the next, previous, first, last page, or particular page by number.
To exit the preview mode, click Close at the top of the screen or press Esc on the keyboard.
Exporting a report
To export a report, click Export. The report will be exported to a .pdf file.