Configuring Workflows integrated with Yandex Tracker, Yandex Cloud AI Studio, and Yandex Cloud Postbox
Note
Workflows is at the Preview stage.
In this tutorial, you will create workflows in Yandex Workflows and configure their integration with Yandex Tracker, Yandex Cloud AI Studio, and Yandex Cloud Postbox.
Your workflows will receive information about the issues in a given Tracker queue and use YandexGPT Pro to analyze the work completed within these issues, their statuses, and evaluation. The results of the analysis and a brief progress report will be saved in a comment to one of the Tracker issues and also sent to the specified email address via Yandex Cloud Postbox.
To configure a workflow in Yandex Workflows:
- Get your cloud ready.
- Create a service account.
- Set up Tracker.
- Configure workflow access in Tracker.
- Create an address and verify domain ownership in Yandex Cloud Postbox.
- Create a Workflows workflow.
- Test the workflow.
If you no longer need the resources you created, delete them.
Getting started
-
Log in to your Yandex account. If you do not have an account, create one.
-
Sign up for Yandex Cloud and create a billing account:
- Navigate to the management console and log in to Yandex Cloud or create a new account.
- On the Yandex Cloud Billing page, make sure you have a billing account linked and it has the
ACTIVEorTRIAL_ACTIVEstatus. If you do not have a billing account, create one and link a cloud to it.
If you have an active billing account, you can create or select a folder for your infrastructure on the cloud page.
-
Install cURL, as you will need it to send a request for a Yandex ID application OAuth token.
Required paid resources
The cost of support for the new infrastructure includes:
- Fee for storing the secret and requests to the secret (see Yandex Lockbox pricing).
- Fee for using Yandex Cloud AI Studio (see Yandex Cloud AI Studio pricing).
- Fee for using Yandex Tracker (see Tracker pricing).
- Fee for using Yandex Cloud Postbox (see Yandex Cloud Postbox pricing).
Create a service account
- In the management console, select the folder where you are going to create your workflows.
- Navigate to Identity and Access Management.
- Click Create service account, and in the window that opens:
- Name the service account:
workflow-sa. - Click Add role and select
serverless.workflows.executor. - Repeat the previous step to add the
postbox.senderandai.languageModels.userroles. - Click Create.
- Name the service account:
Set up a queue and issues in Tracker
To make sure the workflows you create in this tutorial work properly, set up a queue in Yandex Tracker.
-
If Yandex Tracker is not enabled in your organization, enable it.
-
If you do not have a queue in Tracker yet, create one.
-
Create 5–10 test issues in your queue that meet the following requirements:
- The test issues must be created in one queue.
- All test issues must have the
producttag set in the Tags field. - All test issues must be evaluated in Story Points in the Story Points field.
- Some of the test issues must be in the
Closedstatus, and some, in theOpenstatus. - Closed test issues must include comments on your work progress.
Configure access for workflow authentication in Tracker
To authenticate your workflow in Yandex Tracker, get a token of an OAuth application with read and write permissions for Tracker.
Create an OAuth application in Yandex ID
To create an OAuth application with read and write access permissions for Tracker:
- In your browser, go to the OAuth application creation page. On the page that opens:
-
In the Service name field, enter the name of the OAuth application you are creating:
My Tracker Workflow. -
Under Application platforms, select the Web services option and specify the redirect URI in the field that appears:
https://oauth.yandex.com/verification_code. -
Under Data access, in the Access name field, enter
tracker:readand selectRead from tracker.The
Read from trackeroption will appear below, in the application access list.Similarly, add the
tracker:writeaccess (Write to tracker). -
Under Email for communication, specify your email address to send notifications about the new application.
-
Click Create app.
-
On the new application's page, copy the ClientID and Client secret field values. You will need them in the next step to get an OAuth token.
Get the application's OAuth token
-
Get the confirmation code. To do this, paste the following address into your browser address bar, replacing the
client_idvalue with the one copied in the previous step:https://oauth.yandex.ru/authorize?response_type=code&client_id=<ClientID_value>Confirm granting your OAuth application access to Tracker.
In the window that opens, copy and save the confirmation code you get. You will need this code to get an OAuth token.
-
Get the application's OAuth token by running this command in the terminal:
curl \
  --request POST \
  --header "Content-type: application/x-www-form-urlencoded" \
  --data "grant_type=authorization_code&code=<confirmation_code>&client_id=<ClientID_value>&client_secret=<Client_secret_value>" \
  https://oauth.yandex.ru/token
Where:
code: Confirmation code you got in the previous step.client_id: Your OAuth application's ClientID value you got earlier.client_secret: Your OAuth application's Client secret value you got earlier.
Result:
{"access_token": "y0__wgBhMmiugUY4b40IJCda4YSeAfV5tAoPqy2tttkQsy********", "expires_in": 31536000, "refresh_token": "1:7WGrfpErRSTlkTJI:NGU-BJxhvhUdwDxDuez5ana4Befm63bXXhNpJFnbWDX1XJ_rJ3qh6DH_AItBhFJk********:ZZP-Pf0nxo4nil********", "token_type": "bearer"}%Store the value returned in the
access_tokenfield. This is the application's OAuth token the workflow will use to access Tracker.
Create a Yandex Lockbox secret
Create a Yandex Lockbox secret to store your OAuth token and assign access permissions for the new secret to the service account.
-
In the management console, select the folder where you created the service account earlier.
-
Navigate to Lockbox.
-
Click Create secret, and in the window that opens:
- In the Name field, specify the secret name:
tracker-oauth-token. - In the Secret type field, select
Custom. - In the Key field, enter the secret key:
oauth. - In the Value field, specify the application OAuth token you got in the previous step.
- Click Create.
- In the Name field, specify the secret name:
-
Click the row with the new secret (
tracker-oauth-token) and do the following in the window that opens:- Copy and save the ID field value. You will need it later when creating the workflow specification.
- Go to the Access bindings tab and click Assign roles.
- In the search bar, enter the name of the service account created earlier (
workflow-sa) and select the service account you found. - Click Add role and select
lockbox.payloadViewer. - Click Save.
Create an address and verify domain ownership in Yandex Cloud Postbox
To enable the workflow to send emails, create a Yandex Cloud Postbox address and verify the ownership of the sending domain.
Create a Yandex Cloud Postbox address
-
Generate a key to create a DKIM signature by running this command in the terminal:
openssl genrsa -out privatekey.pem 2048The new key will be saved in the
privatekey.pemfile in the current directory. -
Create an address:
Management console-
In the management console, select the folder where you created the service account and secret.
-
Navigate to Cloud Postbox.
-
Click Create address.
-
In the Domain field, specify the domain you will use to send emails, e.g.,
example.com.You can use a domain of any level. You must have permissions to add resource records to the public DNS zone of the specified domain to verify your domain ownership.
-
In the Selector field, specify a selector, e.g.,
tracker_workflow.The name of the selector will be used to create a TXT resource record, so each selector you create must be unique within your domain.
-
In the Private key field, copy the contents of the
privatekey.pemfile you created earlier. -
Click Create address.
-
In the list of addresses that appears, select the new address and, under Signature verification on the page that opens, copy and save the Name and Value field values. You will need those to create a TXT resource record.
-
Verify your domain ownership
-
In the public DNS zone of your domain, create a TXT resource record using the following values:
-
Record name: Name field value you copied in the previous step.
In Yandex Cloud DNS, specify the name portion generated when creating the address (without specifying the domain) in
<selector>._domainkeyformat, e.g.,tracker_workflow._domainkey.For other DNS services, you may need to copy the entire record. The final record must look like this:
<selector>._domainkey.<domain>., e.g.,tracker_workflow._domainkey.example.com.. -
Record type:
TXT. -
Record value: Value field value you copied in the previous step.
Note that the record value must be enclosed in quotes, such as follows:
"v=DKIM1;h=sha256;k=rsa;p=M1B...aCA8"
Note
If your domain is delegated to Yandex Cloud DNS, create a resource record according to this guide. Otherwise, use your domain name registrar's personal account. If you have any questions, refer to the relevant documentation or contact the registrar's support service.
-
-
Verify your domain ownership.
Management console-
In the management console, select the folder that contains the address you created.
-
Navigate to Cloud Postbox and select the address.
-
Click Run verification. If the TXT record is created correctly, the verification status on the address page will change to
Success.DNS server responses are cached, so you may experience delays when updating the resource record.
-
Create a workflow
-
Select the specification you will use to create your workflow. Both specifications use integrations with Yandex Tracker, Yandex Cloud AI Studio, and Yandex Cloud Postbox; however, they analyze the input data differently.
Option 1Option 2Tip
This guide describes how to create a workflow using the YaWL specification; however, you can also create and edit workflows using the constructor.
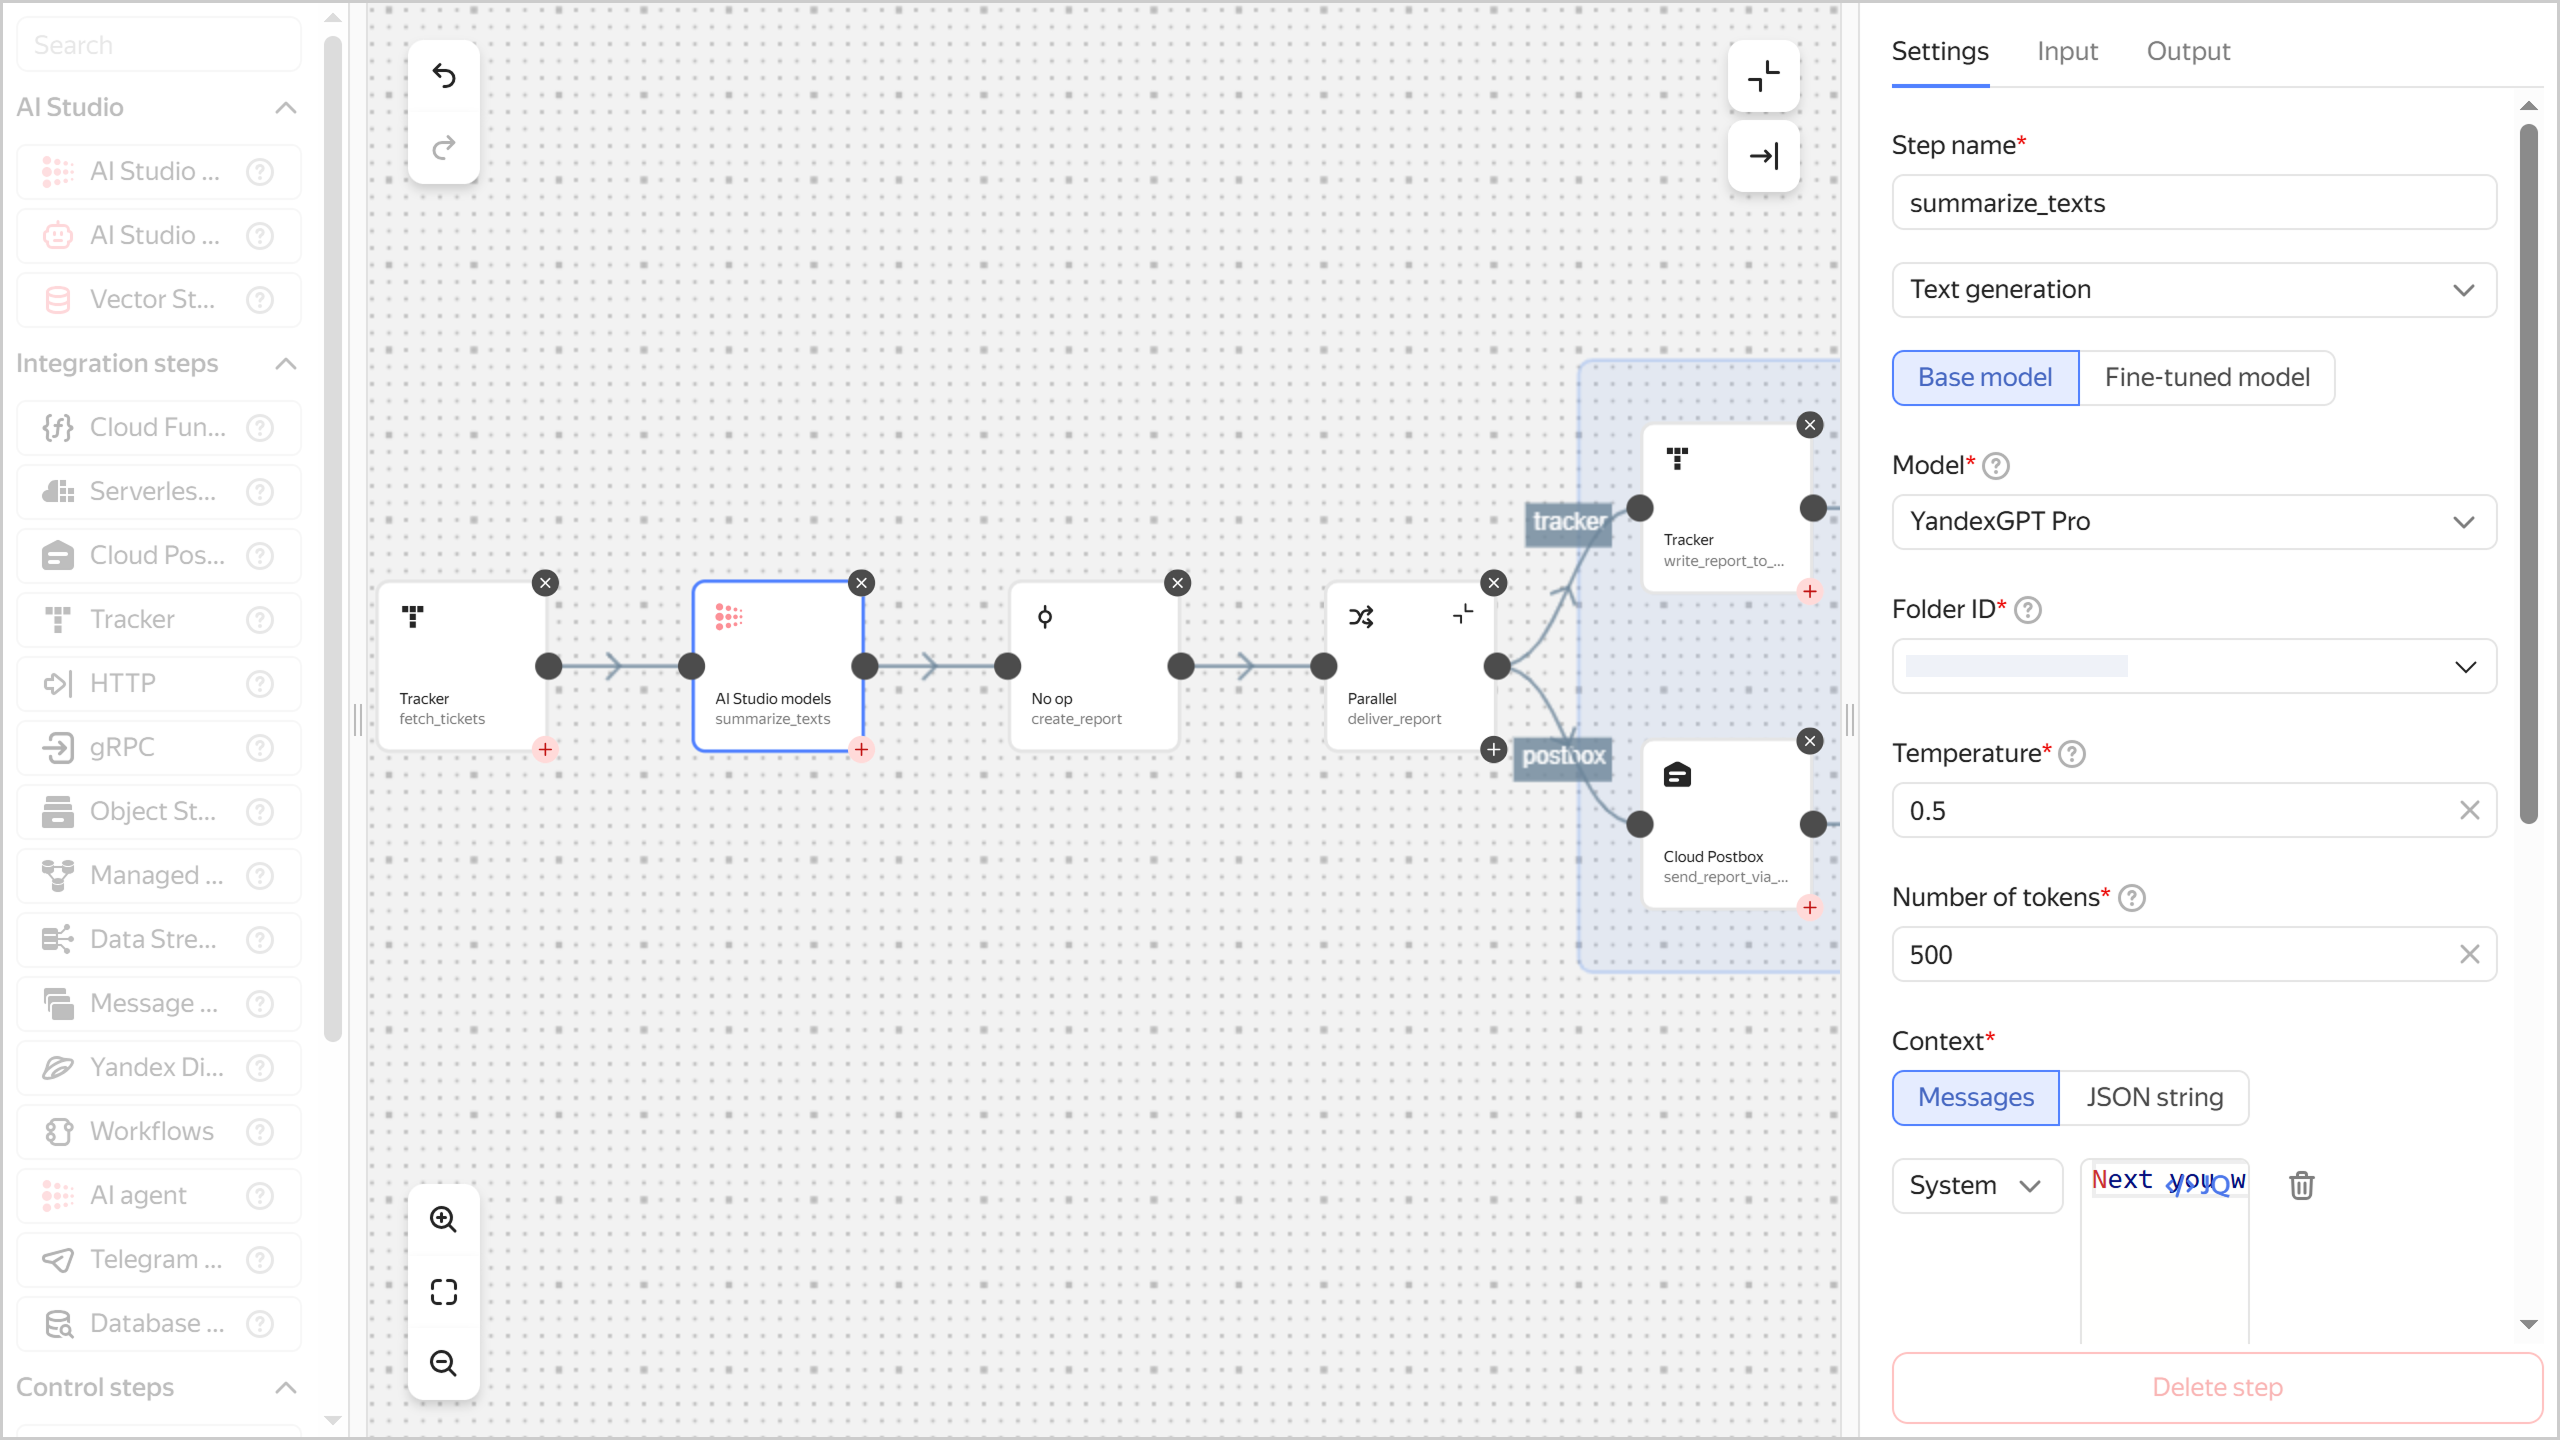
The suggested workflow will analyze the Tracker issues in the specified queue, generate and publish a progress report for these issues:
- Analyzing issues with specified tag in a given Tracker queue:
- Total number of issues.
- Total sum of Story Points awarded to issues.
- Number of closed issues.
- Percentage ratio of the number of closed issues to the total number of issues.
- Sum of
Story Pointsawarded to closed issues. - Percentage ratio of the sum of
Story Pointsawarded to closed issues to the total sum ofStory Pointsawarded to all issues.
- Generating a report with the results of the analysis.
- Publishing a report in a comment to a specified Tracker issue, sending the report to a specified email address.
Specification code:
yawl: "0.1"
start: fetch_tickets
steps:
  fetch_tickets:
    tracker:
      organization:
        cloudOrganizationId: <organization_ID>
      oauthToken: '\(lockboxPayload("<secret_ID>"; "oauth"))'
      listIssues:
        filter:
          issueProperties:
            queue: <queue_key_in_Tracker>
            tags: "product"
      output: |-
        \({
          "sp_sum": [.[].storyPoints] | add,
          "closed_sp_sum": . | map(select(.status.key == "closed")) | map(.storyPoints) | add,
          "ticket_count": . | length,
          "closed_ticket_count": . | map(select(.status.key == "closed")) | length,
          "non_closed_ticket_texts": . | map(select(.status.key != "closed")) | map({
            "key": .key,
            "summary": .summary,
            "description": .description
          })
        })
      next: summarize_texts
  summarize_texts:
    foundationModelsCall:
      next: create_report
      modelUrl: gpt://<folder_ID>/yandexgpt
      generate:
        maxTokens: 500
        temperature: 0.5
        messages:
          messages:
            - role: system
              text: "Next you will get names of unfinished Tracker issues and their descriptions. State as briefly as possible (no more than three sentences) what remains to be done"
            - role: user
              text: |-
                \("
                  \(.non_closed_ticket_texts | map(.summary + ": " + .description) | join(". "))
                ")
      output: |-
        \({
          "summary": .alternatives.[0].message.text
        })
  create_report:
    noOp:
      output: |-
        \({
        "report_text": "**Total amount of work:** \(.ticket_count) issue(s), \(.sp_sum) sp
        **Work completed:** \(.closed_ticket_count) (\(100 * .closed_ticket_count / .ticket_count | round)%) issue(s), \(.closed_sp_sum) (\(100 * .closed_sp_sum / .sp_sum | round)%) sp

        **Unfinished issues:**
          \(.non_closed_ticket_texts | map(.key) | join("\n"))

        **Summary of what remains:**
          \(.summary)
        ",
        "report_text_html": "<b>Total amount of work:</b> \(.ticket_count) issue(s), \(.sp_sum) sp<br>
        <b>Work completed:</b> \(.closed_ticket_count) (\(100 * .closed_ticket_count / .ticket_count | round)%) issue(s), \(.closed_sp_sum) (\(100 * .closed_sp_sum / .sp_sum | round)%) sp<br>
        <br>
        <b>Unfinished issues:</b><br>
          \(.non_closed_ticket_texts | map("<a href=https://tracker.yandex.ru/" + .key + ">" + .key + "</a>") | join("<br>"))<br>
        <br>
        <b>Summary of what remains:</b><br>
          \(.summary | gsub("\\n"; "<br>"))
        "})
      next: deliver_report
  deliver_report:
    parallel:
      branches:
        tracker:
          start: write_report_to_tracker
          steps:
            write_report_to_tracker:
              tracker:
                organization:
                  cloudOrganizationId: <organization_ID>
                oauthToken: '\(lockboxPayload("<secret_ID>"; "oauth"))'
                createComment:
                  key: <issue_key_with_report>
                  text: \(.report_text)
        postbox:
          start: send_report_via_postbox
          steps:
            send_report_via_postbox:
              postbox:
                simple:
                  subject:
                    data: "Dev progress report"
                    charset: UTF_8
                  body:
                    text:
                      data: \(.report_text)
                      charset: UTF_8
                    html:
                      data: \("<p>\(.report_text_html)</p>")
                      charset: UTF_8
                fromAddress: tracker-robot@<your_domain>
                destination:
                  toAddresses: <recipient_address>
Where:
<organization_ID>: ID of your Yandex Identity Hub.<secret_ID>: Previously saved secret ID with the application's OAuth token.<queue_key_in_Tracker>: Key of the Tracker queue where you created the test issues.<folder_ID>: ID of the folder where you are creating a workflow.<issue_key_with_report>: Key of the Tracker issue in the comment to which the summary of the analyzed test issues will be uploaded.<your_domain>: Domain you specified when creating the Yandex Cloud Postbox address. For the sender address (fromAddress), you can specify any address on this domain, e.g.,tracker-robot@example.comornoreply@example.com.<recipient_address>: Email address to which the workflow will send a summary of the analyzed Tracker test issues.
A workflow comprises the following steps:
fetch_tickets,summarize_texts,send_report_via_postbox, andwrite_report_to_tracker.Tip
This guide describes how to create a workflow using the YaWL specification; however, you can also create and edit workflows using the constructor.
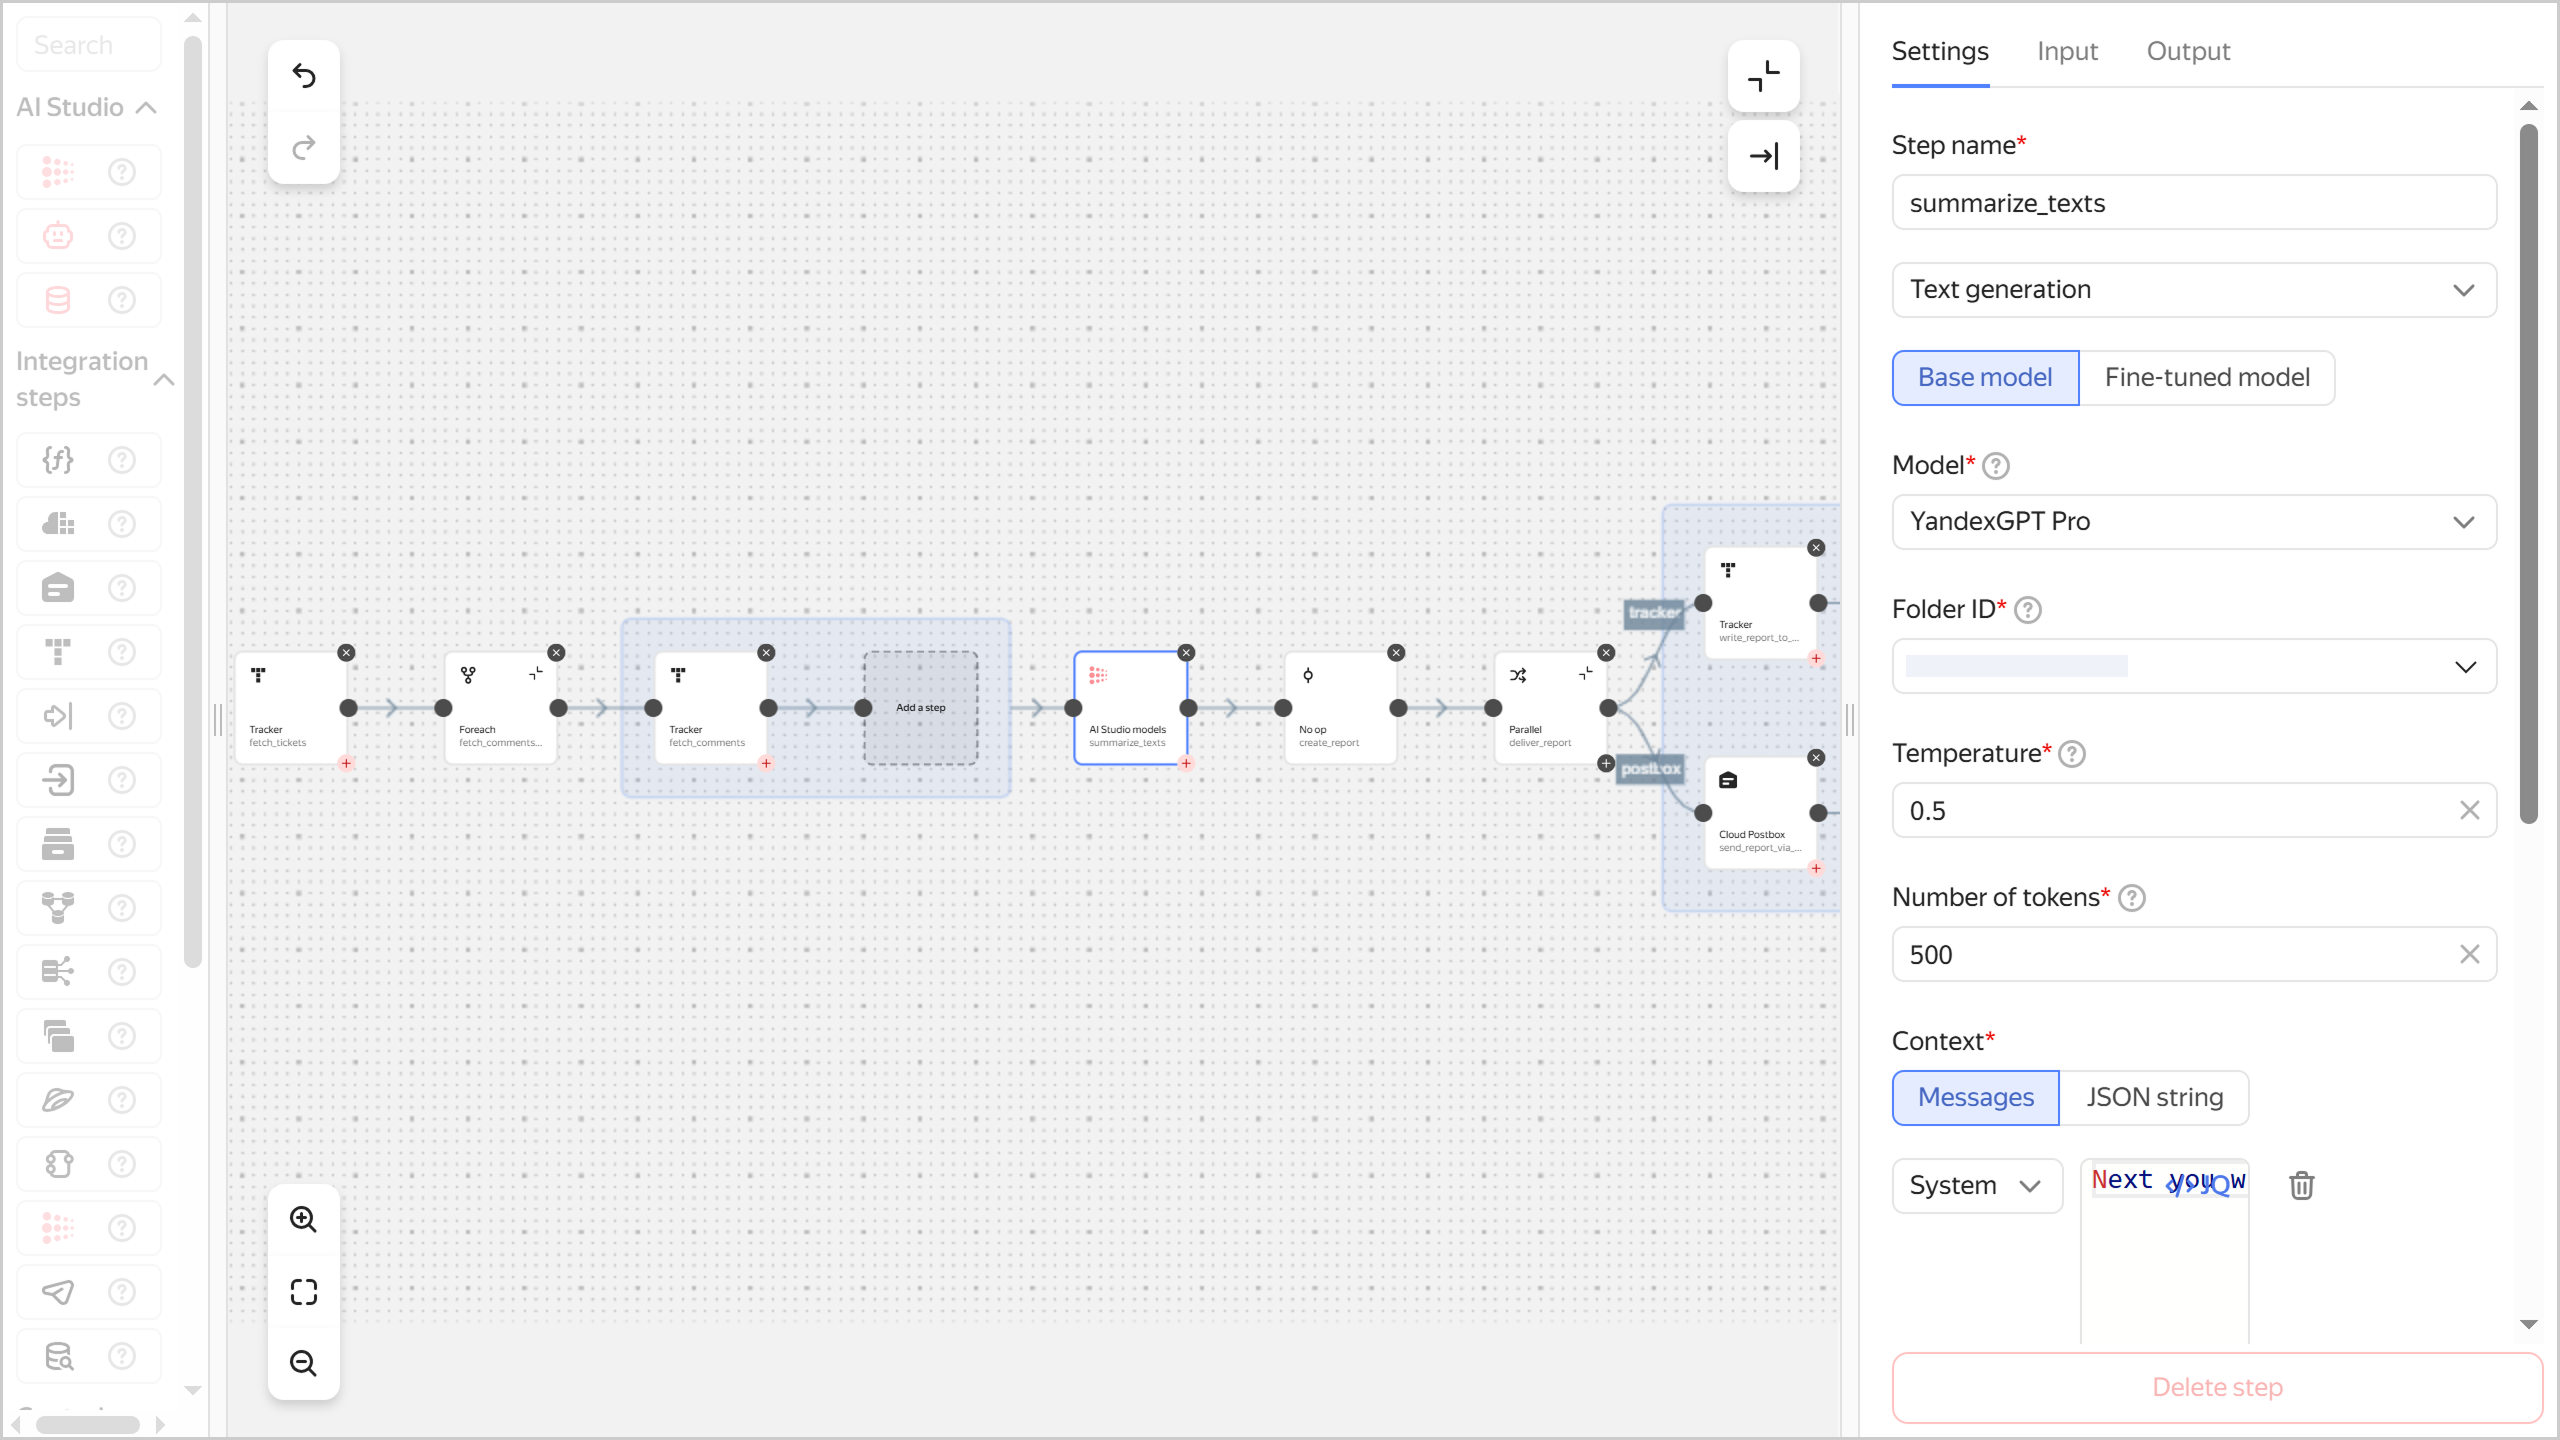
The suggested workflow will analyze closed Tracker issues for the last week, generate and publish a progress report for these issues:
- Analysis of issues closed over the past week:
- Uploading comments to issues.
- Analysis and summation of comments for each closed issue.
- Generating a report summarizing the work done for each closed issue.
- Publishing the report in a comment to a specified Tracker issue, sending the report to a specified email address.
Specification code:
yawl: "0.1"
start: fetch_tickets
steps:
  fetch_tickets:
    tracker:
      organization:
        cloudOrganizationId: <organization_ID>
      oauthToken: '\(lockboxPayload("<secret_ID>"; "oauth"))'
      listIssues:
        query: 'Status: changed(to: Closed date: >now()-2w)'
      output: |-
        \({
          "closed_tickets": . | map({"ticket_key": .key})
        })
      next: fetch_comments_fe
  fetch_comments_fe:
    foreach:
      input: \(.closed_tickets)
      do:
        start: fetch_comments
        steps:
          fetch_comments:
            tracker:
              organization:
                cloudOrganizationId: <organization_ID>
              oauthToken: '\(lockboxPayload("<secret_ID>"; "oauth"))'
              listComments:
                key: \(.ticket_key)
              output: |-
                \({
                  "comments": .
                })
      output: |-
        \({
          "comment_text": map(.comments[].text) | join("\n")
        })
      next: summarize_texts
  summarize_texts:
    foundationModelsCall:
      modelUrl: gpt://<folder_ID>/yandexgpt
      generate:
        maxTokens: 500
        temperature: 0.5
        messages:
          messages:
            - role: system
              text: "Next you will get comments of completed issues in Tracker. State as briefly as possible (no more than three sentences) what work has been done."
            - role: user
              text: \(.comment_text)
      output: |-
        \({
          "summary": .alternatives.[0].message.text
        })
      next: create_report
  create_report:
    noOp:
      output: |-
        \({
          "report_text": "
            Completed issues:
              \(.closed_tickets | map(.ticket_key) | join("\n"))
            Summary of closed issues:
              \(.summary)
          ",
          "report_text_html": "
            Completed issues:<br>
              \(.closed_tickets | map("<a href=https://tracker.yandex.ru/" + .ticket_key + ">" + .ticket_key + "</a>") | join("<br>"))<br>

            <br>
            Summary of closed issues:<br>
              \(.summary | gsub("\\n"; "<br>")))
          "
        })
      next: deliver_report
  deliver_report:
    parallel:
      branches:
        tracker:
          start: write_report_to_tracker
          steps:
            write_report_to_tracker:
              tracker:
                organization:
                  cloudOrganizationId: <organization_ID>
                oauthToken: '\(lockboxPayload("<secret_ID>"; "oauth"))'
                createComment:
                  key: <issue_key_with_report>
                  text: \(.report_text)
        postbox:
          start: send_report_via_postbox
          steps:
            send_report_via_postbox:
              postbox:
                simple:
                  subject:
                    data: "Dev progress report (closed issues)"
                    charset: UTF_8
                  body:
                    text:
                      data: \(.report_text)
                      charset: UTF_8
                    html:
                      data: \("<p>\(.report_text_html)</p>")
                      charset: UTF_8
                fromAddress: tracker-robot@<your_domain>
                destination:
                  toAddresses: <recipient_address>
Where:
<organization_ID>: ID of your Yandex Identity Hub.<secret_ID>: Previously saved secret ID with the application's OAuth token.<folder_ID>: ID of the folder where you are creating a workflow.<issue_key_with_report>: Key of the Tracker issue in the comment to which the summary of the analyzed test issues will be uploaded.<your_domain>: Domain you specified when creating the Yandex Cloud Postbox address. For the sender address (fromAddress) you can specify any address on this domain, e.g.,tracker-robot@example.comornoreply@example.com.<recipient_address>: Email address to which the workflow will send a summary of the analyzed Tracker test issues.
A workflow comprises the following steps:
fetch_tickets,fetch_comments,summarize_texts,send_report_via_postbox, andwrite_report_to_tracker. - Analyzing issues with specified tag in a given Tracker queue:
-
Create a workflow using the selected specification:
Management console-
In the management console, select the folder containing the previously created resources: service account, secret, and Yandex Cloud Postbox address.
-
Navigate to Serverless Integrations.
-
In the left-hand panel, select Workflows.
-
In the top-right corner, click Create workflow and in the window that opens:
- In the YaML specification field, add the previously selected specification.
- Expand Additional parameters.
- In the Name field, enter the workflow name:
my-tracker-workflow. - In the Service account field, select the
workflow-saservice account you previously created.
-
Click Create.
-
Test the workflow
Make sure the workflow is running successfully.
-
In the management console, select the folder with the workflow you created.
-
Navigate to Serverless Integrations.
-
In the left-hand panel, select Workflows.
-
Click next to
my-tracker-workflowand select Execute. -
In the window that opens, click Start. The workflow will run and may take a few minutes to complete.
-
Navigate to the Timeline tab.
Make sure all workflow steps are completed successfully. Each successful step will be marked by a green box with the icon in the relevant line of the time scale.
If there is an error at any of the steps, a red box with the icon will be displayed in the relevant line of the time scale. Click this box to view the error details.
As a result of the workflow, a comment with a summary of the analyzed test issues will be added to the Tracker issue named in the specification. This summary will also be sent to the email address given in the specification.
How to delete the resources you created
To stop paying for the resources you created:
-
Delete the workflow:
Management console- In the management console, select the folder containing the created resources.
- Navigate to Serverless Integrations.
- In the left-hand panel, select Workflows.
- Click next to
my-tracker-workflowand select Delete. - Confirm the deletion.
-
Optionally, delete the Yandex Cloud Postbox address:
Management console- In the management console, select the folder with the Yandex Cloud Postbox address.
- Navigate to Cloud Postbox.
- In the row with the Yandex Cloud Postbox address, click and select Delete.
- Confirm the deletion.