Yandex Cloud
Search
Discuss with expertTry it for free
  • Customer Stories
  • Documentation
  • Blog
  • All Services
  • System Status
  • Marketplace
    • Featured
    • Infrastructure & Network
    • Data Platform
    • AI for business
    • Security
    • DevOps tools
    • Serverless
    • Monitoring & Resources
  • All Solutions
    • By industry
    • By use case
    • Economics and Pricing
    • Security
    • Technical Support
    • Start testing with double trial credits
    • Cloud credits to scale your IT product
    • Gateway to Russia
    • Cloud for Startups
    • Center for Technologies and Society
    • Yandex Cloud Partner program
    • Price calculator
    • Pricing plans
  • Customer Stories
  • Documentation
  • Blog
© 2026 Direct Cursus Technology L.L.C.
Yandex DataLens
  • DataLens neuroanalyst
    • Overview
      • Overview
      • Chart settings
      • Measure Values and Measure Names
      • Multi-dataset charts
        • Creating a chart
        • Replacing a dataset in a chart
        • Creating a multi-dataset chart
        • Adding a hierarchy
        • Configuring a navigator
        • Configuring the display of null values
        • Configuring a color palette
    • Adding chart info
    • Opening a chart as a table
    • Saving a chart as an image
    • Versioning
    • Exporting data from charts
    • Chart inspector
    • Access management
  • Gallery in DataLens
  • Audit Trails events
  1. Charts
  2. Wizard charts
  3. Step-by-step guides
  4. Configuring a navigator

Configuring a navigator in Yandex DataLens

Written by
Yandex Cloud
Updated at June 2, 2026

Note

The navigator is available for those charts from the list that have a field of the Date or Date and time type in their X section:

  • Line chart
  • Stacked area chart
  • Normalized stacked area chart
  • Column chart

To configure the navigator:

Warning

If you use the new DataLens object model with workbooks and collections:

  1. In the left-hand panel, select Collections and workbooks.
  2. Open the workbook you need and select an object.

Proceed with this guide from Step 2.

  1. In the left-hand panel, click Charts and select the chart you need to configure a navigator for.

  2. On the left side of the screen above the chart, click .

  3. In the Chart settings window, enable Navigator.

  4. Select the navigator display mode:

    • All lines: Display all chart lines in the navigator.
    • Choose lines: Display the selected lines in the navigator.
  5. Specify the Default period. Each time you open the chart, the last period matching this setting will be displayed. Put 0 or leave the field empty to display the whole range of values.

  6. Click Apply. The navigator will appear at the bottom of the chart.

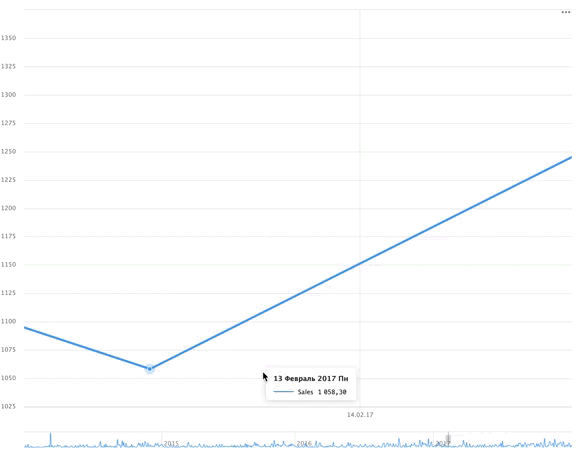
Example of using a navigator

image.

Was the article helpful?

Previous
Adding a hierarchy
Next
Configuring the display of null values
© 2026 Direct Cursus Technology L.L.C.