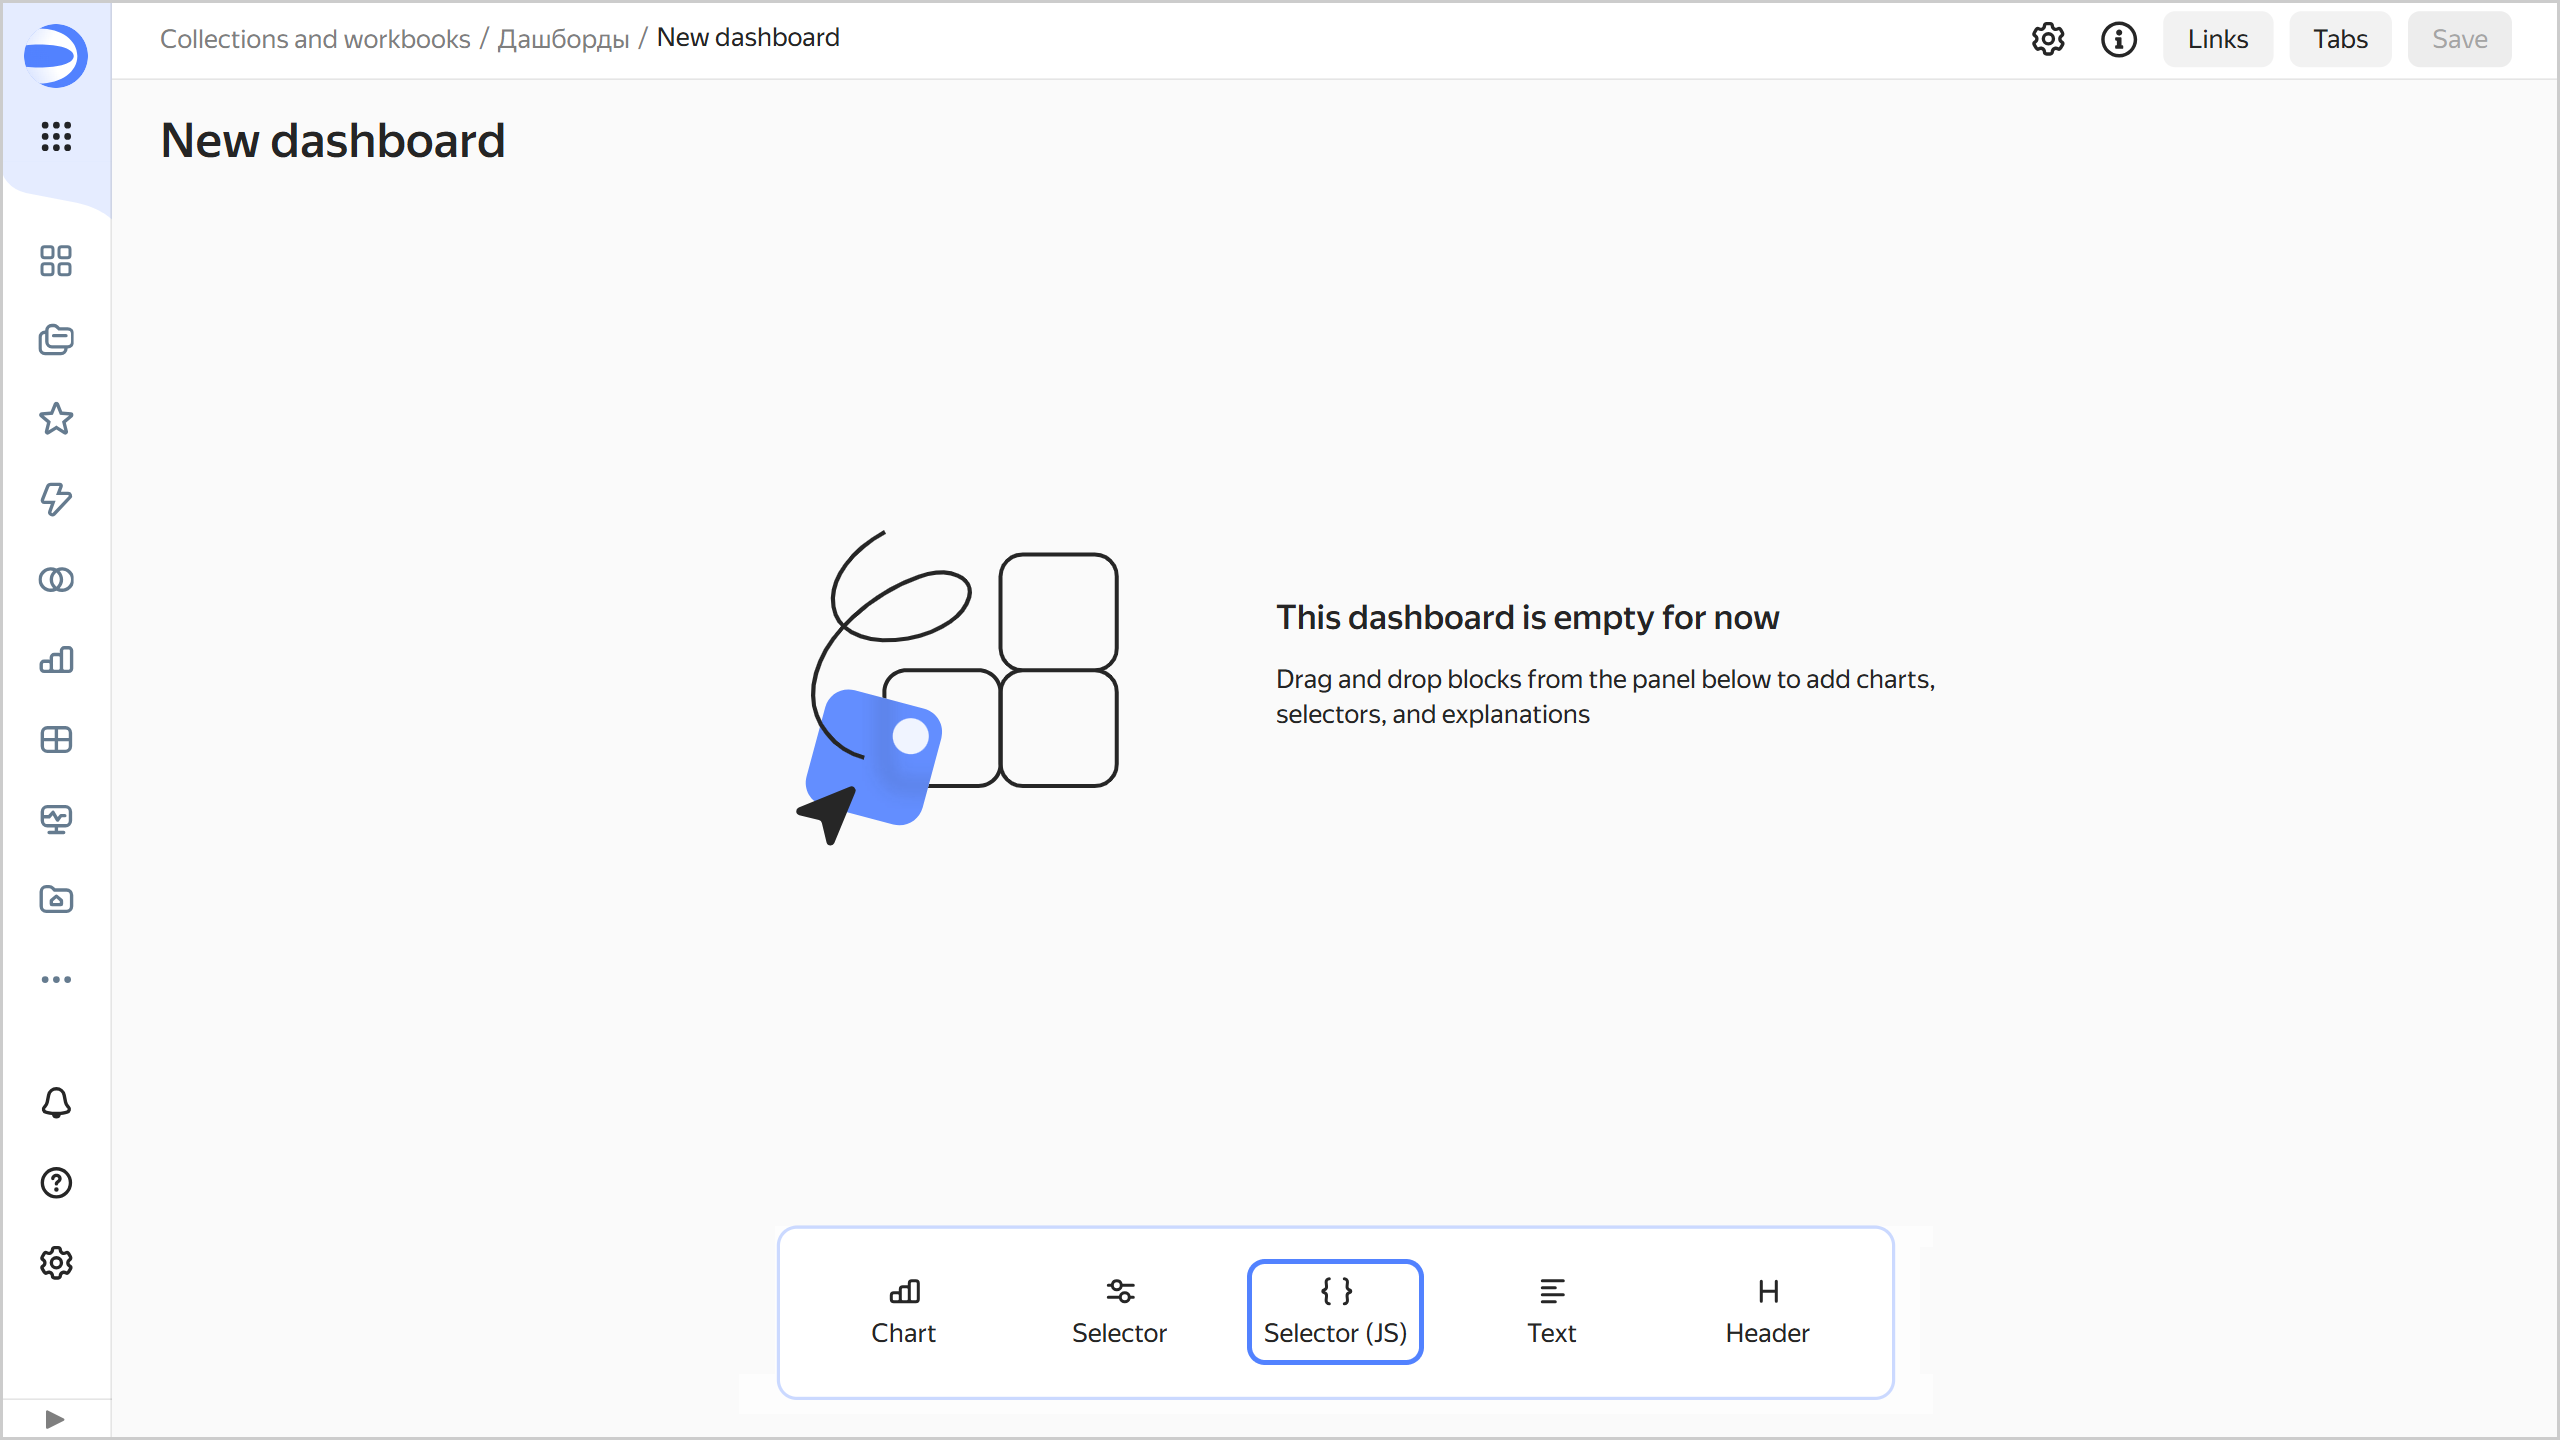
Adding a JS selector to a dashboard
Before adding a selector, make sure you have the Write or Admin permission for the dashboard. For more information, see Object access permissions.
To add a selector to a dashboard:
-
In the left-hand panel, click Dashboards and select the dashboard you need.
-
At the top of the page, click Edit.
-
In the panel at the bottom of the page, choose Selector (JS).
-
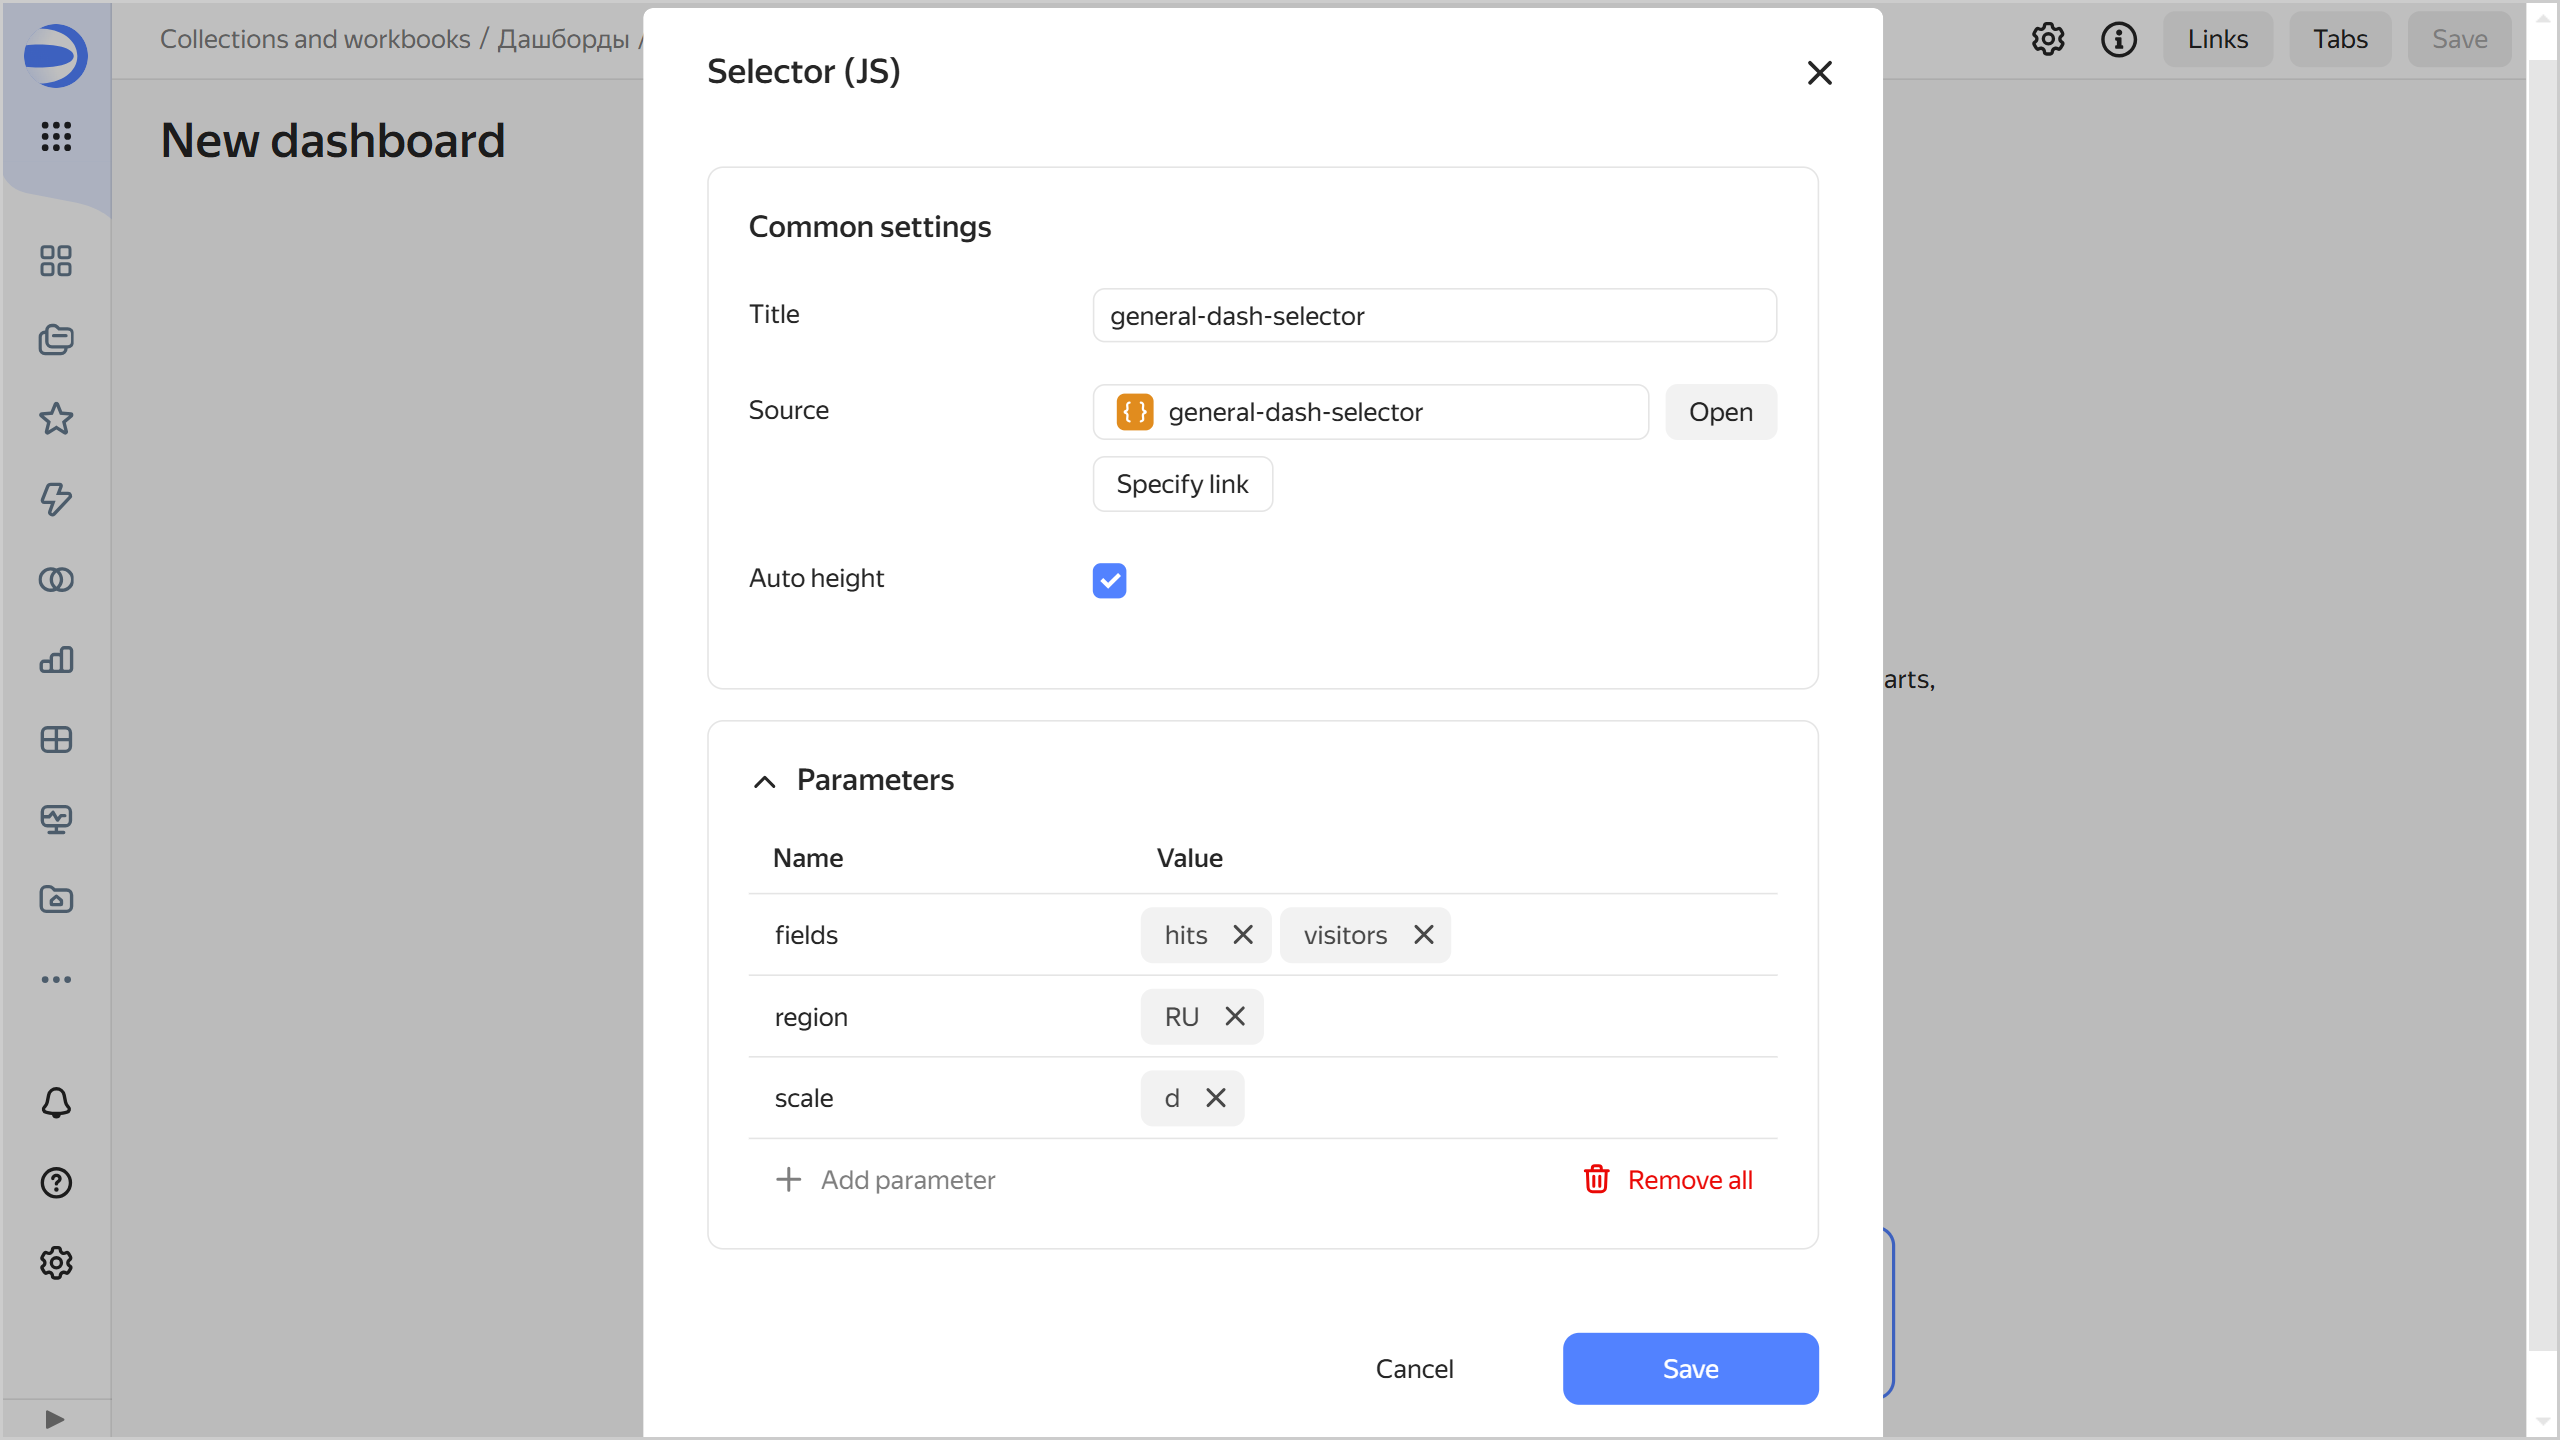
Specify the selector parameters:
-
Header: To choose the selector for linking with other widgets.
-
Source: Sets the selector created in Editor. Choose the selector:
From the list of objectsUsing a linkClick Select and choose a selector from the list of objects. If you have already chosen the selector, you can proceed to edit it To do this, click Open to the right of the selector.
Click Specify link. Enter the selector URL into the input field and click OK below.
-
Show in tabs: Select how to display the selector on the dashboard:
Current tab <tab_name>: Display on selected tab. This is the default option.Selected tabs: Select one or more tabs to display the selector on. By default, the current tab is selected.All tabs: Display on all tabs.
-
Background: Widget background color and opacity separately for the light and dark theme.
-
Rounding: Widget corner rounding.
-
Auto height: Automatic widget height on the dashboard.
-
Parameters: Sets a list of selector parameters and their default values. For the widget to work correctly, specify the selector parameters listed on the Params tab.
-
-
Click Save. The widget will appear on the dashboard.