Uploading audit logs to Splunk SIEM

Create a trail to upload management event audit logs of resources in an individual folder to an Yandex Object Storage bucket with encryption enabled. Then configure continuous log delivery to SIEM Splunk.
The solution described in the tutorial follows the steps below:
- A trail uploads logs to an Object Storage bucket.
- The bucket is mounted as part of an intermediate VM's filesystem.
- The intermediate VM runs a script that pulls logs from the bucket on a schedule and pushes them to Splunk.
To configure delivery of audit log files from a bucket to Splunk:
- Get your cloud ready.
- Set up your environment.
- Assign the required roles to your service account.
- Create a trail.
- Set up Splunk for import.
- Enable egress NAT for the subnet with the intermediate VM.
- Create an intermediate VM.
- Visualize data in Splunk.
Some steps are completed in Terraform.
If you no longer need the resources you created, delete them.
Getting started
If you do not have the Yandex Cloud CLI yet, install and initialize it.
The folder used by default is the one specified when creating the CLI profile. To change the default folder, use the yc config set folder-id <folder_ID> command. You can also specify a different folder for any command using --folder-name or --folder-id. If you access a resource by its name, the search will be limited to the default folder. If you access a resource by its ID, the search will be global, i.e., through all folders based on access permissions.
Sign up for Yandex Cloud and create a billing account:
- Navigate to the management console and log in to Yandex Cloud or create a new account.
- On the Yandex Cloud Billing page, make sure you have a billing account linked and it has the
ACTIVEorTRIAL_ACTIVEstatus. If you do not have a billing account, create one and link a cloud to it.
If you have an active billing account, you can create or select a folder for your infrastructure on the cloud page.
Learn more about clouds and folders here.
To complete the tutorial, a Splunk instance must be available to the intermediate VM on port 8080.
Required paid resources
The infrastructure support cost includes:
- Fee for using VM instances (see Compute Cloud pricing).
- Fee for storing data in a bucket (see Object Storage pricing).
- Fee for data operations (see Object Storage pricing).
- Fee for using KMS keys (see Key Management Service pricing).
Set up your environment
Create a new bucket to use for uploading audit logs
- In the management console, select the folder where you want to create a bucket.
- Navigate to Object Storage.
- Click Create bucket.
- On the bucket creation page:
-
Enter a name for the bucket by following the naming conventions.
By default, a bucket with a dot in the name is only available over HTTP. To provide HTTPS support for your bucket, upload your own security certificate to Object Storage.
-
Limit the maximum bucket size, if required.
If the value is
0, the size is not limited. It is similar to the enabled No limit option. -
In the Read objects, Read object list, and Read settings fields, select
With authorization. -
Select the default storage class.
-
Click Create bucket to complete the operation.
-
Create an encryption key in Key Management Service
-
In the management console, select the folder containing your bucket.
-
Navigate to Key Management Service.
-
Click Create key and set the key attributes:
- Any name and optional description.
- Encryption algorithm, e.g., AES-256.
- Rotation period (how often to change key versions).
- Click Create.
When creating a key, you create its first version; to open a page with its attributes, click the key in the list.
Enable bucket encryption
-
In the management console, select the bucket you want to configure encryption for.
-
In the left-hand panel, select Security.
-
Open the Encryption tab.
-
In the KMS Key field, select an existing key or create a new one:
- If the folder does not contain any keys yet, click Create key. If the folder contains keys but they are not suitable, click Create.
- Enter a name for the key.
- Select an encryption algorithm and a rotation period.
- Click Create.
-
Click Save.
Create a service account
-
In the management console, select the folder where you want to create a service account.
-
Navigate to Identity and Access Management.
-
Click Create service account.
-
Enter a name for the service account. The naming requirements are as follows:
- Length: between 3 and 63 characters.
- It can only contain lowercase Latin letters, numbers, and hyphens.
- It must start with a letter and cannot end with a hyphen.
-
Click Create.
Assign the required roles to your service account
-
Assign the audit-trails.viewer role to the folder whose resources will be polled for audit logs:
yc resource-manager folder add-access-binding \
--role audit-trails.viewer \
--id <folder_ID> \
--service-account-id <service_account_ID>
Where:
--role: Role to assign.--id: ID of the folder from which audit logs will be collected.--service-account-id: Service account ID.
-
Assign the storage.uploader role to the folder to host the trail:
yc resource-manager folder add-access-binding \
--role storage.uploader \
--id <folder_ID> \
--service-account-id <service_account_ID>
Where:
--role: Role to assign.--id: ID of the folder to host the trail.--service-account-id: Service account ID.
-
Assign the kms.keys.encrypterDecrypter role to the encryption key:
yc kms symmetric-key add-access-binding \
--role kms.keys.encrypterDecrypter \
--id <KMS_key_ID> \
--service-account-id <service_account_ID>
Where:
--role: Role to assign.--id: KMS key ID.--service-account-id: Service account ID.
Create a trail
To create the trail, make sure you have the following roles:
iam.serviceAccounts.userfor the service account.audit-trails.editorfor the folder to host the trail.audit-trails.viewerfor the folder from which audit logs will be collected.storage.viewerfor the bucket or folder.
-
In the management console, select the folder where you want to create the trail.
-
Navigate to Audit Trails.
-
Click Create trail and specify:
- Name: Name of the new trail.
- Description: Trail description (optional).
-
Under Destination, configure the destination object:
- Destination:
Object Storage. - Bucket: Name of the bucket to which you want to upload audit logs.
- Object prefix: Optional parameter used in the full name of the audit log file.
Note
Use a prefix to store audit logs and third-party data in the same bucket. Do not use the same prefix for logs and other bucket objects because that may cause logs and third-party objects to overwrite each other.
- Encryption key: Specify the encryption key the bucket is encrypted with.
- Destination:
-
Under Service account, select the service account that the trail will use to upload audit log files to the bucket.
-
Under Collecting management events, configure the collection of management event audit logs:
- Collecting events: Select
Enabled. - Resource: Select
Folder. - Folder: Automatically populated field containing the name of the current folder.
- Collecting events: Select
-
Under Collecting data events, select
Disabledin the Collecting events field. -
Click Create.
Warning
The solution will delete the logs from the bucket after they are exported to Splunk. If you need to keep the logs in the bucket, create a separate bucket and trail.
Set up Splunk for import
Enable HTTPEventCollector and follow this guide to get the Event Collector token.
Set up a NAT gateway for the subnet with the intermediate VM
- Create a NAT gateway:
-
In the management console, select the folder containing the subnet for the intermediate VM.
-
Navigate to Virtual Private Cloud.
-
In the left-hand panel, select Gateways.
-
Click Create.
-
Enter a name for the gateway. The naming requirements are as follows:
- Length: between 3 and 63 characters.
- It can only contain lowercase Latin letters, numbers, and hyphens.
- It must start with a letter and cannot end with a hyphen.
-
The default gateway type is
Egress NAT. -
Click Save.
-
- Create a route table:
- In the left-hand panel, select Routing tables.
- Click Create to add a new table, or select an existing one.
- Click Add.
- In the window that opens, select
Gatewayin the Next hop field. - In the Gateway field, select the NAT gateway you created. The destination prefix will apply automatically.
- Click Add.
- Click Save.
- Link the route table to the subnet where you want to deploy the intermediate VM, to forward its traffic via the NAT gateway:
- In the left-hand panel, select Subnets.
- In the row with the subnet, click .
- In the menu that opens, select Link routing table.
- In the window that opens, select your route table from the list.
- Click Link.
Create a VM for continuous log delivery to Splunk
-
If you do not have Terraform yet, install it and configure the Yandex Cloud provider.
To manage infrastructure using Terraform under a service account or user accounts (a Yandex account, a federated account, or a local user), authenticate using the appropriate method.
-
Clone a repository from Yandex Cloud Security Solution Library:
git clone https://github.com/yandex-cloud-examples/yc-export-auditlogs-to-splunk.git -
Create a subfolder in
/yc-export-auditlogs-to-splunk/terraform/and go there. -
Create a configuration file to invoke the
yc-splunk-trailmodule:module "yc-splunk-trail" { source = "../modules/yc-splunk-trail/" folder_id = <folder_ID> splunk_token = <Event_Collector_token> splunk_server = <your_Splunk_server_address>:8088 bucket_name = <bucket_name> bucket_folder = <name_of_root_folder_in_bucket> sa_id = <service_account_ID> coi_subnet_id = <subnet_ID> }Where:
folder_id: Folder ID.splunk_token: Event Collector token retrieved from Splunk.splunk_server: Address of your Splunk server ashttps://<host_name_or_address>.bucket_name: Bucket name.bucket_folder: Name of the root folder in the bucket.sa_id: Service account ID.coi_subnet_id: ID of the subnet where you set up the NAT gateway.
-
Make sure the configuration files are correct:
terraform planIf the configuration is correct, the terminal will display a list of the resources and their settings. Otherwise, Terraform will show any detected errors.
-
Deploy the cloud resources.
-
If the configuration is correct, run this command:
terraform apply -
Confirm resource creation: enter
yesin the terminal and press Enter.
-
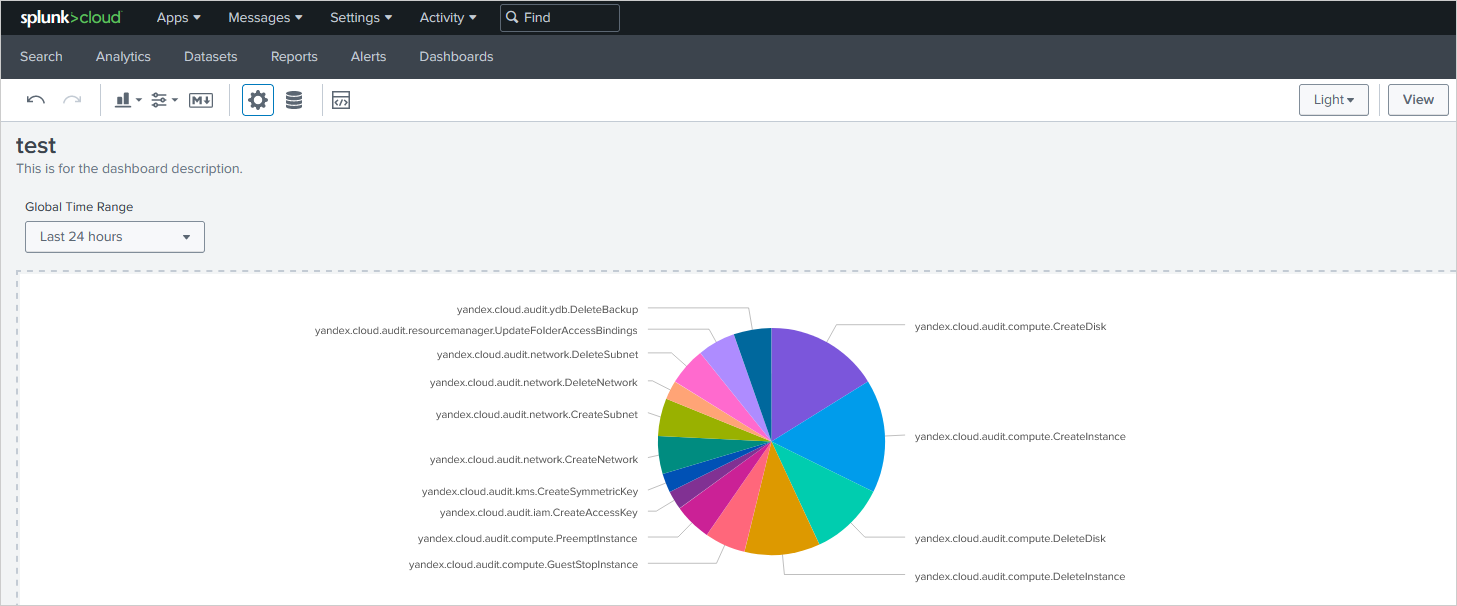
Visualize data in Splunk
-
Go to Splunk and search for the events created by the service account:
index="main" authentication.subject_type="SERVICE_ACCOUNT" | stats count by event_type -
To visualize the results, go to the Visualization tab and select a suitable format (
LineChart,PieChart, etc.):Data visualization example:
How to delete the resources you created
Some resources are not free of charge. Delete the resources you no longer need to avoid paying for them:
-
To delete the resources created with Terraform:
-
Run this command:
terraform destroyWarning
Terraform will delete all the resources that you created in the current configuration, such as networks, subnets, virtual machines, and so on.
After the command is executed, the terminal will display a list of resources to be deleted.
-
To confirm deletion, type
yesand press Enter.
-