Getting started with YandexART
In this section, you will learn how to use the YandexART neural network to generate images.
Getting started
To get started in Yandex Cloud:
- Log in to the management console. If not signed up yet, navigate to the management console and follow the on-screen instructions.
- In Yandex Cloud Billing, make sure you have a billing account linked and its status is
ACTIVEorTRIAL_ACTIVE. If you do not have a billing account yet, create one. - If you do not have a folder yet, create one.
You can start working from the management console right away.
To use the examples of requests using SDK:
-
Create a service account and assign the
ai.imageGeneration.userrole to it. -
Get the service account API key and save it.
The following examples use API key authentication. Yandex Cloud ML SDK also supports IAM token and OAuth token authentication. For more information, see Authentication in Yandex Cloud ML SDK.
-
Use the pip package manager to install the ML SDK library:
pip install yandex-cloud-ml-sdk
To use the examples of requests via the API, install:
To work with the YandexART API, you need to get authenticated using your account:
-
Get an IAM token for your Yandex account or federated account.
-
Get the ID of the folder for which your account has the
ai.imageGeneration.userrole or higher. You will need the folder ID to get the model URI. -
When accessing YandexART via the API, specify the IAM token in the
Authorizationheader of each request:x-folder-id: <folder_ID>
For information about other API authentication methods, see Authentication with the Yandex AI Studio API.
Generate an image
Note
YandexART logs user prompts to generate better responses. Do not use sensitive information and personal data in your prompts.
- In the management console, select a folder for which your account has the
ai.imageGeneration.userrole or higher. - In the list of services, select AI Studio.
- In the left-hand panel, select YandexART.
- In the input field, describe the image you want to generate. You should use vivid and detailed descriptions, specify styles if you want your image styled in a certain way.
- Leave the Seed parameter at random or specify any value.
- Click Generate. Generating an image takes some time. The output will appear on the left side of the screen.
The code in the example waits until the model completes the request, then saves the result to the result variable before saving the generated image on the disk to the image.jpeg file in the current directory. For additional methods of working with the YandexART model, see Generating an image using YandexART.
-
Create a file named
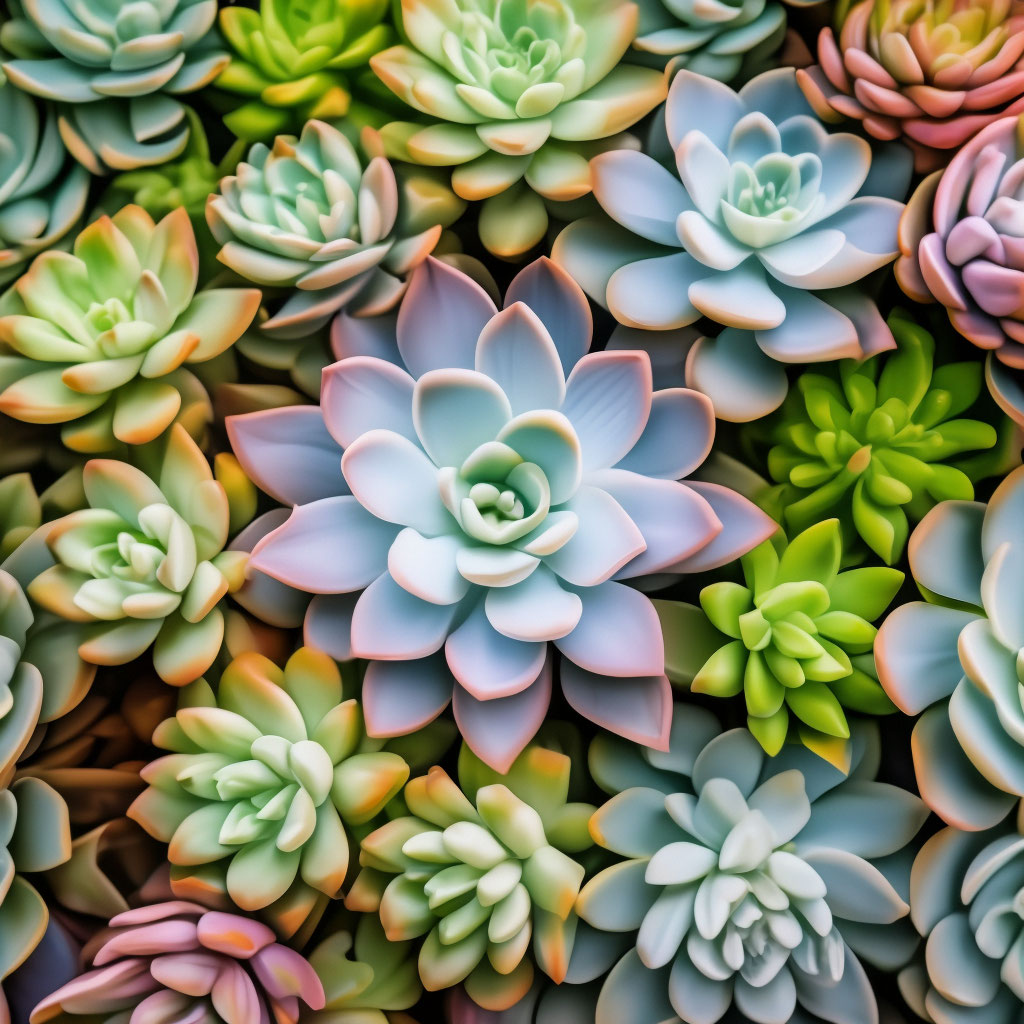
generate-image.pyand paste the following code into it:#!/usr/bin/env python3 from __future__ import annotations import pathlib from yandex_cloud_ml_sdk import YCloudML message = "a pattern of pastel colored succulents of multiple varieties, hd full wallpaper, sharp focus, many intricate details, picture depth, top view" def main(): sdk = YCloudML( folder_id="<folder_ID>", auth="<API_key>", ) model = sdk.models.image_generation("yandex-art") # configuring model model = model.configure(width_ratio=2, height_ratio=1, seed=1863) path = pathlib.Path("./image.jpeg") operation = model.run_deferred(message) result = operation.wait() path.write_bytes(result.image_bytes) if __name__ == "__main__": main()Where:
-
message: Variable containing the text of the image generation prompt.As input data for a request, Yandex Cloud ML SDK can accept a string, a dictionary, an object of the
TextMessageclass, or an array containing any combination of these data types. For more information, see Yandex Cloud ML SDK usage.
-
<folder_ID>: ID of the folder in which the service account was created. -
<API_key>: Service account API key you got earlier required for authentication in the API.The following examples use API key authentication. Yandex Cloud ML SDK also supports IAM token and OAuth token authentication. For more information, see Authentication in Yandex Cloud ML SDK.
For more information about prompting a model, see Accessing models.
-
-
Run the file you created:
python3 generate-image.pyResult:
-
Create a file with the request body, e.g.,
prompt.json:{ "modelUri": "art://<folder_ID>/yandex-art/latest", "generationOptions": { "seed": "1863", "aspectRatio": { "widthRatio": "2", "heightRatio": "1" } }, "messages": [ { "text": "a pattern of pastel-colored succulents of multiple varieties, hd full wallpaper, sharp focus, many intricate details, picture depth, top view" } ] }Where:
modelUri: YandexART model ID which contains the Yandex Cloud folder ID.seed: Generation seed.text: Text description of the image to use for generation.aspectRatio(optional): Aspect ratio of the image to generate:widthRatio: Width (1by default).heightRatio: Height (1by default).
-
To send a request to the neural network using the ImageGenerationAsync.generate method, run the following command:
curl \
  --request POST \
  --header "Authorization: Bearer <IAM_token_value>" \
  --data "@prompt.json" \
  "https://llm.api.cloud.yandex.net/foundationModels/v1/imageGenerationAsync"
Where:
<IAM_token_value>: IAM token you got for your account.prompt.json: JSON file with the request parameters.
The service will return your request ID:
{ "id":"fbveu1sntj**********","description":"","createdAt":null,"createdBy":"","modifiedAt":null,"done":false,"metadata":null} -
Generating an image takes some time. Wait for 10 seconds and send your request to get the generation result. When the image is ready, you will get the result in a Base64-encoded file named
image.jpeg.curl \ --request GET \ --header "Authorization: Bearer <IAM_token_value>" \ https://llm.api.cloud.yandex.net:443/operations/<request_ID> | \ jq -r '.response | .image' | base64 -d > image.jpegWhere:
<IAM_token_value>: IAM token you obtained when getting started.<request_ID>:idfield value you got in response to the generation request.
Result: